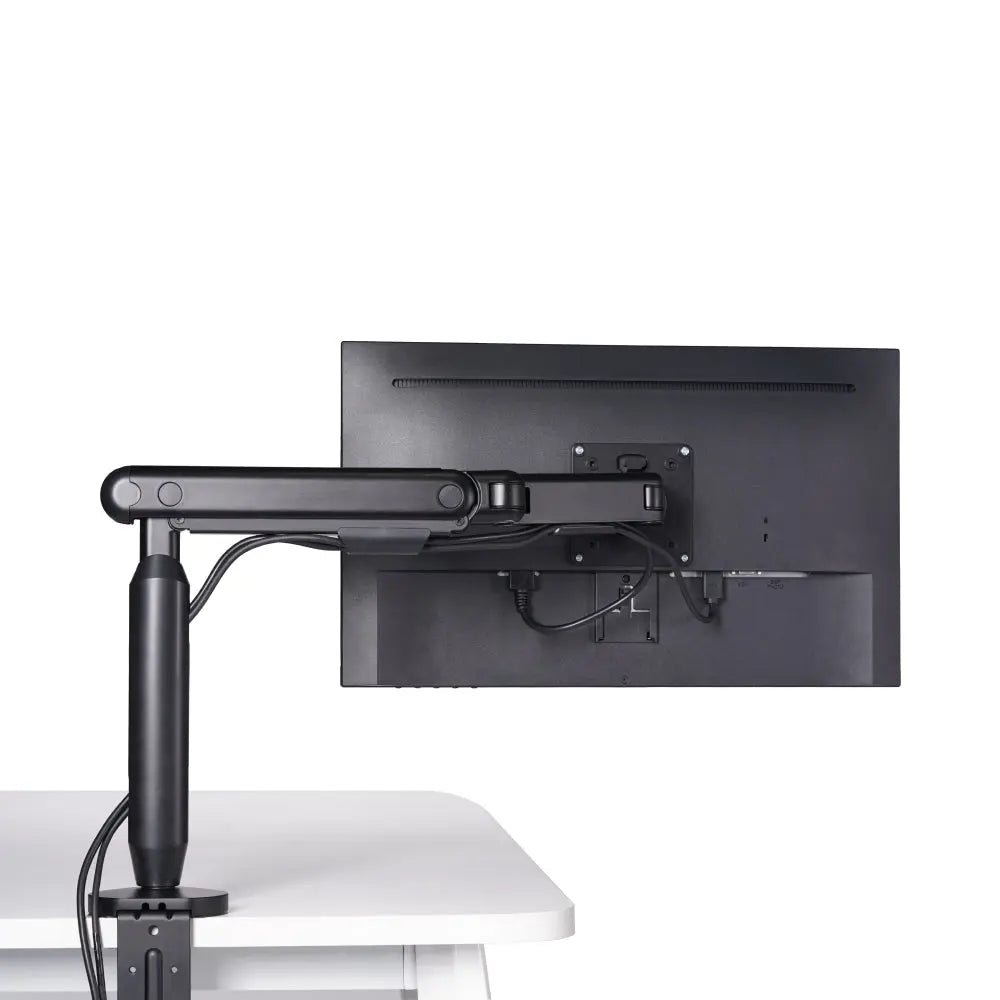
How to Mount a Monitor Without Drilling: A No-Damage Guide
Most no-drill monitor advice starts with the wall. Start with the desk instead. If the desktop has a solid rear edge and enough clearance underneath, a clamp-mounted arm can lift the screen without making a new hole in the wall or desk. If the desk cannot take a clamp, keep the original stand or use a freestanding riser until you have a mounting surface that the manufacturer approves.
The mount still has to match the monitor and the desk. Check the screen's weight, VESA pattern, desktop thickness, edge shape, and the space below the surface before buying hardware. A reversible installation only works when the support is strong enough for the load.
Quick answer: how to mount a monitor without drilling
- Check the monitor's weight and VESA pattern.
- Inspect the desk edge, thickness, underside clearance, and material.
- Use a clamp mount when the arm manufacturer approves the desk and dimensions.
- Use an existing grommet hole only if the mount supports that installation.
- Keep the original stand or use a freestanding riser when the desk cannot accept a mount.
- Install the arm, set its tension, route the cables, and test the full movement range.
Skip improvised adhesive, suction, or magnetic mounting for a full-size monitor unless the product manufacturer explicitly rates the mount for your screen weight, surface, and installation direction. A clean wall is not worth an unsupported display.
Choose the no-drill path that fits your desk
| Your setup | Best starting point | What to verify |
|---|---|---|
| Solid desk with an accessible rear edge | Clamp-mounted monitor arm | Desk thickness, edge shape, underside clearance, screen weight, VESA |
| Desk with an existing cable grommet | Compatible grommet mount | Hole diameter, desktop thickness, mount hardware, clearance below |
| Glass, hollow, thin, beveled, or blocked rear edge | Original monitor stand or freestanding riser | Desk and monitor manufacturer instructions |
| Monitor without a supported VESA pattern | Original stand or manufacturer-approved adapter | Adapter rating and exact monitor model |
| Large or heavy display | Mount rated for that size and weight | Flat versus curved limits, VESA, desk load, installation requirements |
Step 1: check the monitor before the mount
Remove the monitor's original stand only after you know how the replacement will attach. Look for four threaded holes on the back of the display and check the monitor manual for its VESA pattern. Common desktop-monitor patterns include 75 x 75 mm and 100 x 100 mm, but the mount and screen must list the same pattern.
Use the monitor weight without its original stand when the manufacturer provides that number. Stay inside the arm's minimum and maximum load. A gas-spring arm that carries too little or too much weight may drift even when its hardware is tight.
Screen size is a secondary check. Weight, VESA, curvature, and the monitor's center of gravity decide whether the arm can hold and move the display as intended.
Step 2: inspect the mounting surface
A desk clamp needs a flat contact area above and below the desktop. Measure the full thickness at the point where the clamp will sit. Then look underneath for a rear rail, cable tray, drawer, apron, or wall clearance that could block the lower plate or tightening screw.
Do not assume every desktop can take a concentrated clamp load. Follow the desk and arm instructions for glass, stone, hollow-core panels, thin surfaces, and beveled edges. If either manufacturer rules out the surface, use the original stand or a freestanding support.
Place the base where the arm can reach your normal screen position without running into a wall. A clamp at the far corner may fit the desk but leave the arm too short to center the display.
Step 3: pick clamp, existing grommet, or freestanding support
Clamp mount
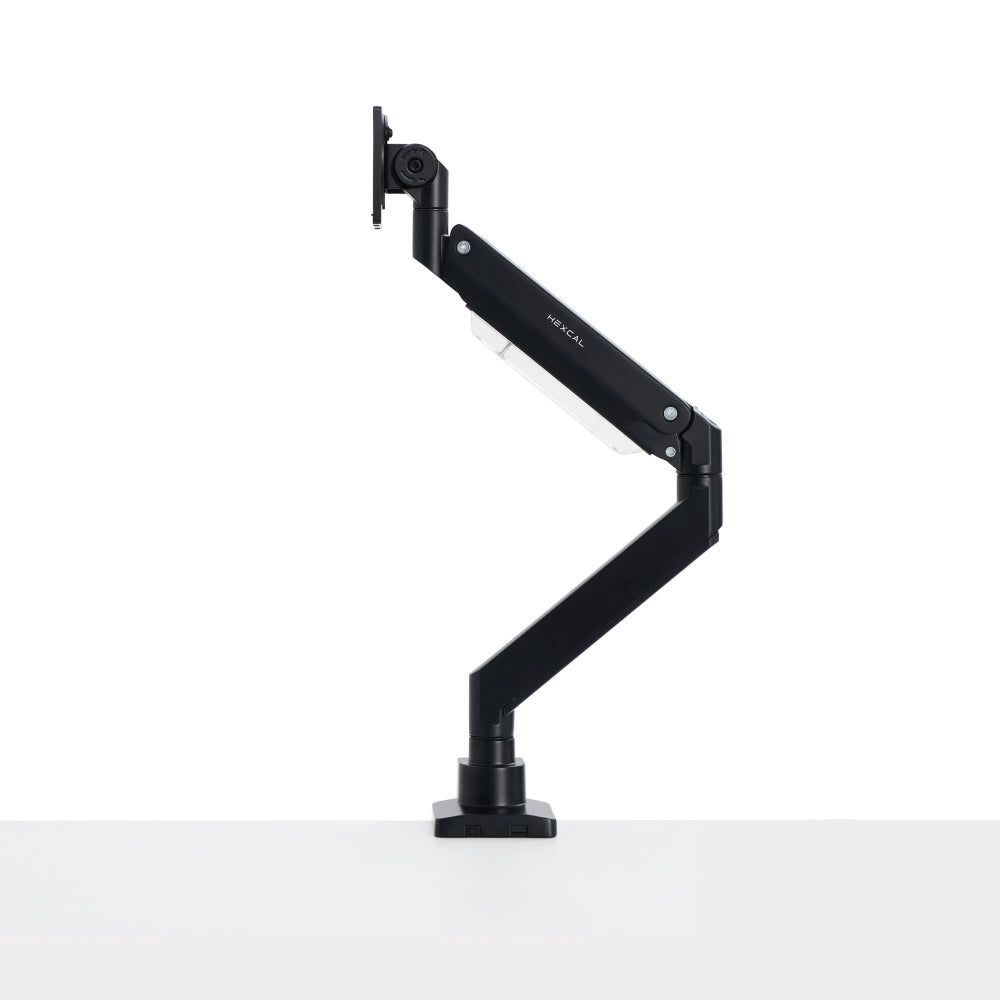
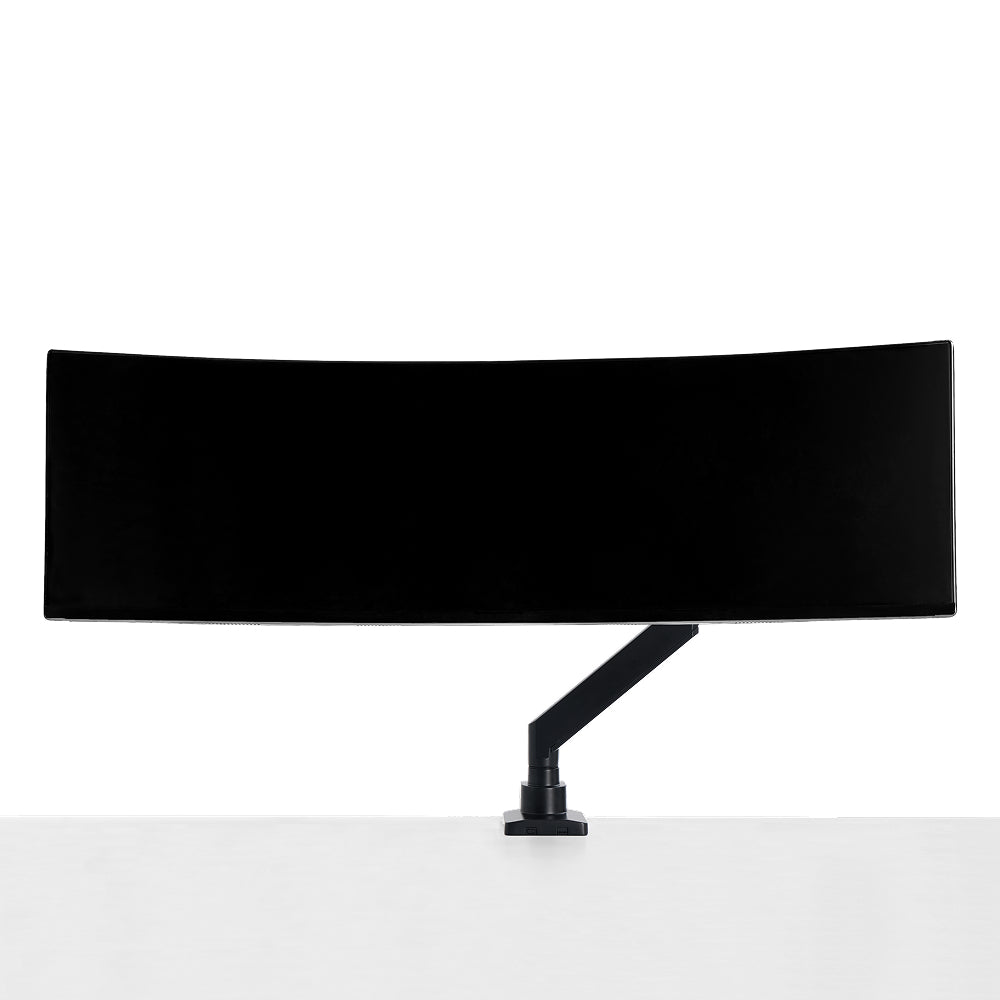
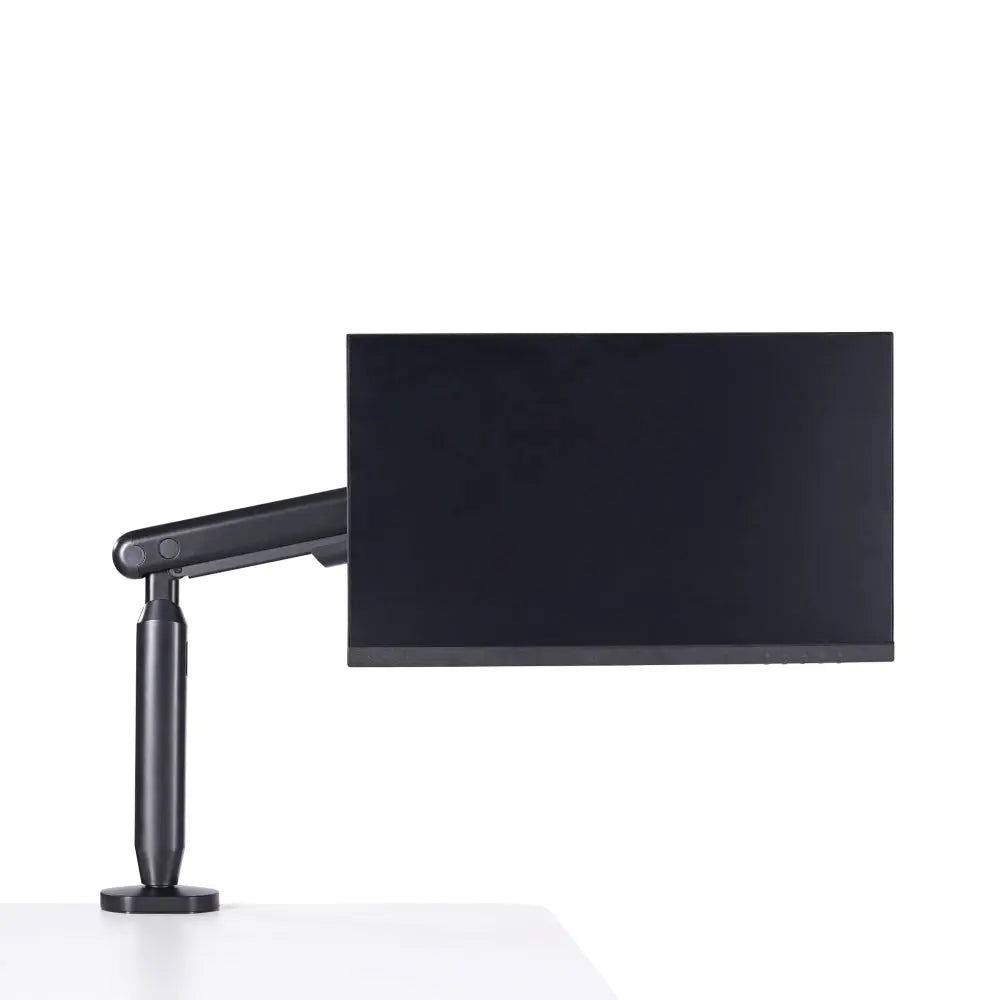
A clamp mount grips the desk edge and leaves the surface intact. It is the most direct no-drill option when the rear edge is accessible and the desktop falls inside the mount's approved thickness range. It can also be removed when you move, although a protective pad does not override the desk manufacturer's load limits.
Existing grommet hole
A grommet mount passes through a hole in the desktop. It counts as no new drilling only when the desk already has a compatible opening. Measure the hole and the desktop, and use the hardware specified by the arm manufacturer. Do not enlarge the opening or improvise a fastener if you need the desk to remain unchanged.
Original stand or freestanding riser
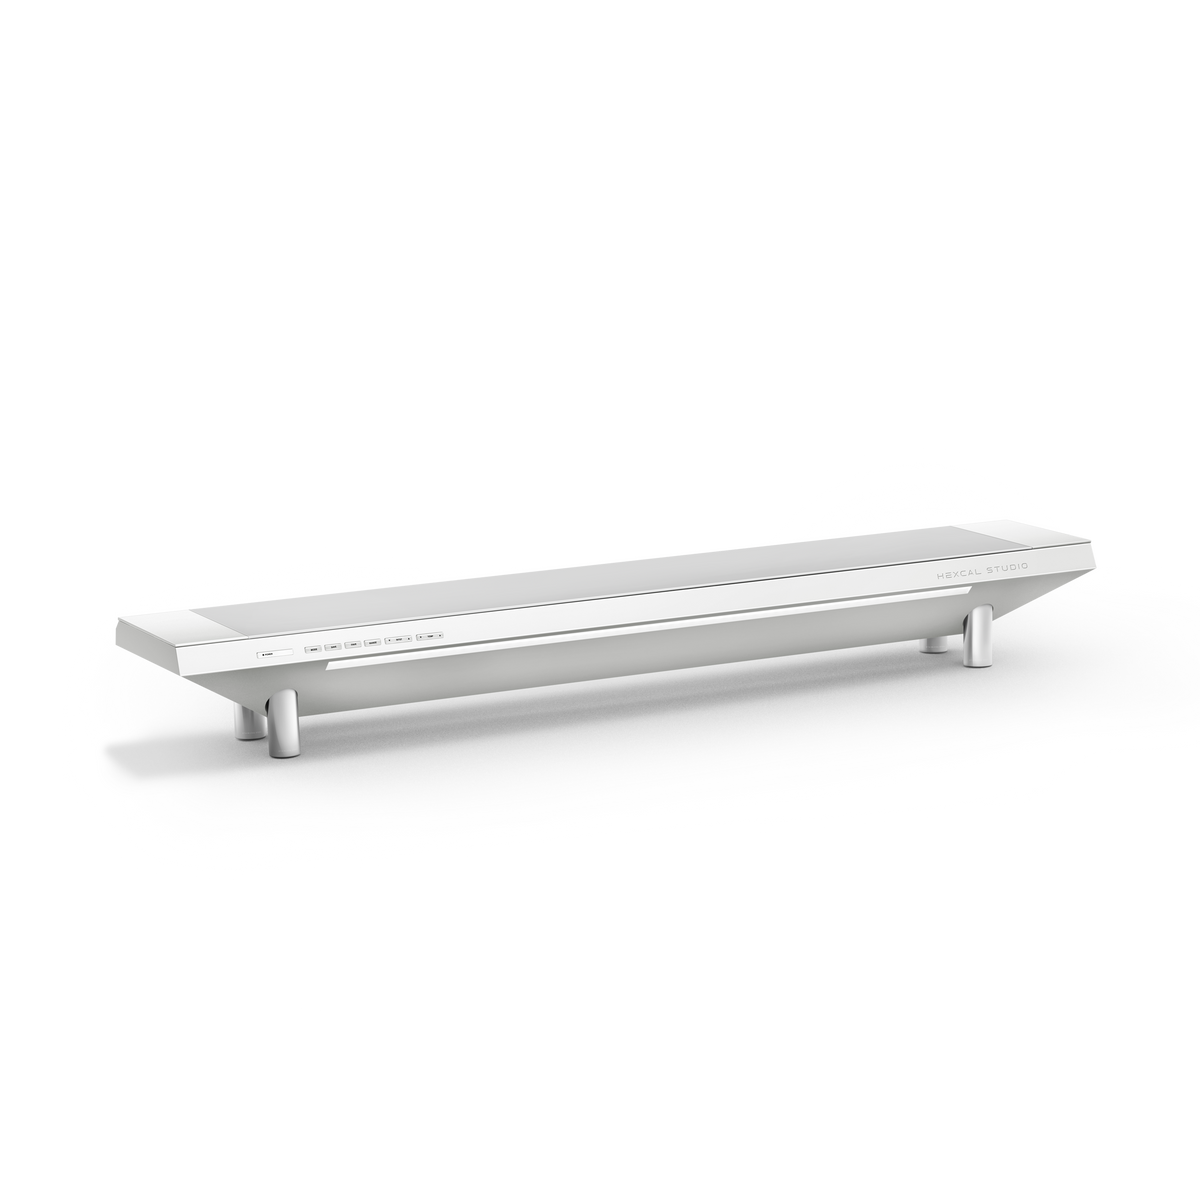
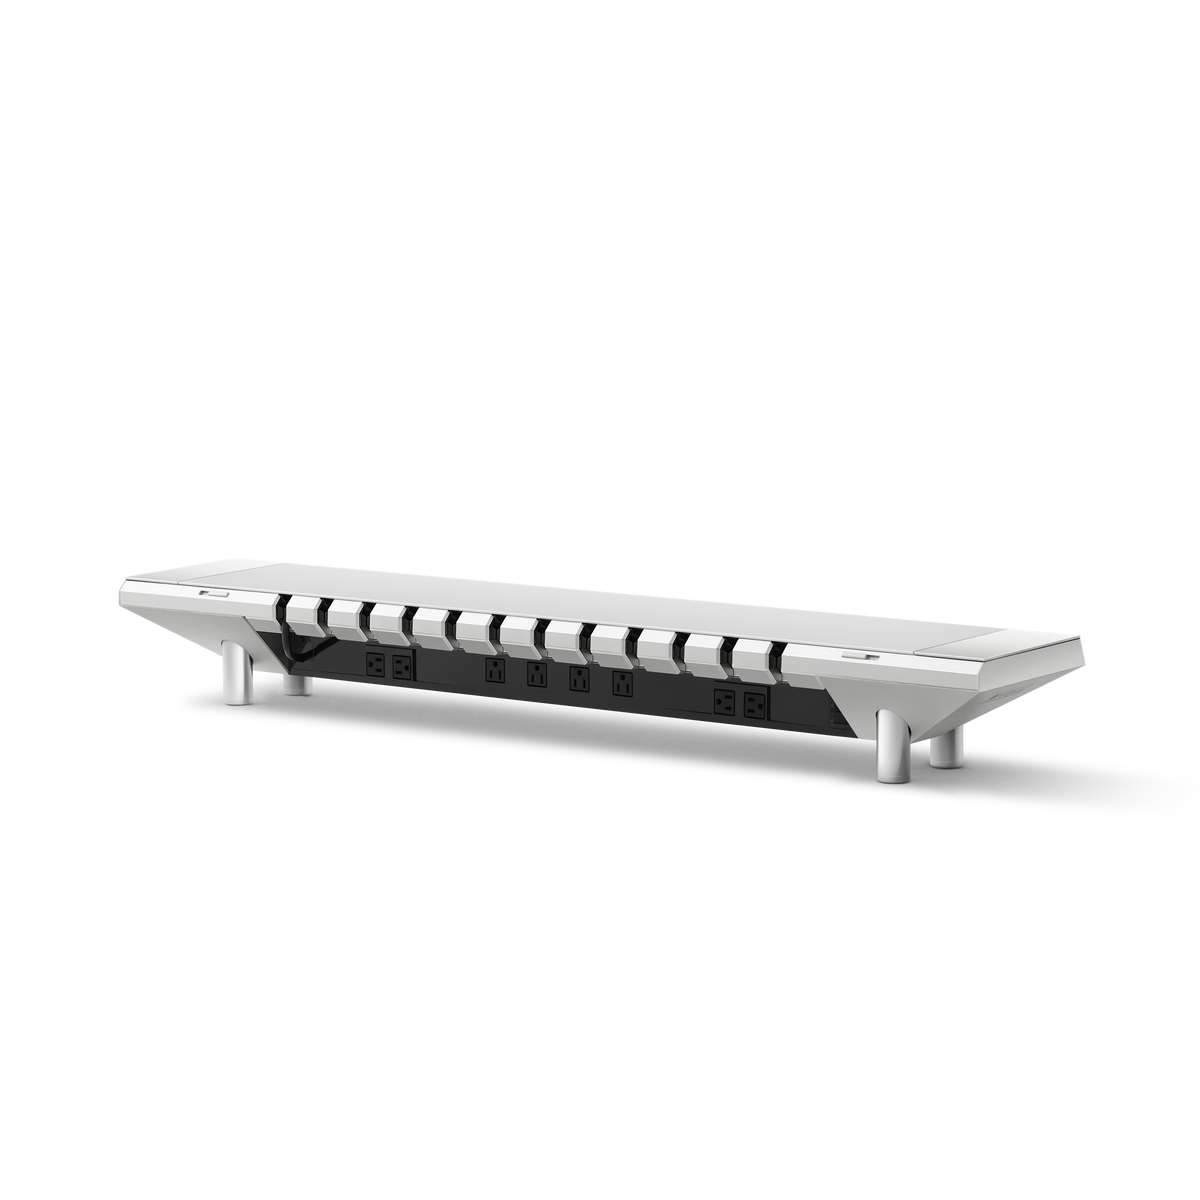
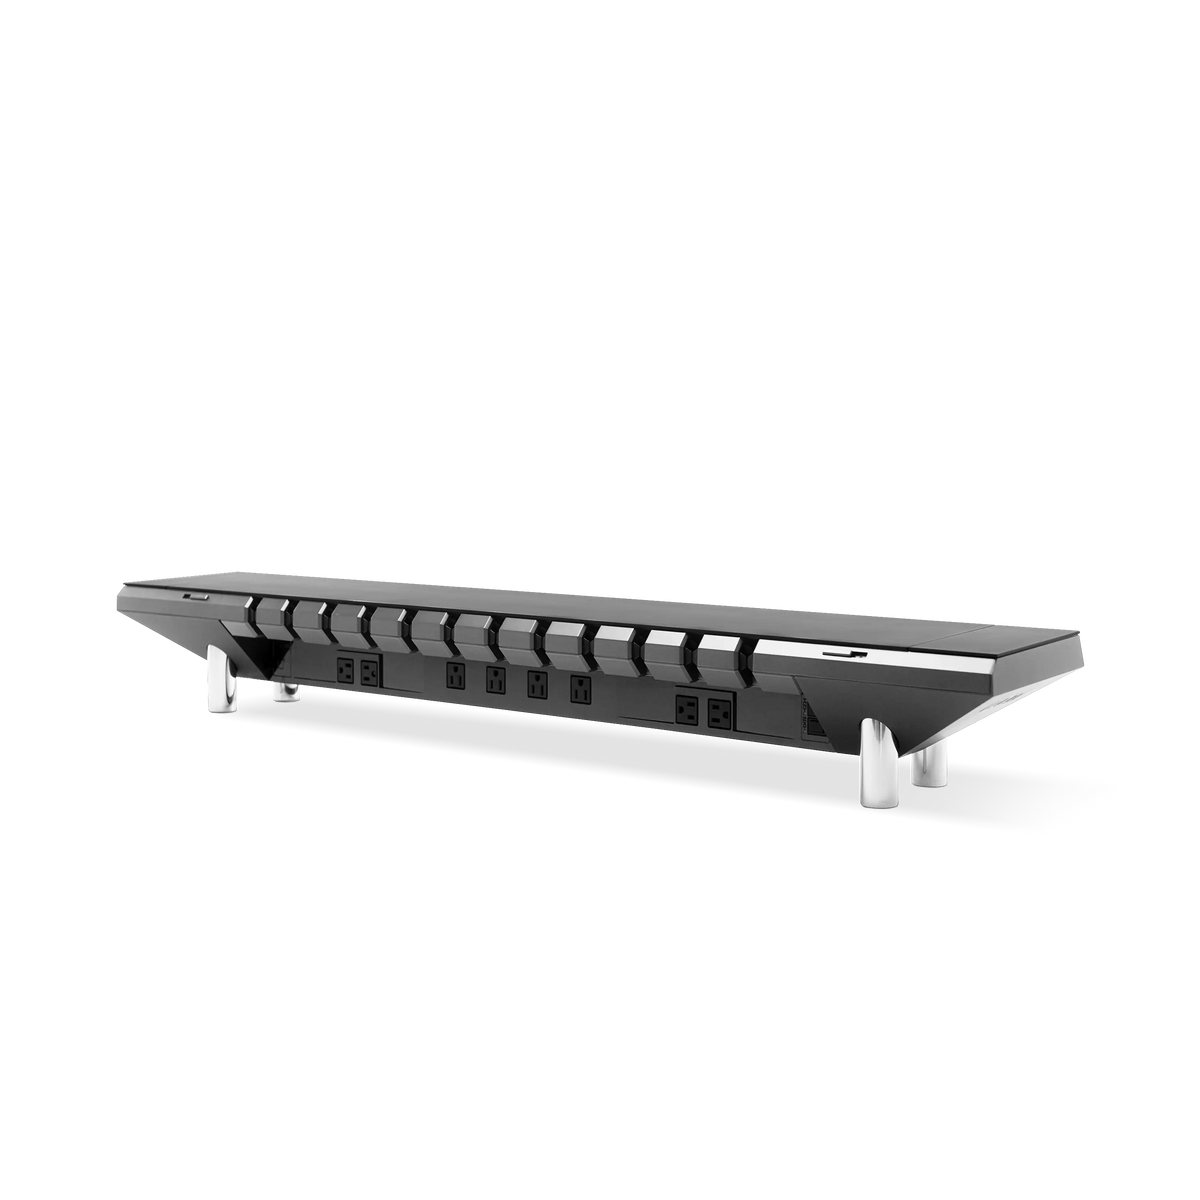
Some desks have no safe clamp location. A monitor on its original stand can still reach a better height with a stable freestanding riser. This keeps every load on the surface instead of the rear edge and avoids permanent changes. Check the riser's load rating and make sure its footprint remains stable when you adjust the screen.
Step 4: install a clamp-mounted arm
- Turn off the monitor, disconnect every cable, and clear the installation area.
- Fit the clamp base to the measured desktop thickness. Keep both contact plates flat against the surface.
- Tighten the clamp according to the manual. Stop if the desktop bends, cracks, or prevents the plates from sitting flat.
- Attach the approved VESA plate and screws to the monitor. Use the spacers only when the monitor or arm instructions call for them.
- Support the screen with both hands while attaching it to the arm. Ask for help when the monitor or mount manual requires two people.
- Connect power and data cables after the screen is secure.
Recheck the clamp after the screen is attached. The base should stay flat while the arm swivels, tilts, and extends. If the desk edge lifts or the base shifts, remove the monitor and reassess the installation.
Step 5: set the arm tension and screen position
Adjust the arm tension for the installed screen weight. Make small changes and support the monitor while testing. The display should stay where you place it without rising, sinking, or rotating on its own.
Set the screen for your normal seated position before chasing a precise measurement. Keep the top portion of the display near your natural eye line, place the screen far enough away to read without leaning forward, and reduce glare before tightening the final position.
Move the arm through the range you will use: forward for detailed work, back for more desk space, and sideways if the screen shares the desk with another device. Check the wall, desktop, and cables at each position.
Step 6: route cables without restricting movement
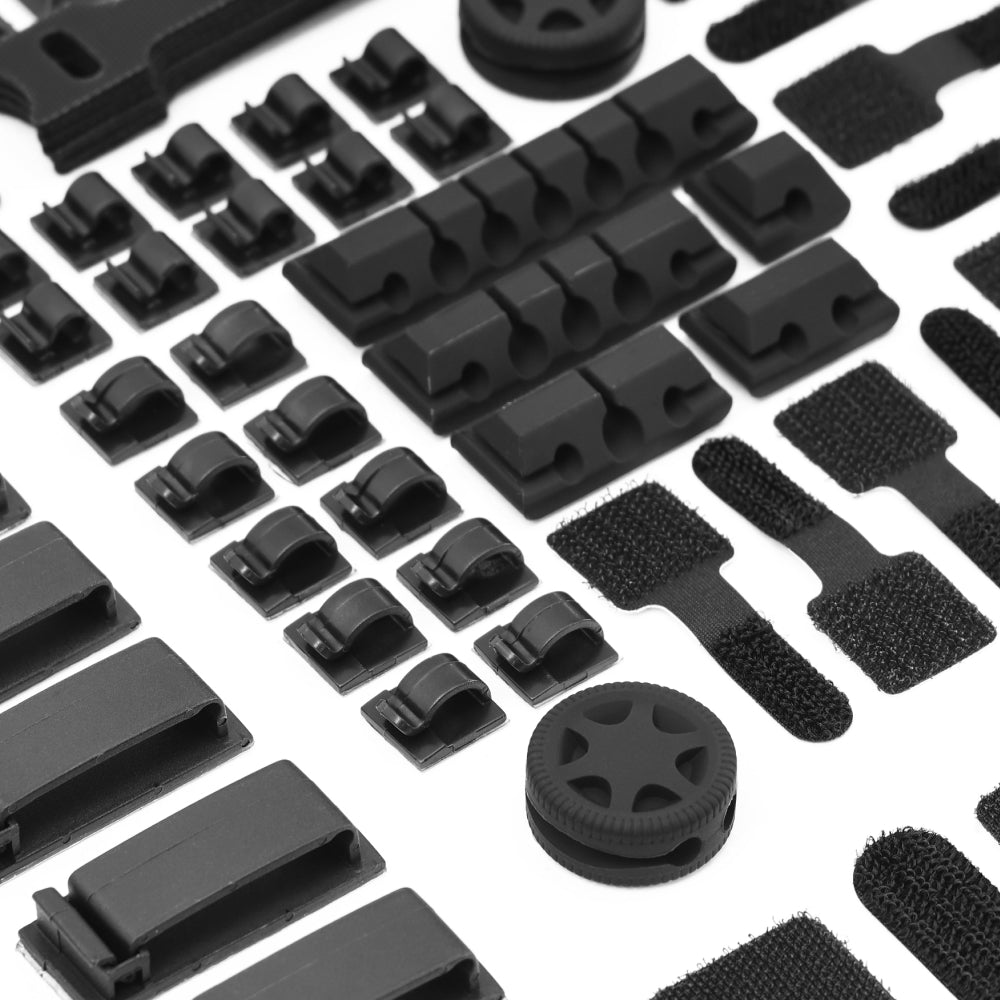
Connect the monitor at its farthest normal position, then route the cables along the arm. Leave a short service loop at each moving joint so tilt, swivel, and extension do not pull on the ports. Secure the cable without crushing it or forcing a sharp bend.
Guide the remaining length toward one controlled route under the desk. Keep the connection points accessible. For the full routing method, use the guide to hiding monitor cables.
Compatibility example: Hexcal Single Monitor Arm
The Hexcal Single Monitor Arm supports one monitor up to 35 inches and 3-11 kg (6.6-24.2 lb), with VESA 75 x 75 mm or 100 x 100 mm. Its clamp fits desktops 10-80 mm thick. The grommet hardware fits desktops 10-35 mm thick and requires an existing or newly drilled opening. The arm extends up to 483 mm and includes cable management.
Use the clamp when the desk edge and thickness meet those limits and you want to avoid drilling. A monitor outside the weight, size, or VESA range needs a different mount. For larger screens, compare the product's requirements rather than assuming a stronger arm will suit the same desktop.
When a no-drill arm is the wrong choice
- The desktop material or construction is not approved for a clamp.
- The rear edge is blocked, beveled, too thick, too thin, or too shallow for full contact.
- The monitor falls outside the arm's weight, size, curvature, or VESA limits.
- The arm cannot reach the viewing position without hitting the wall.
- The desk moves or flexes enough to make the monitor unstable.
Keep the original stand when the mounting surface is uncertain. A reversible setup should protect the monitor as well as the room.
FAQ
Can I mount a monitor without drilling into the wall?
Yes. A desk-clamp monitor arm can hold the screen without drilling into the wall or desktop when the monitor and desk meet the arm manufacturer's limits.
Can I install a monitor arm without drilling into the desk?
Use a clamp mount on an approved desk edge. A grommet mount avoids new drilling only when the desk already has a compatible hole.
Can adhesive strips hold a computer monitor?
Do not use an adhesive product for a full-size monitor unless its manufacturer explicitly rates it for the exact screen weight, mounting direction, and surface. General-purpose strips are not a substitute for rated monitor-mount hardware.
What if my desk has no edge for a clamp?
Use the original monitor stand, a stable freestanding riser, or a manufacturer-approved mount for the desk. Do not force a clamp onto an edge that prevents both plates from sitting flat.
How do I know if my monitor is VESA compatible?
Check the monitor manual and look for four threaded mounting holes on the back. Match the listed pattern and screw requirements to the arm.
Related guides
- Should you choose a monitor stand or monitor arm?
- How to hide monitor cables
- Monitor arms for single and multi-screen setups
A no-drill setup works when every contact point is known: the monitor matches the arm, the arm matches the desk, and the cables can move without pulling. Check those three interfaces before lifting the screen.