Gaming Desk Cable Management: A Serviceable Setup Guide
A gaming desk becomes hard to maintain when every cable is treated as one bundle. A PC, one or two monitors, a console, speakers, a headset dock and chargers do not all move or fail in the same way. The goal is not a photo with no visible wires. It is a setup where you can replace one device, trace one fault or clean under the desk without rebuilding the whole route.
Quick answer: the order that keeps a gaming desk serviceable
- List every power, display, data, audio and charging cable before attaching anything.
- Choose one reachable power zone; do not daisy-chain power strips or overload a rated outlet.
- Keep each monitor cable separate while the screen or arm can move.
- Put power bricks and surplus length in one accessible under-desk zone.
- Anchor only the cables you plug in often, then test a normal device swap.
This order suits a PC gaming desk because it separates the high-change cables, such as a controller or headset, from the heavier power and display runs that should stay stable.
1. Map the gaming setup before buying clips or sleeves
Disconnect the setup and label both ends of cables you cannot identify at a glance. Make five groups: power, display, USB/data, audio/network and frequently handled charging cables. Keep the PC-to-monitor display cable distinct from power until both ends are fixed. A sleeve is useful only after several cables have the same destination; it is not a substitute for a route plan.
Decide where the PC sits before finalizing cable length. A tower on the floor, a console on a shelf and a laptop dock each need different paths. Avoid routing cables across the walking area or under a chair's travel path.
2. Build one accessible under-desk service zone
Keep the power strip, adapters and excess cable length together beneath the rear of the desk, but leave the switch and the connections you may need to change reachable. Do not seal every plug into one tight bundle. Power and display runs should be traceable when a monitor loses signal or a charger needs replacing.
The Hexcal Under-Desk Cable Management Tray is for wooden desks at least 20 mm thick. Its stated maximum load is 6.8 kg (15 lb), and it can be mounted forward-facing or backward-facing. Check your desk material, thickness and the tray's mounting instructions before drilling or loading it with adapters.
3. Give moving monitors their own route
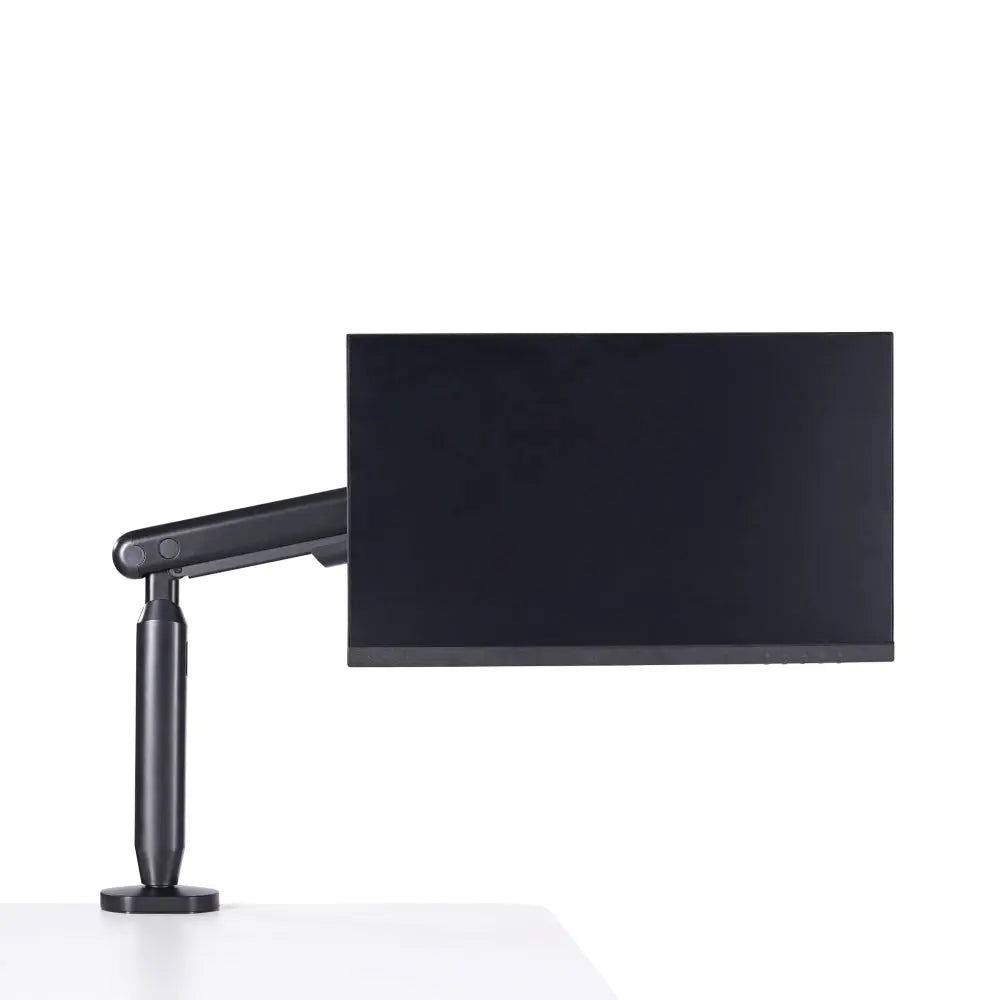
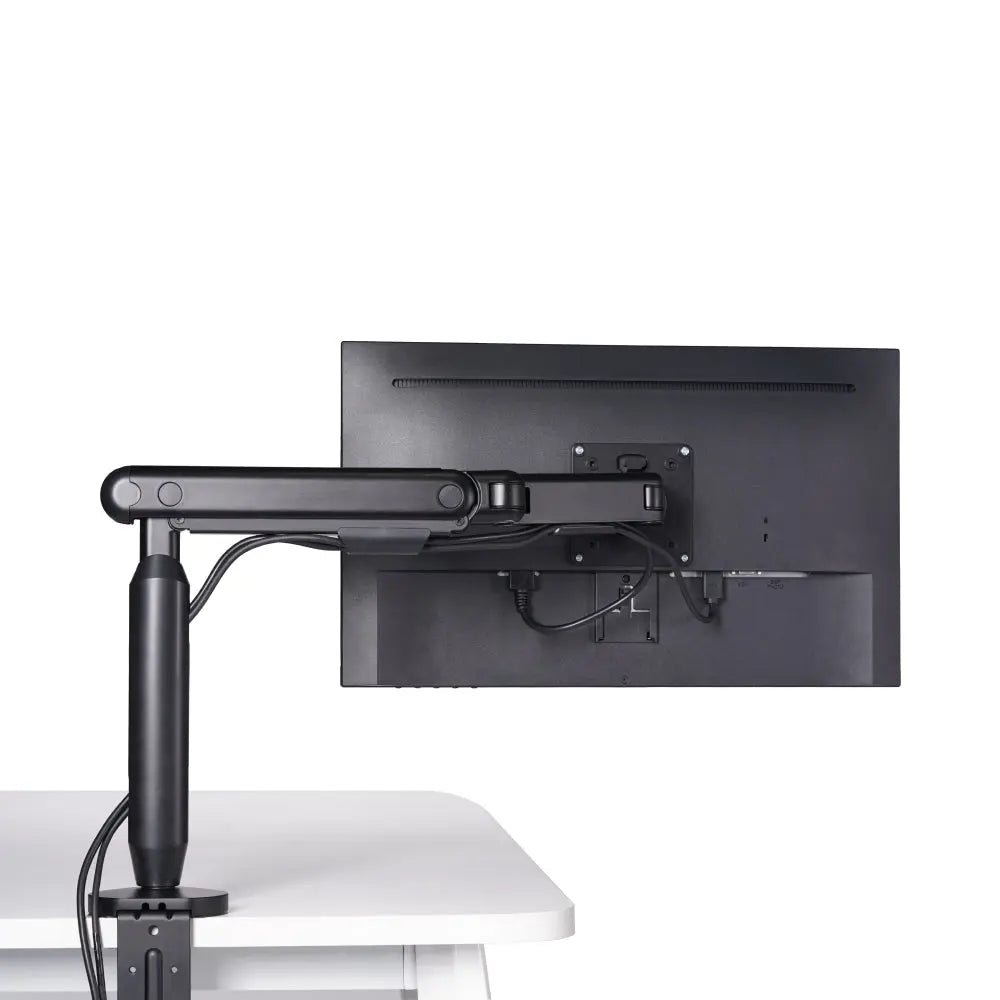
Route each monitor's power and display cables down the rear of its stand or arm, then leave a short service loop before the cable joins the under-desk route. Test tilt, swivel and extension before tightening clips. A cable that looks tidy when the screen is still can pull on a port when the arm moves.
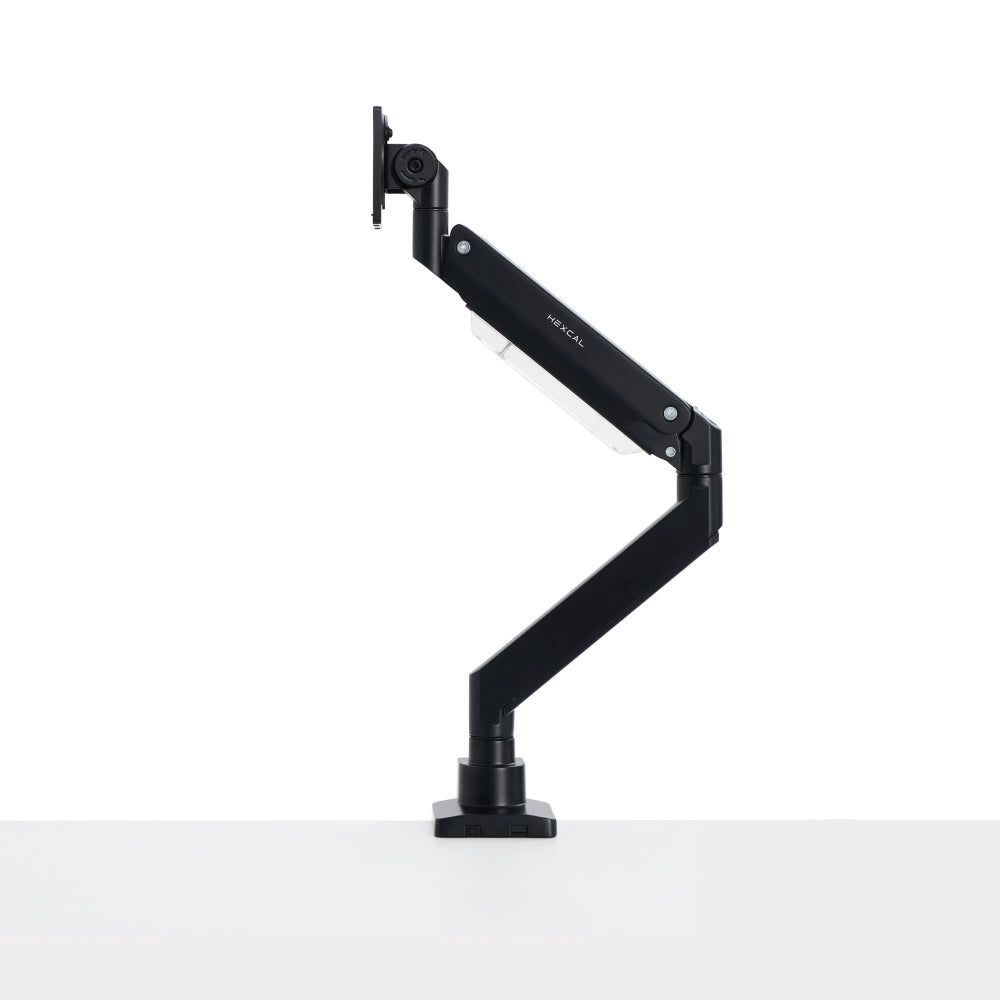
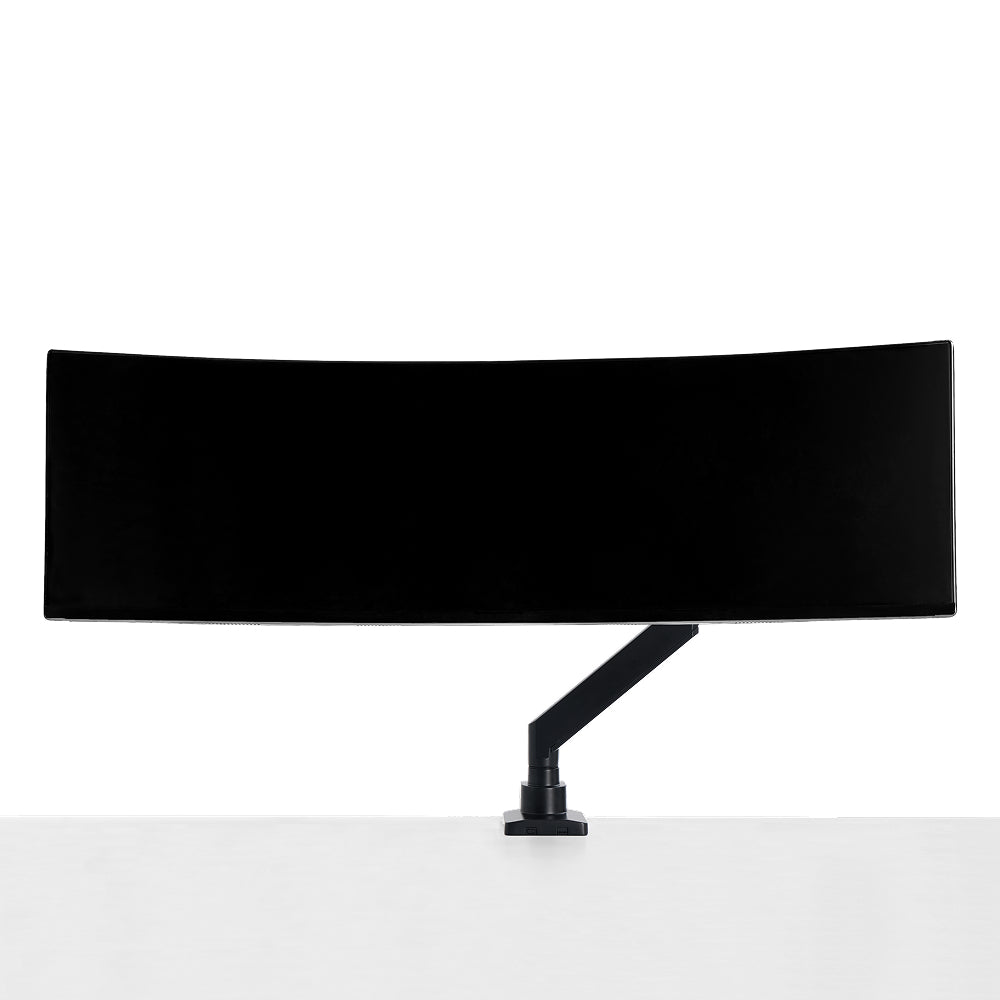
For one compatible display, the Hexcal Single Monitor Arm supports a 3–11 kg monitor up to 35 inches with 75×75 mm or 100×100 mm VESA, plus clamp or grommet mounting. Verify monitor weight, VESA pattern and desk thickness before using it; cable management is not a reason to use an incompatible mount.
4. Keep controllers, headsets and charging cables easy to use
Use a light anchor near the side or front edge only for cables that are repeatedly plugged in: a controller, headset, phone or handheld charger. Leave enough free length to use the device without pulling the connector. A fixed cable that is inconvenient becomes an unplugged cable, then a cable draped across the desk again.
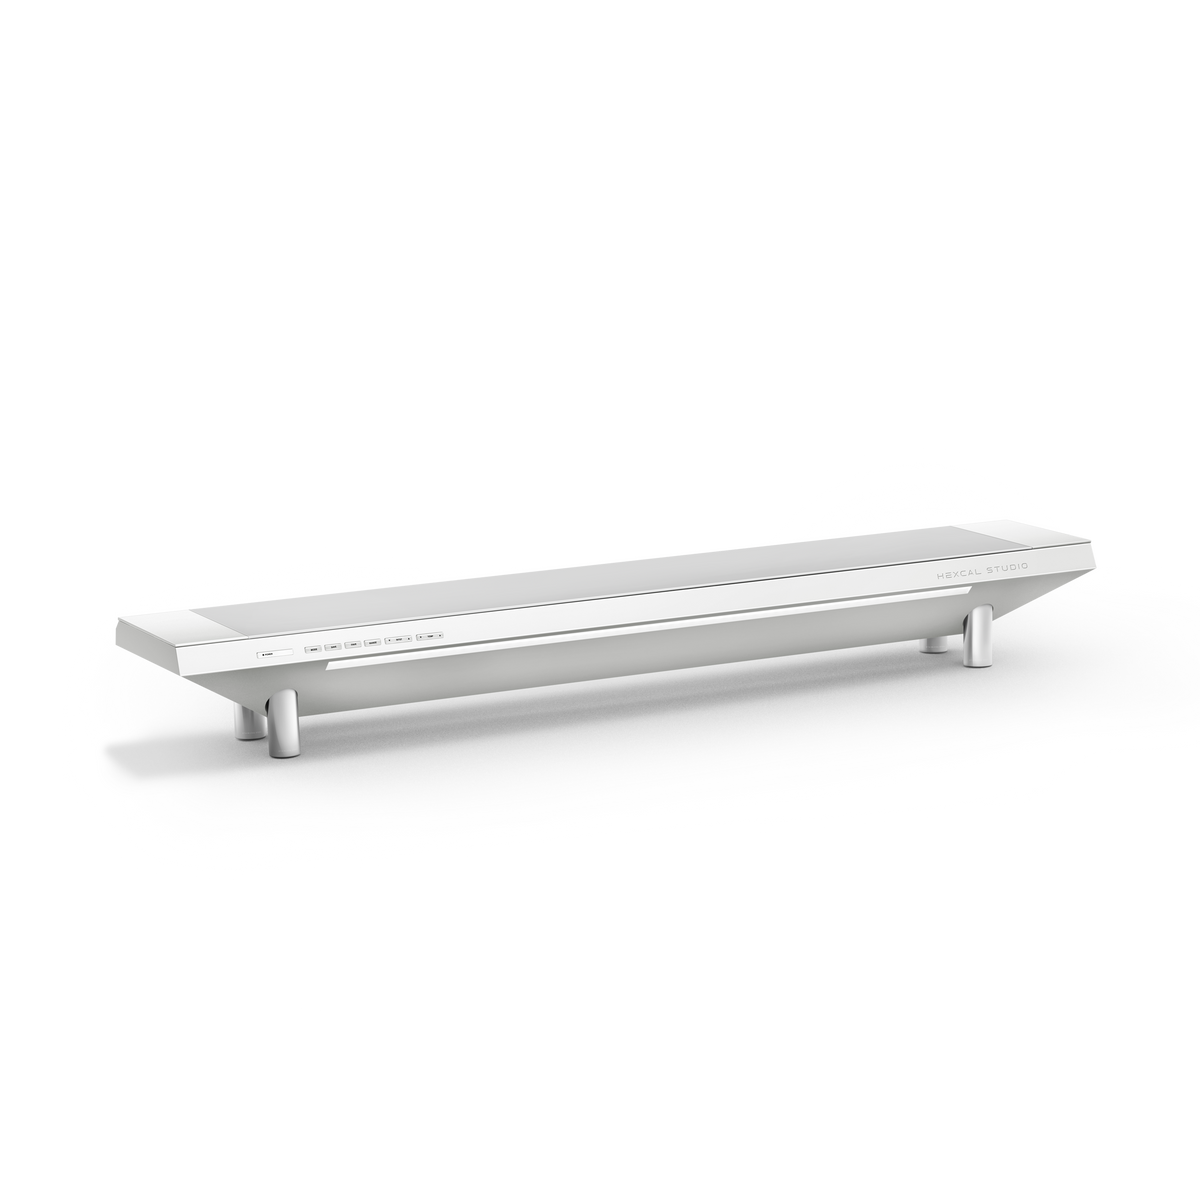
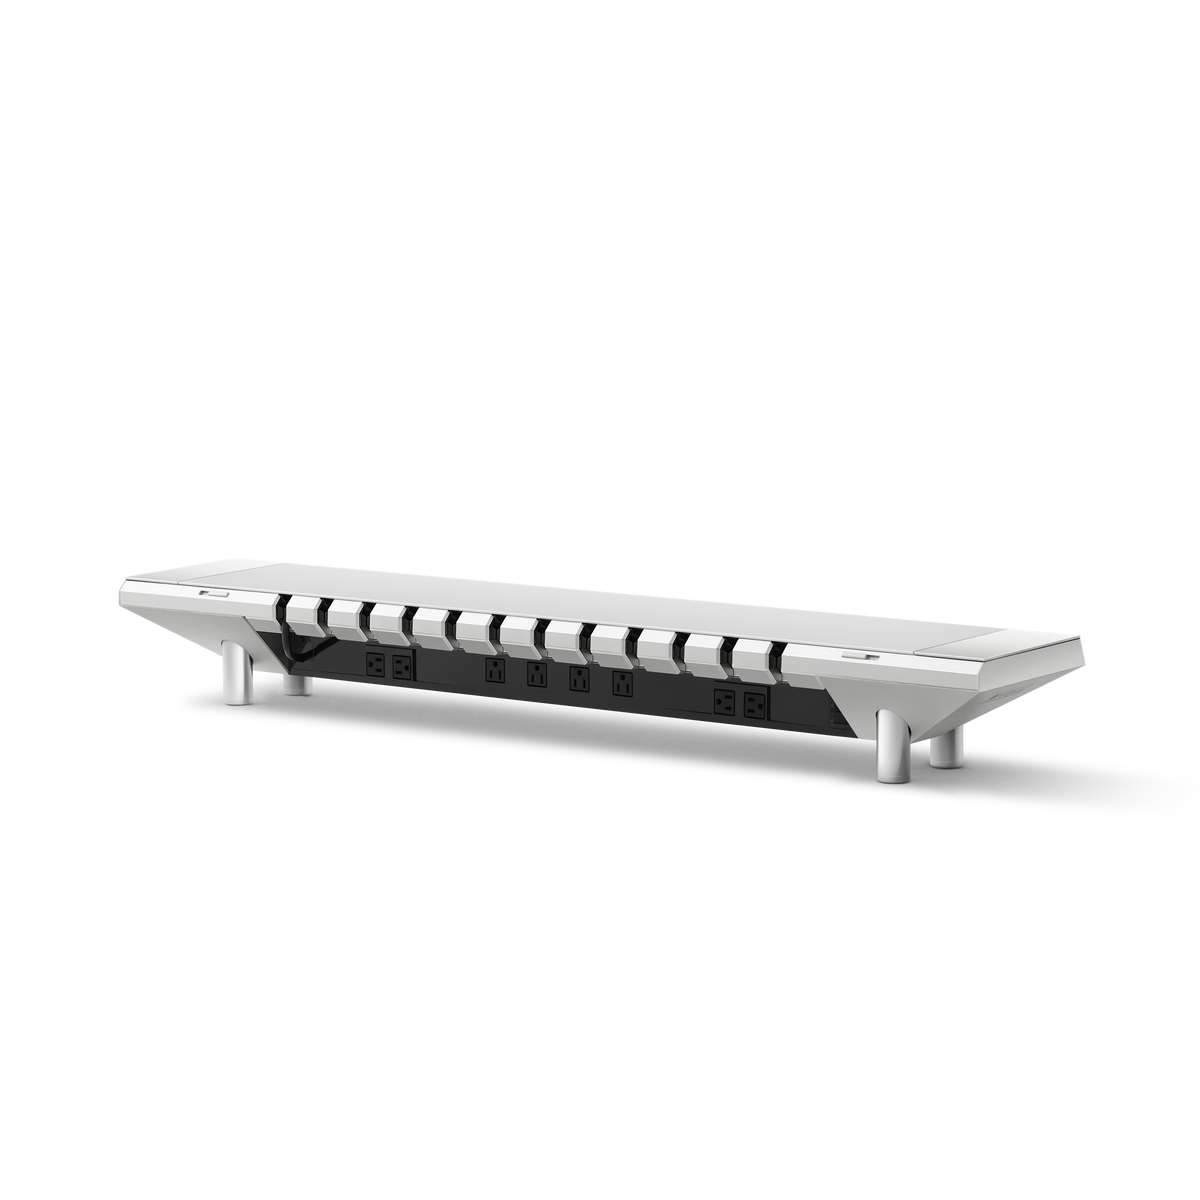
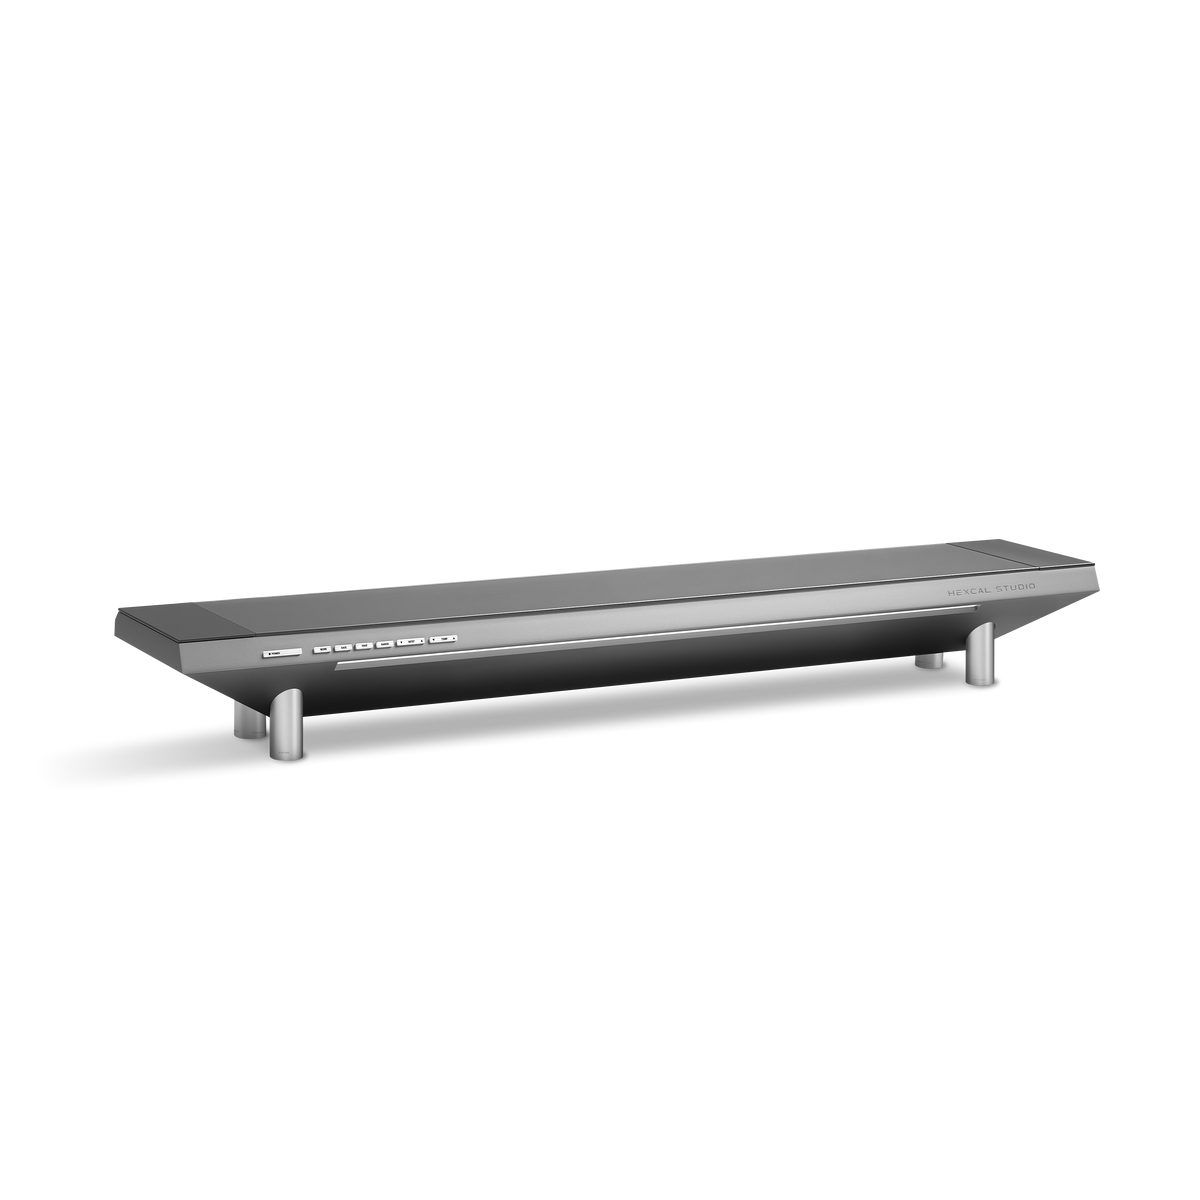
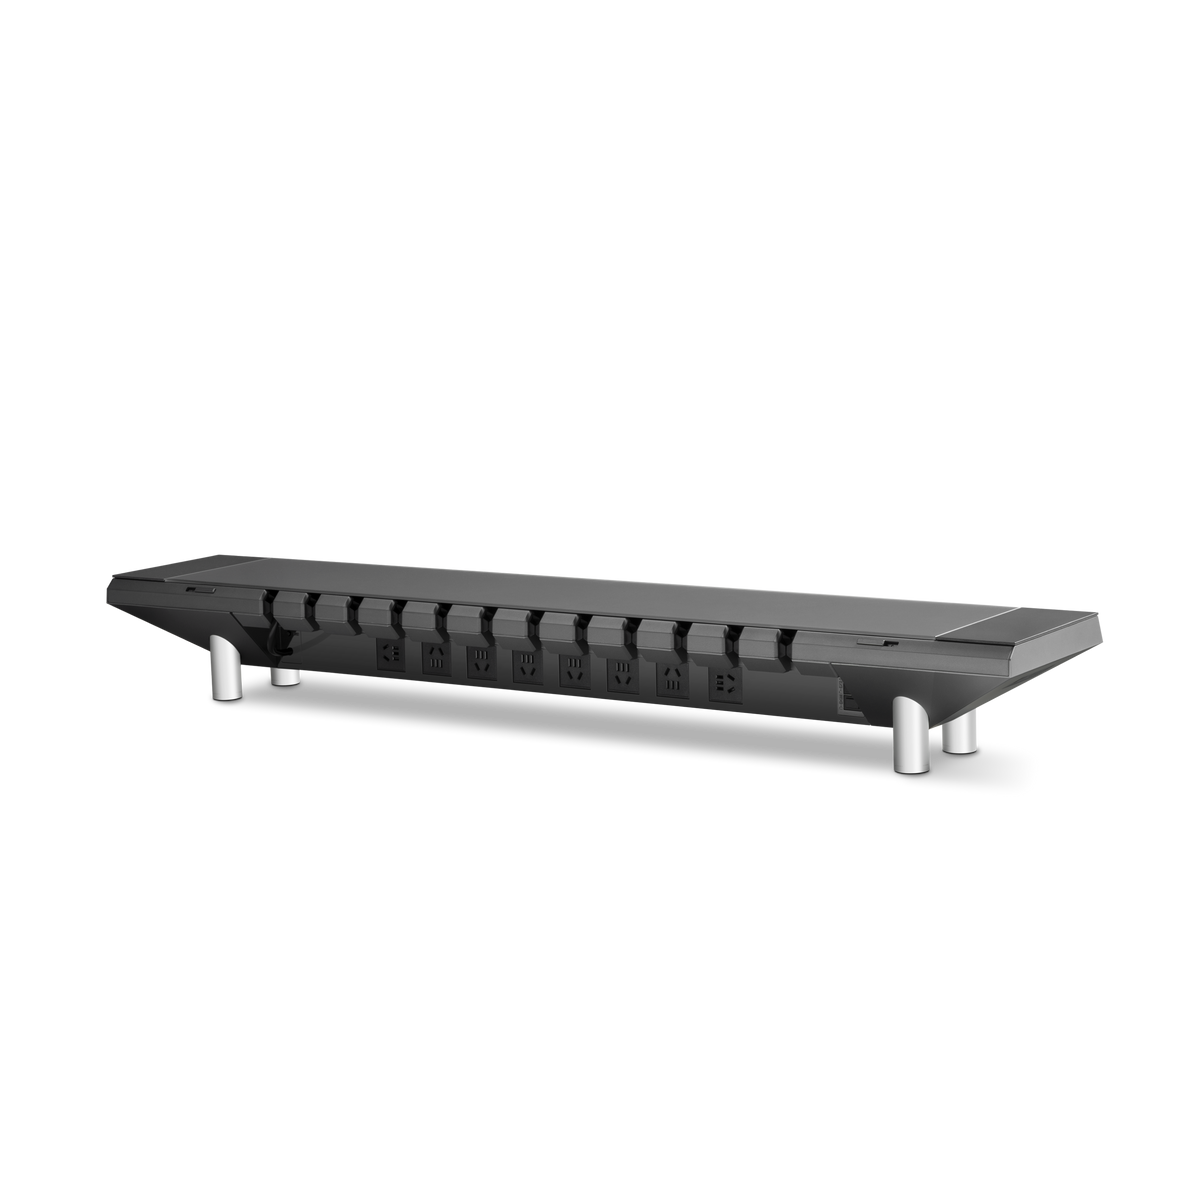
If your setup uses a desk shelf or central power surface, keep the everyday charging points on that surface and route only the longer runs underneath. The Hexcal Studio provides integrated cable organization and rated power features, but it does not remove the need to check the load and route each device safely.
5. Test the setup as an upgrade, not as a photo
Before closing the tray or sleeve, unplug one monitor, swap a USB device, move the monitor through its normal range and raise the desk if it is height-adjustable. Each task should work without pulling the PC, straining a port or opening every tie. If it does not, move the anchor point or split the route.
Common gaming desk cable-management mistakes
- Putting power bricks in an unreachable box where a failed adapter cannot be identified.
- Bundling monitor cables before testing monitor-arm movement.
- Using one sleeve for power, display, network and USB runs that need different destinations.
- Using adhesive or clips as a substitute for a desk surface that is not approved for mounting hardware.
- Leaving controller and headset cables unanchored because they are the cables handled most often.
FAQ
What is the best way to manage cables on a gaming desk?
Map the cables by purpose, create one accessible under-desk service zone, give moving monitors their own route, and anchor only the cables used every day. Test a device swap before closing the route.
Should I put a power strip in an under-desk cable tray?
Only if the tray, desk and power strip instructions allow it. Keep the switch and connections reachable, respect load limits, and do not daisy-chain power strips.
How do I hide cables on a dual-monitor gaming desk?
Route each monitor separately down its stand or arm, leave a short service loop for movement, and join the cables only after they reach a stable point at the rear of the desk.
Can I use a monitor arm to reduce cable clutter?
Yes, when the monitor, VESA pattern, desk and arm are compatible. Route the cables through the arm's channel where provided and test the full movement range before securing them.
For the broad desk-cable method, see the Cable Management Hub. This guide stays focused on the PC gaming setup: changing peripherals, multiple display paths and a serviceable under-desk zone.