New Monitor, Same Desk: How to Check the Fit Before You Upgrade
The new monitor fits on your desk. Then its stand pushes the keyboard forward, the speakers move to the corners, and the notebook you used to keep beside you has nowhere to go.
Before the new screen goes up, check the whole arrangement: the display's actual width, the space its base occupies, and the room left for your hands and everyday tools. A raised platform or monitor arm can help, but the right choice depends on which part of the layout needs to change.

Step 1: Measure the screen and its stand separately
The size on the box is the screen's diagonal. Two monitors with the same diagonal can occupy different widths when their aspect ratios differ. Use the manufacturer's overall dimensions for your exact model, including the frame.
For a first sketch, these calculated panel widths show why the shape matters:
| Screen example | Approximate panel width |
|---|---|
| 27-inch, 16:9 | 60 cm / 23.5 in |
| 34-inch, 21:9 | 79 cm / 31.3 in |
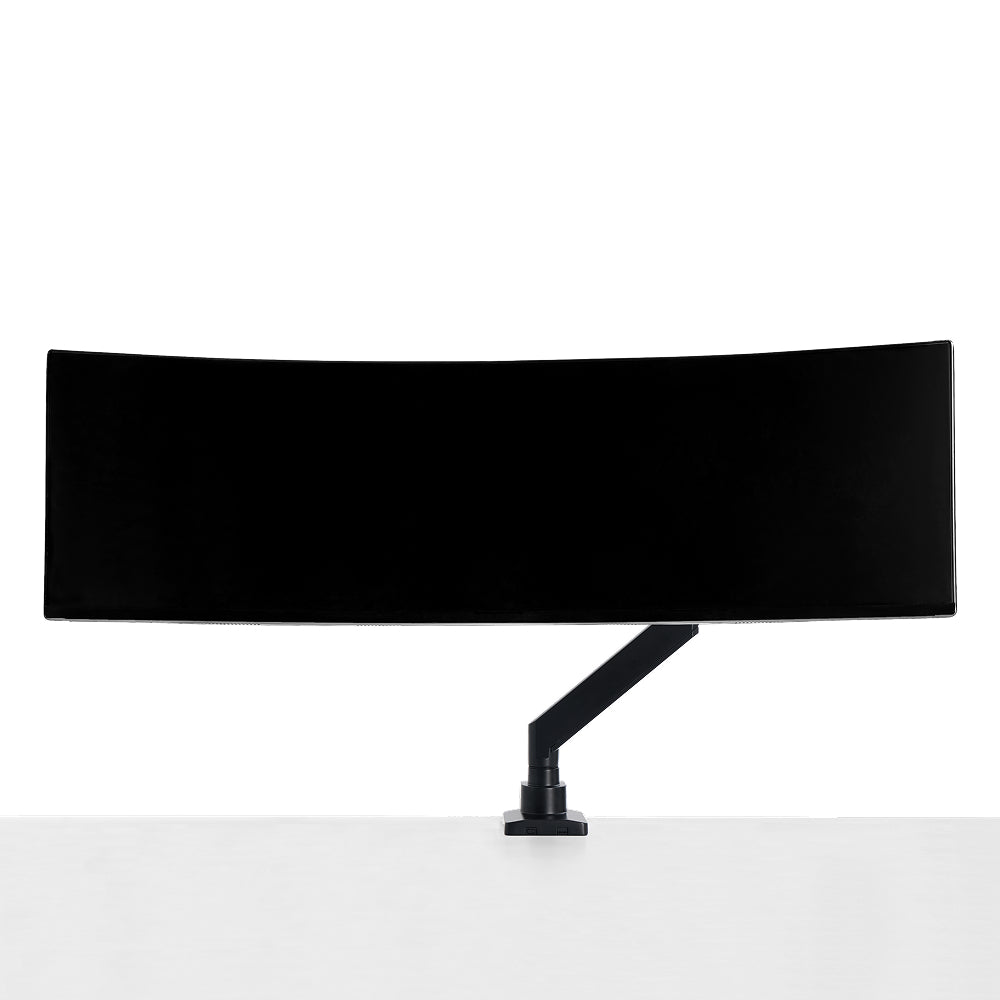
| 49-inch, 32:9 | 120 cm / 47.2 in |
These are geometric estimates for a flat panel with the stated diagonal and aspect ratio, excluding the frame. Curved displays and manufacturers' nominal size labels can differ; use the actual model dimensions for a purchase decision.

Next, look down at the base. Mark its full footprint on the desk with removable tape, then put your keyboard and mouse where you normally use them. Can you still move comfortably? Is there room for the notebook you open during calls?
If you're considering a platform, check that the base's contact points are fully supported by its usable top surface and that the combined load stays within its rating. The screen can be wider than the platform beneath it. Matching their widths is a visual preference; it doesn't establish safe support.
Also check the resulting height. A platform raises the monitor's starting position, so a screen that already sits too high may need a different support arrangement. The monitor stand fit guide covers base support and height in more detail.
Step 2: See what is left on the desk
A screen upgrade can use the last space beside your speakers without adding much to the monitor base. Sketch the whole front view before deciding that a longer platform will fit.
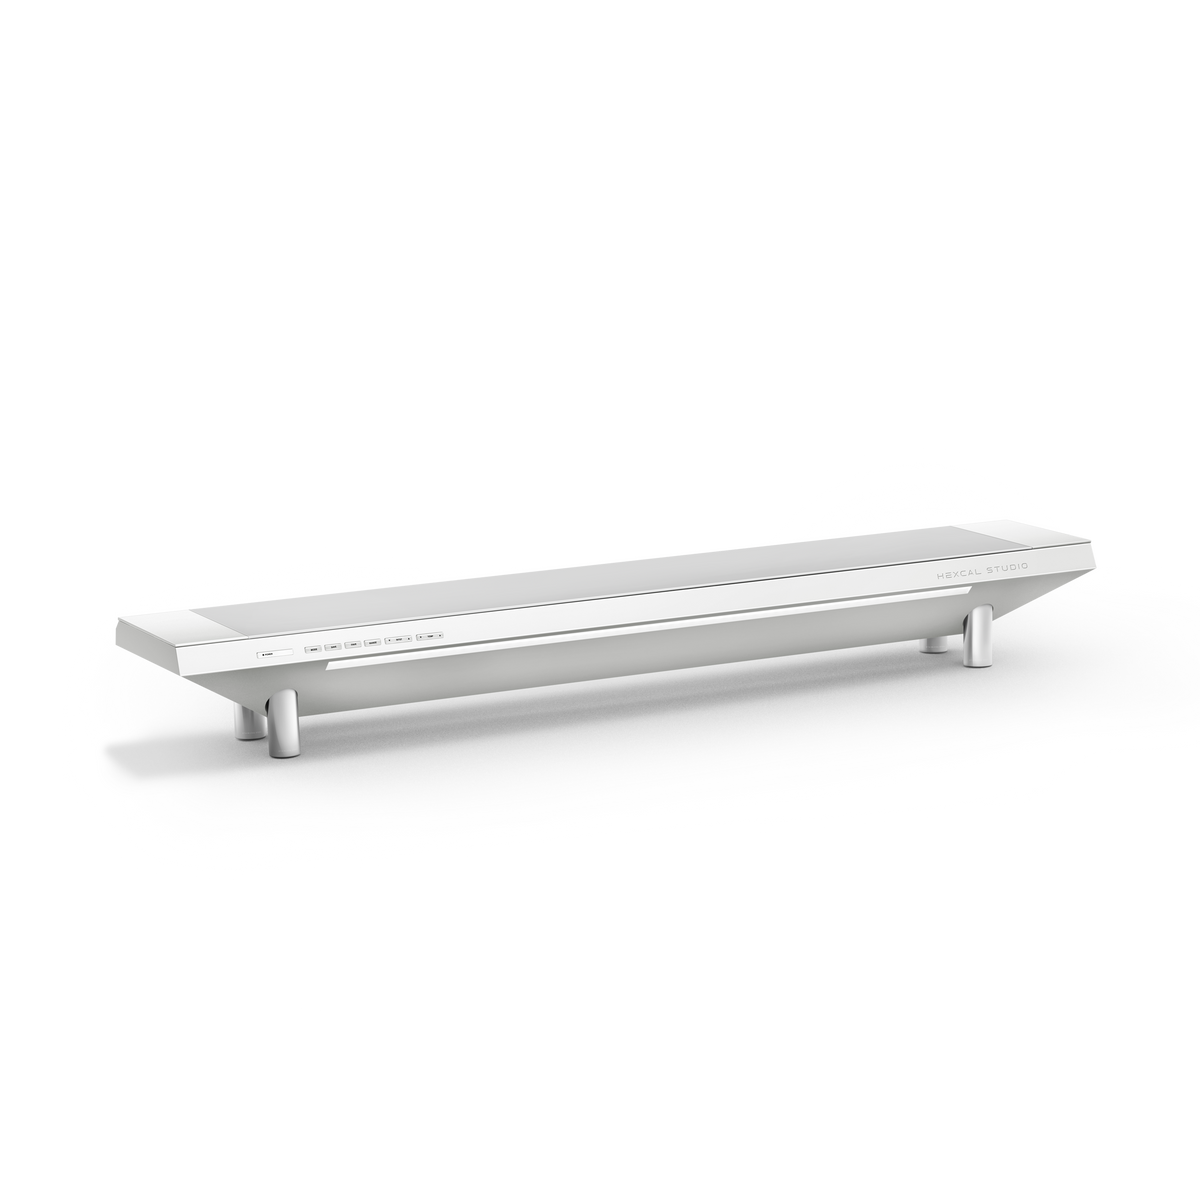
Studio Core's current listed overall width is 91.4 cm, or 36 inches. Studio Gen2 and Plus are 120 cm wide, about 47 inches. If you center the platform, the remaining space on each side is:
(Desk width − platform width) ÷ 2
| Desk width | Beside Core, per side | Beside Gen2 or Plus, per side |
|---|---|---|
| 100 cm / about 39 in | 4.3 cm / 1.7 in | Platform exceeds desk width |
| 120 cm / about 47 in | 14.3 cm / 5.6 in | 0 cm |
| 140 cm / about 55 in | 24.3 cm / 9.6 in | 10 cm / 3.9 in |
| 160 cm / about 63 in | 34.3 cm / 13.5 in | 20 cm / 7.9 in |

Those numbers describe an empty desk with the platform centered. For example, a 15 cm-wide speaker won't fit entirely beside Core on a 120 cm desk in that arrangement. On a 140 cm desk, Gen2 or Plus leaves 10 cm per side, so the same speakers need another position.
Depth deserves a separate check. Leave room for the monitor's base, keyboard and mouse, plus clearance for plugs and cables behind the equipment. A front-view layout won't show you a connector pressed against the wall.

Step 3: Give the desk a platform where it helps
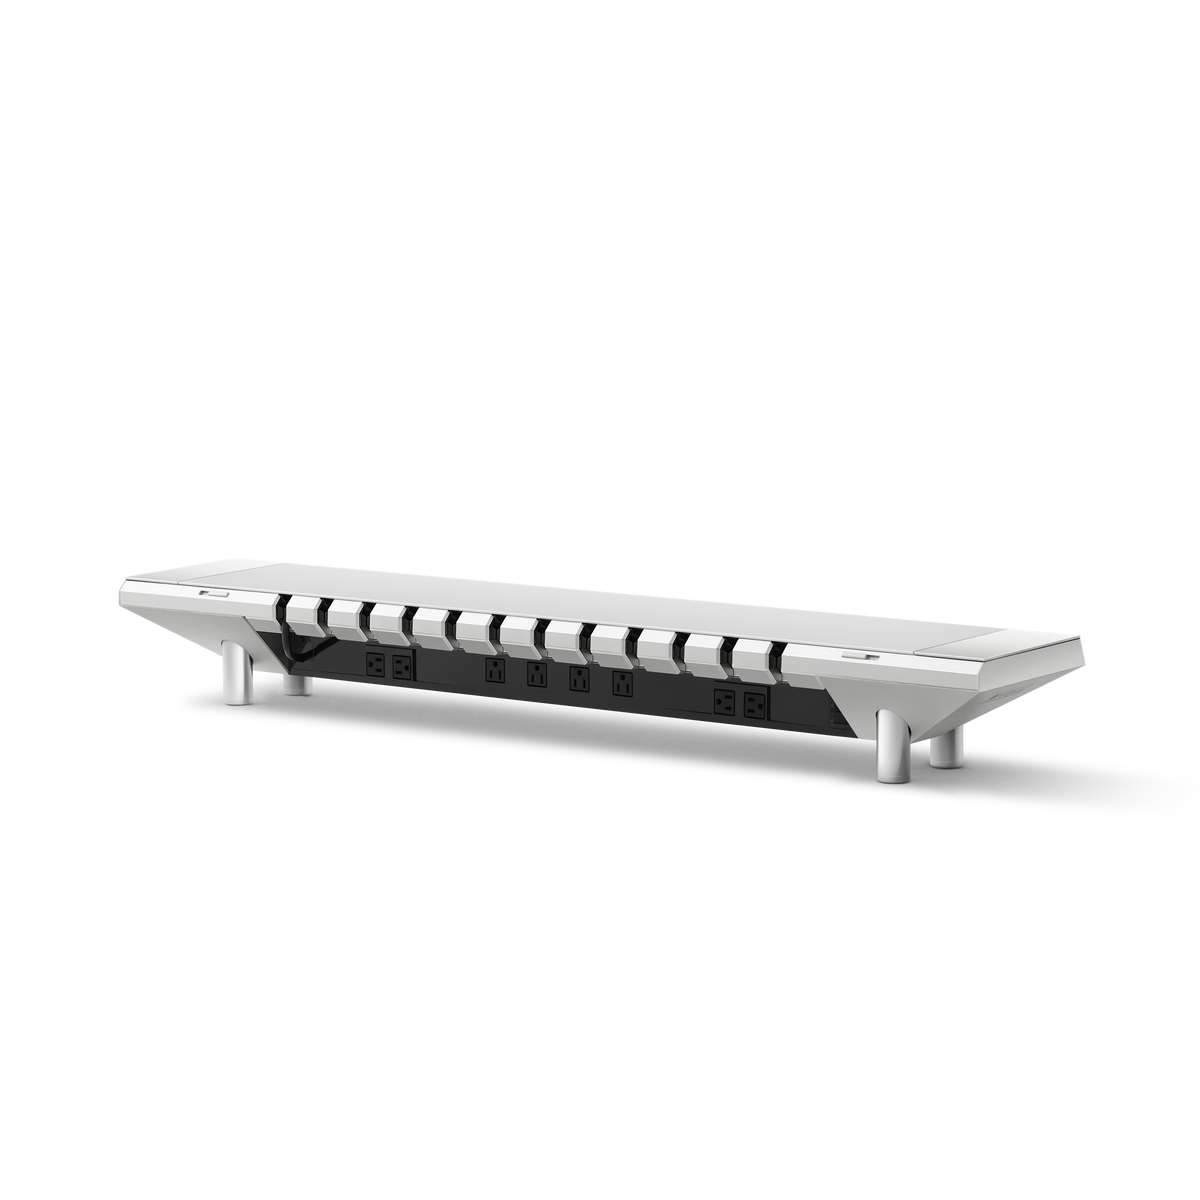
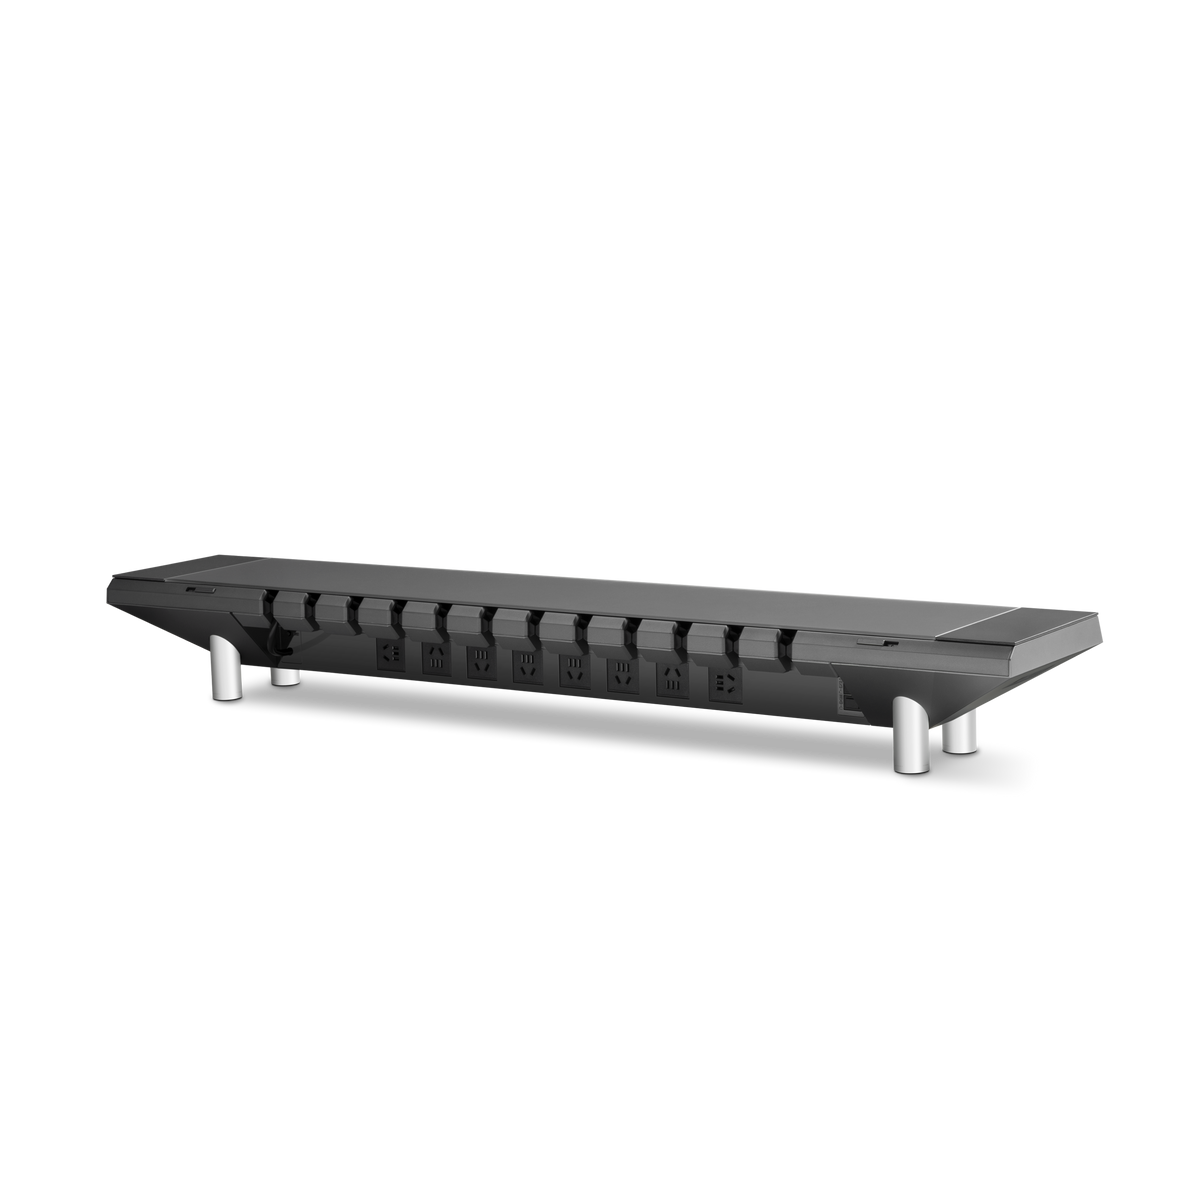
A platform makes sense when you want a raised surface and a place to organize the equipment around it. Studio integrates power, lighting and cable management, so the layout can bring those functions together beneath the screen.
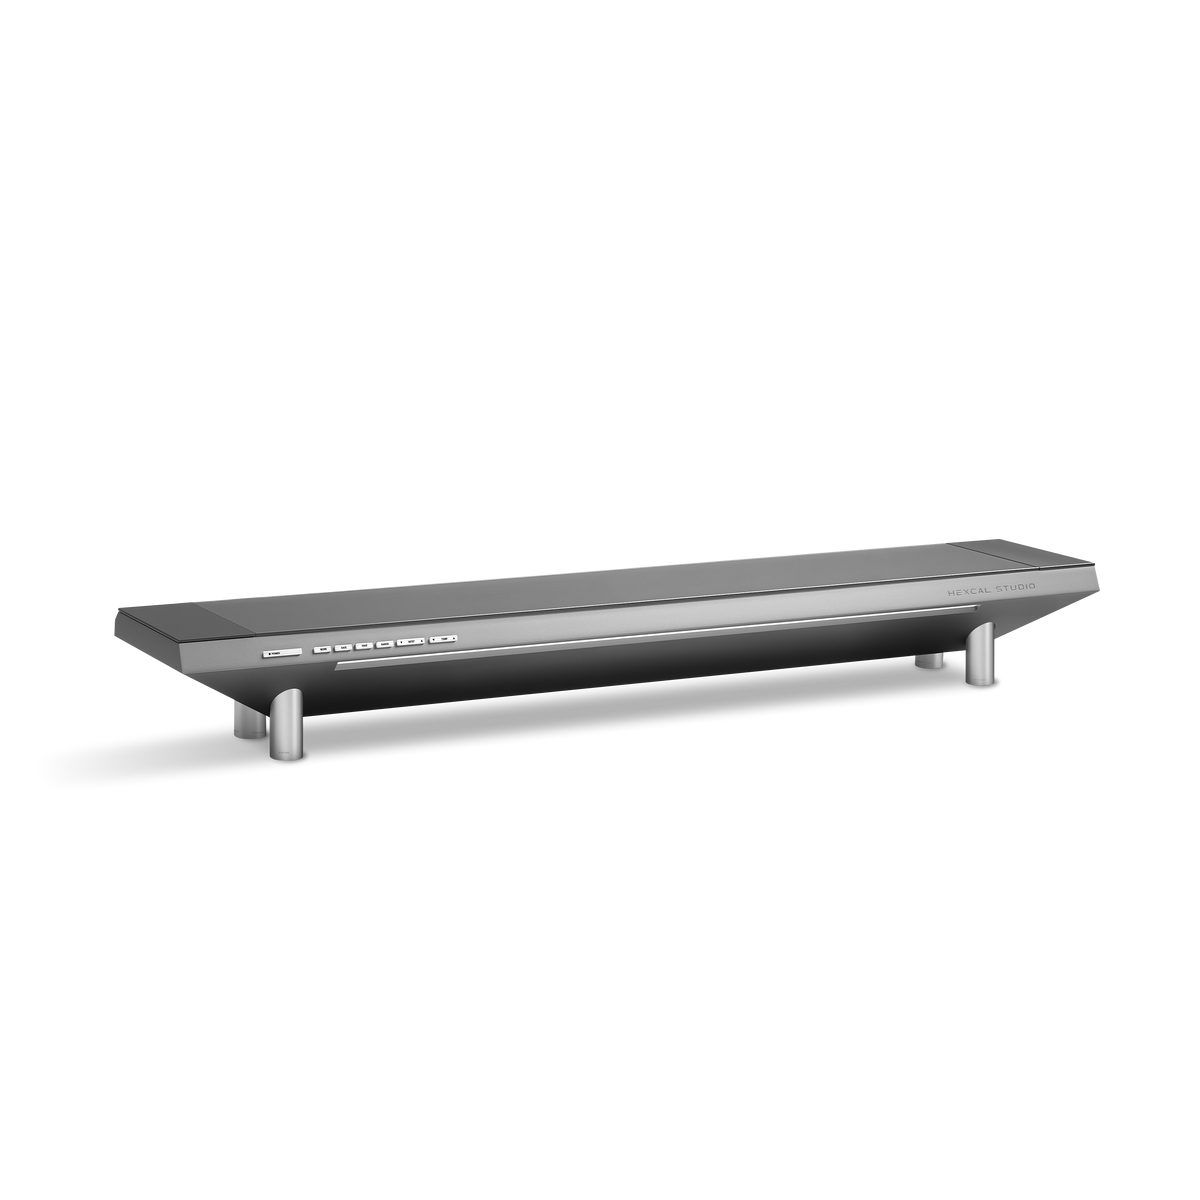
For a compact desk, Core leaves more space at the sides. Gen2 and Plus provide a longer platform for a wider workstation; Hexcal recommends a desk at least 140 cm wide for Gen2. Use the measurements above to check your own arrangement rather than choosing by monitor diagonal alone.
Gen2 and Plus occupy the same overall width. If both fit, their charging capabilities and finish can help settle the choice. Plus offers a higher-power USB-C charging option and a silver anodized aluminum finish. Those differences matter when they meet an existing need; they don't change the space available beside the platform. The Studio model comparison keeps the detailed selection in one place.
You can also keep the monitor's original stand directly on the desk. If its height and footprint already work, a screen upgrade doesn't require a new platform. Choose for long-term use and keep the equipment that still does its job.
Step 4: Use an arm when the base is taking the space you need
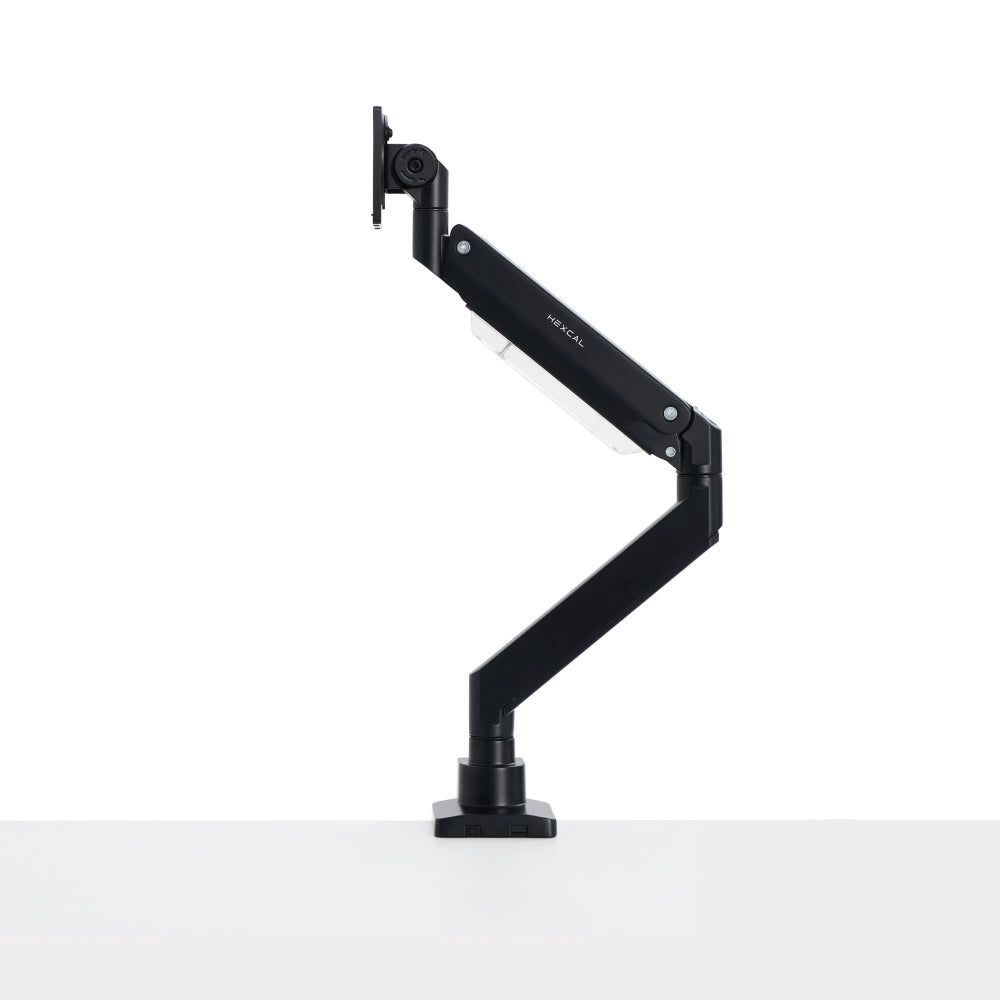
Sometimes the screen fits, but its feet reach into the keyboard area. A monitor arm removes that freestanding base and lets you reposition the display, provided the monitor and desk meet the mounting requirements.
Start with the exact monitor model. Check its weight without the original stand, its VESA mounting pattern, and any adapter requirements. For a curved or ultrawide display, confirm the arm manufacturer's specific support conditions as well as the weight range.
Then inspect the desk: its construction, thickness and accessible mounting area must suit the clamp or grommet mount. Check underneath for a frame, drawer or cable tray that could obstruct installation, and behind it for the arm's movement near the wall.
For example, the Hexcal Single Monitor Arm lists a 3–11 kg supported range and VESA 75 × 75 or 100 × 100 mm. Larger displays need a separate compatibility check; a maximum screen-size label alone doesn't establish a match.

A platform and an arm can also share a desk: the arm supports the screen while the platform organizes other equipment. Plan the arm's desk attachment and movement separately, keeping access to the platform's lid and connections clear. Our monitor stand or monitor arm guide explores the tradeoffs if you're weighing those routes.
Before the new screen goes up
Try the layout before buying the rest. Tape out the base or platform, sit down with your normal tools, and check what happens when you reach for a speaker control or open a notebook. For an arm, confirm mounting access and the space the display needs as it moves.
Finally, trace the power and display cables through the planned arrangement. They need enough length for adjustment without pulling at the connectors. The monitor cable management guide covers routing once the equipment positions are settled.
Your existing desk may already have enough room. Measure the new screen, protect the space you work in, and change the support only where it makes the layout better.