
Design Your Workspace

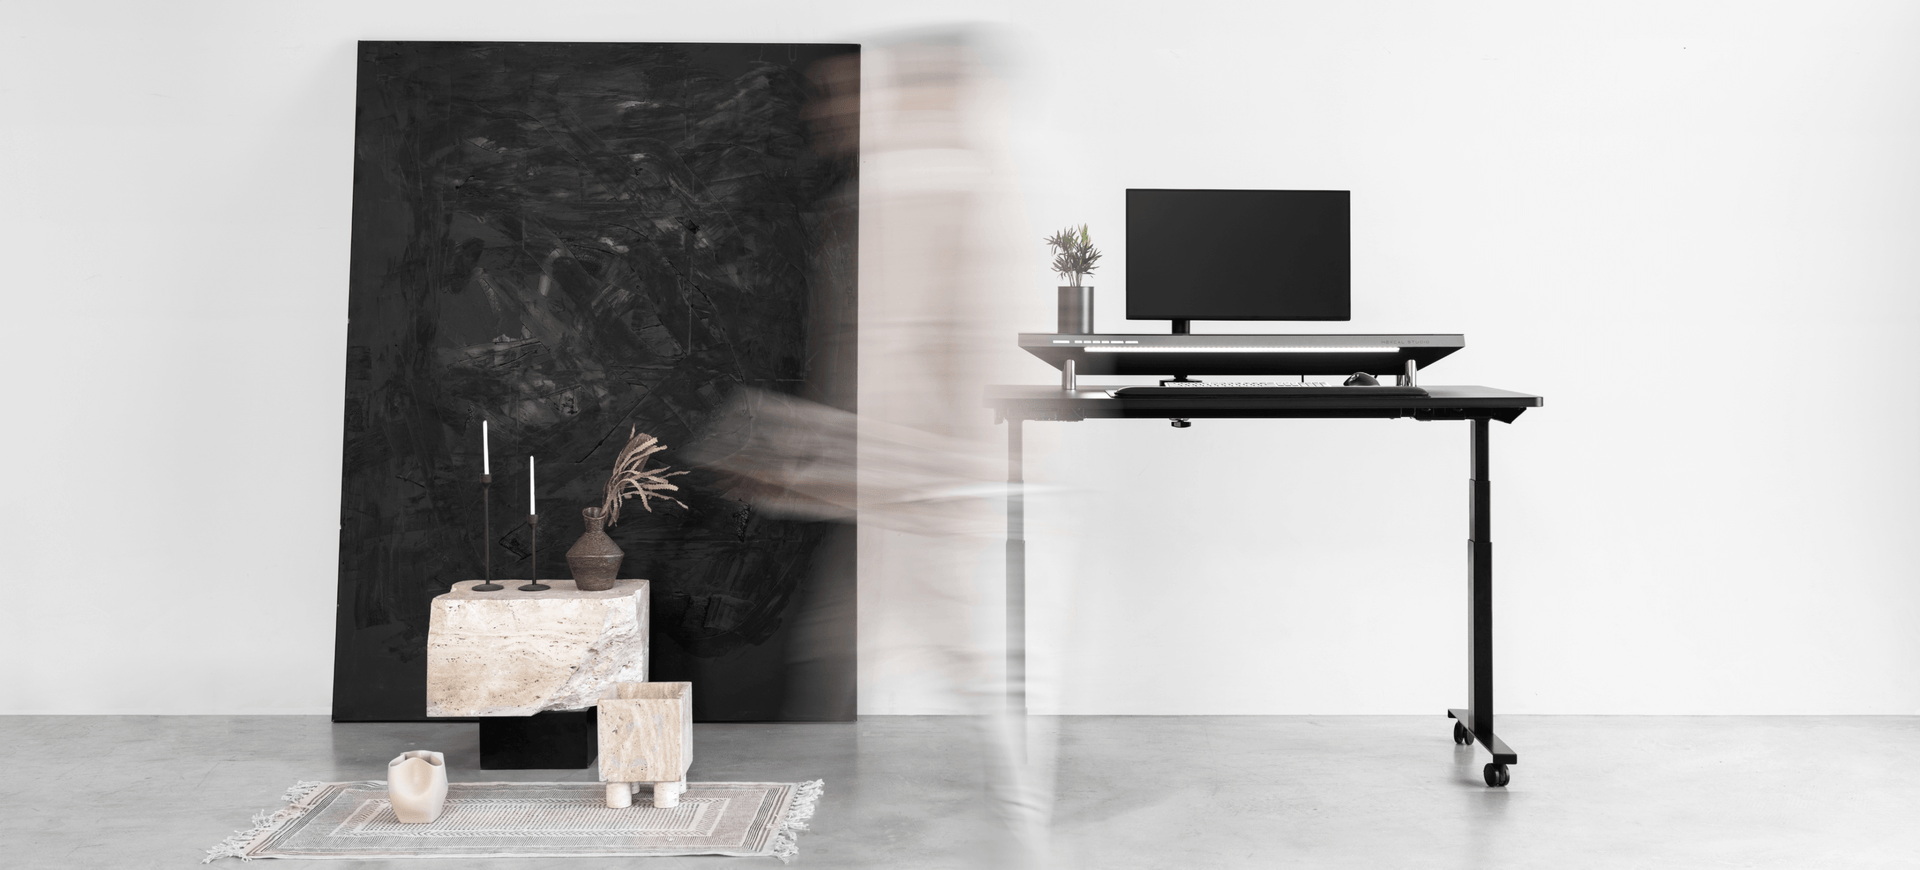
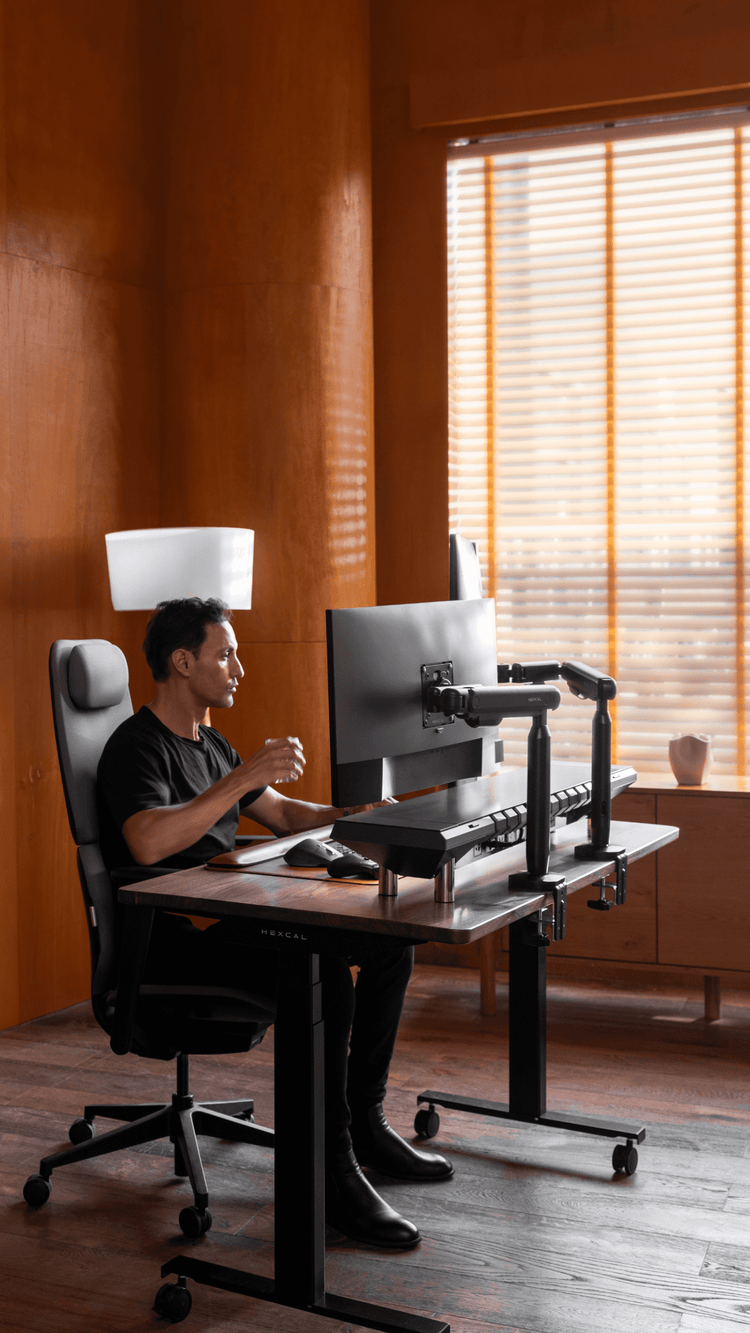
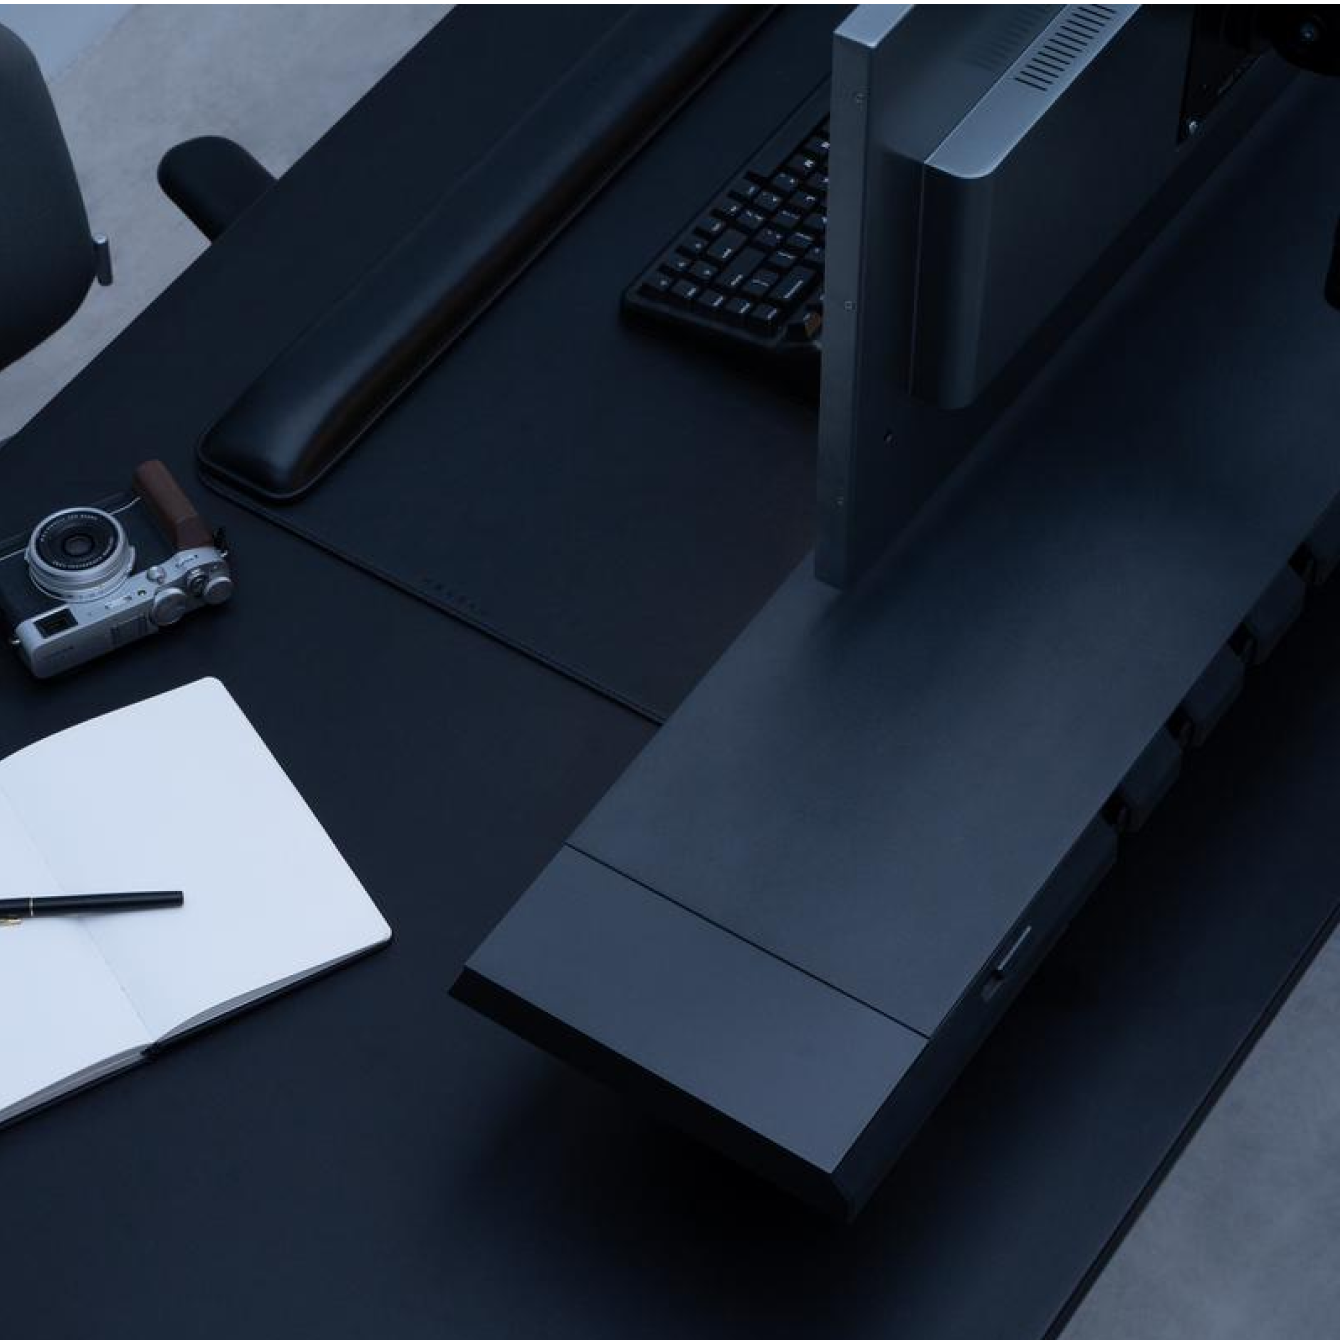
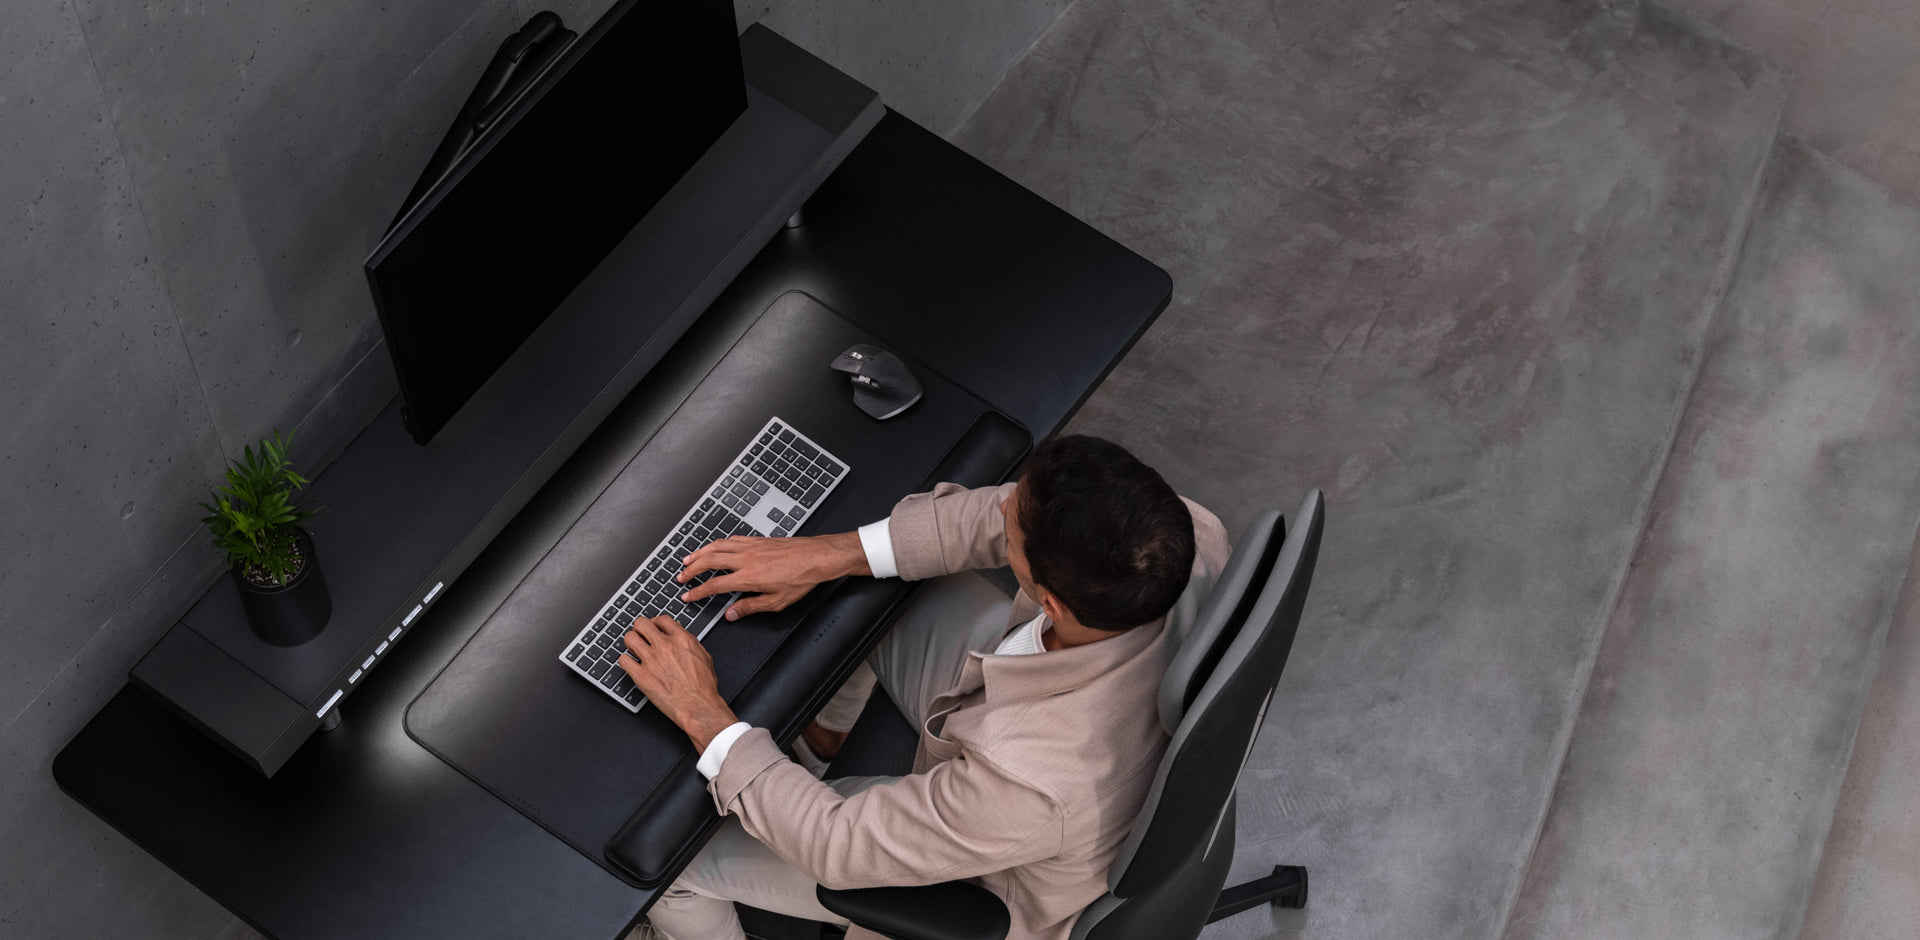
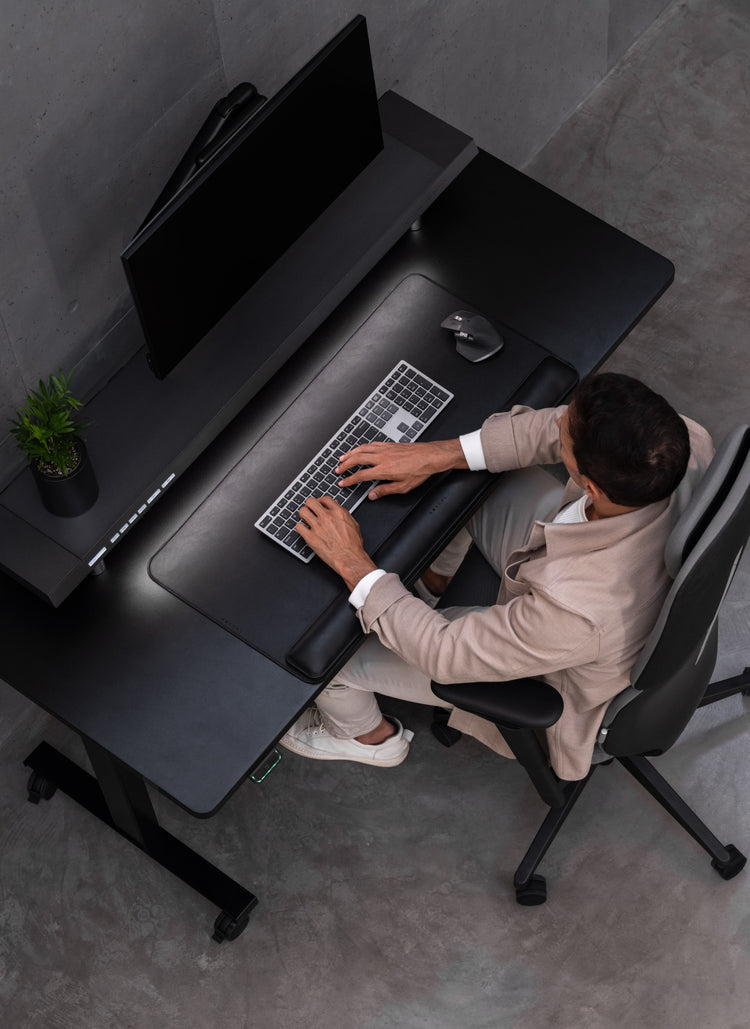
Powerful, yet refined. Sleek, yet functional. The Hexcal Workspace Collection completely redefines your work environment.
Explore now

Design Your Workspace

Plug Types

US version

$899.00
Type B
SELECTED

UK version

$899.00
Type G
SELECTED

EU version

$899.00
Type F
SELECTED

AU version

$899.00
Type I
SELECTED
Ships in 3-4 weeks
Ships in 4-5 weeks
Ships in 3-4 weeks
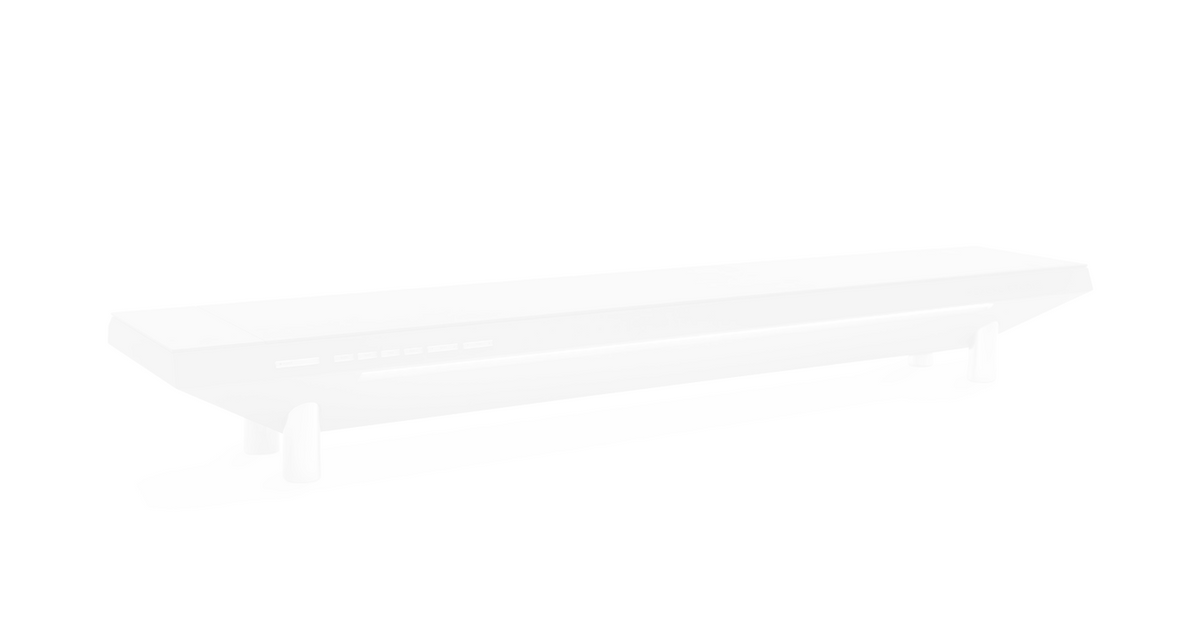
Add-on

Extension Kit

$89.00
For Hexcal Studio
SELECTED
Taille

55” x 27.5”

$949.00
Black 1.4m x 0.7m
SELECTED

63” x 31.5”

$1,199.00
Black 1.6m x 0.8m
SELECTED
Sold out

71” x 31.5”

$1,299.00
Black 1.8m x 0.8m
SELECTED
Sold out

Desk Frame Only

$699.00
Black
SELECTED
Couleur
Add-on

Desk Casters

$69.00
Free Casters with Desk
SELECTED
Style

Fit

$799.00
Grey
SELECTED

Fit

$799.00
Black
SELECTED
Sold out

Single Monitor Arm

$99.00
Up to 11kg (24.2 lbs)
SELECTED

Heavy-duty Monitor Arm

$129.00
Up to 20kg (44 lbs)
SELECTED

Desk Mat Bundle

$118.00
Brown
SELECTED

Desk Mat Bundle

$118.00
Black
SELECTED

Magnetic Cable

$39.00
C-to-C Charging
SELECTED

Magnetic Cable

$59.00
Thunderbolt Cable
SELECTED

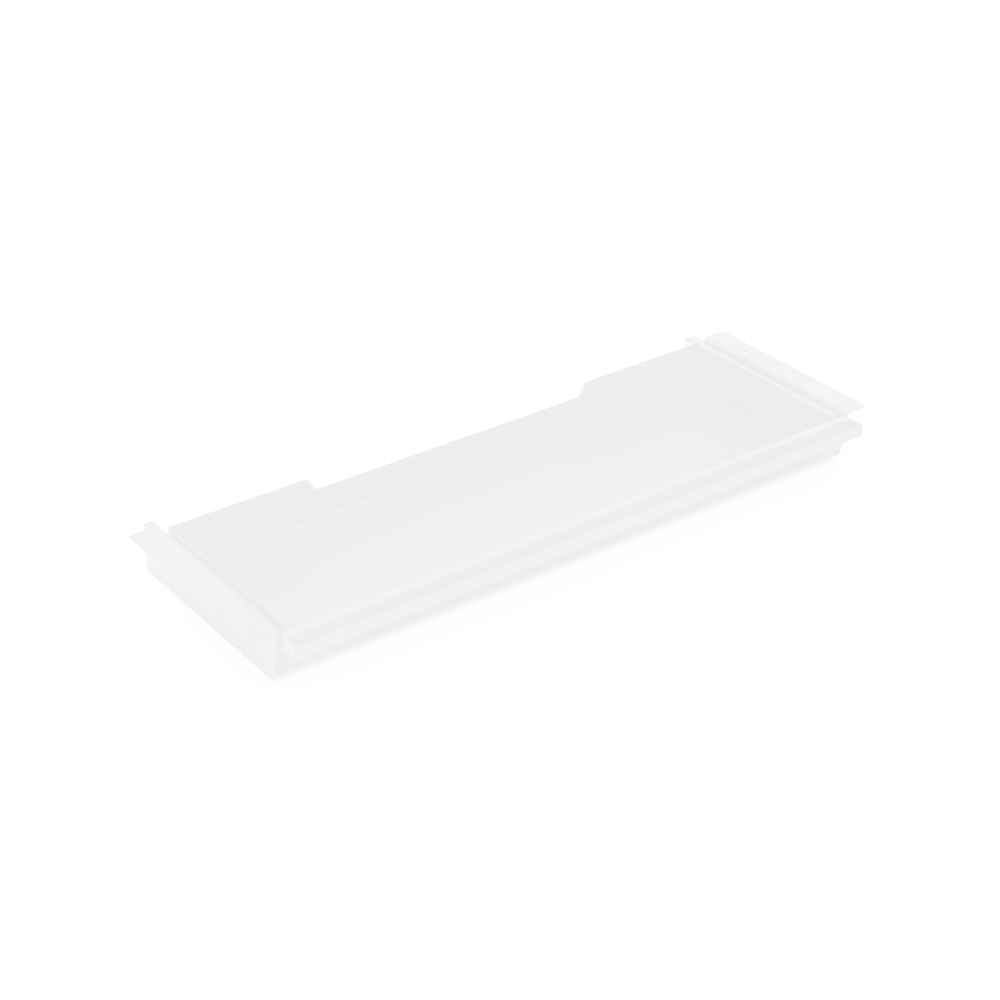
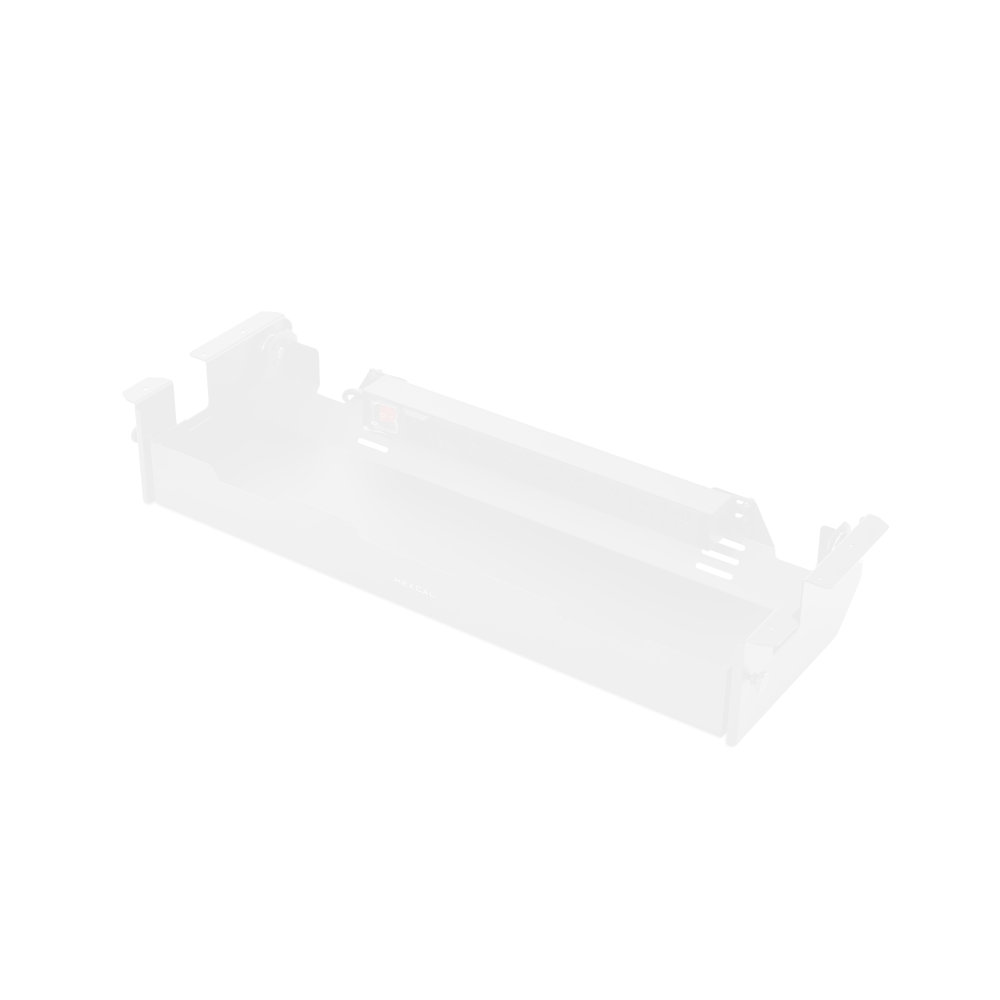
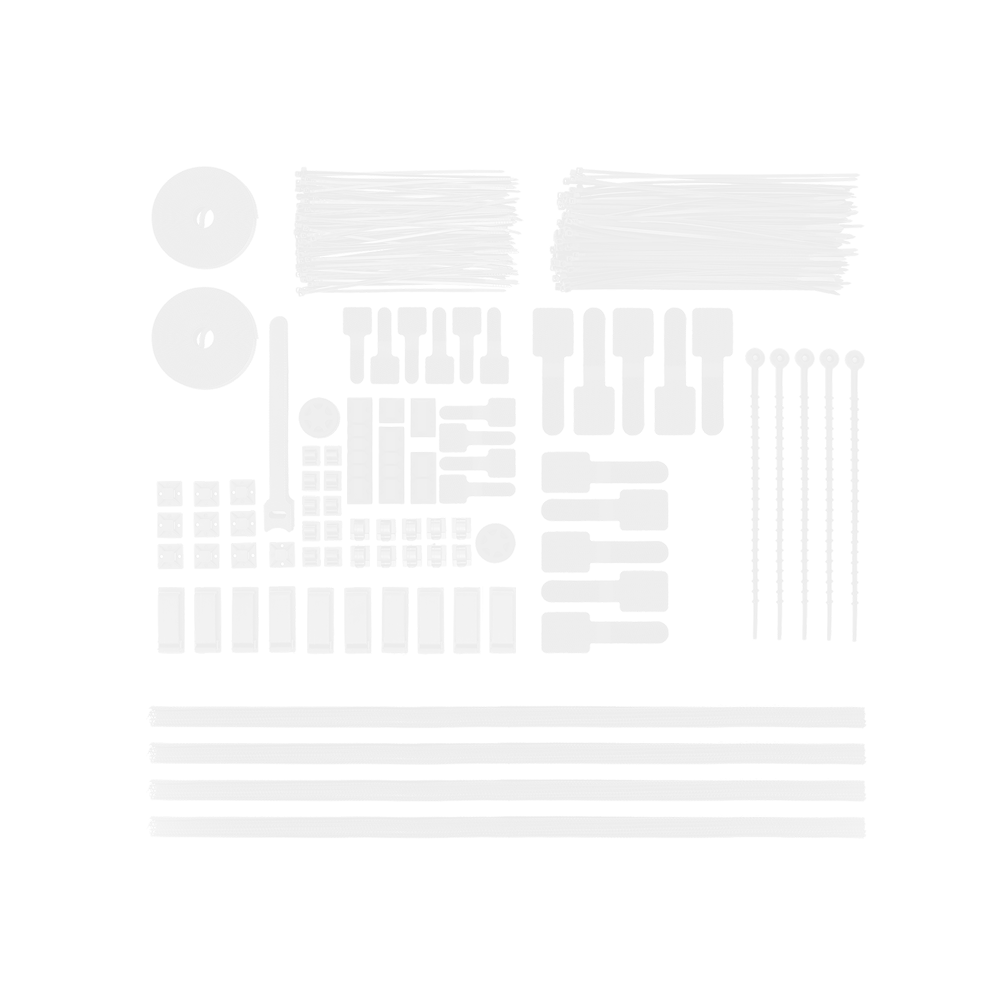
Cable Organizer

$69.00
2-Piece Edition
SELECTED

Cable Organizer

$89.00
3-Piece Edition
SELECTED

Tech Pouch

$59.00
Black
SELECTED
Price $0.00
TOP

Powerful Elegance,
Minimalist Design
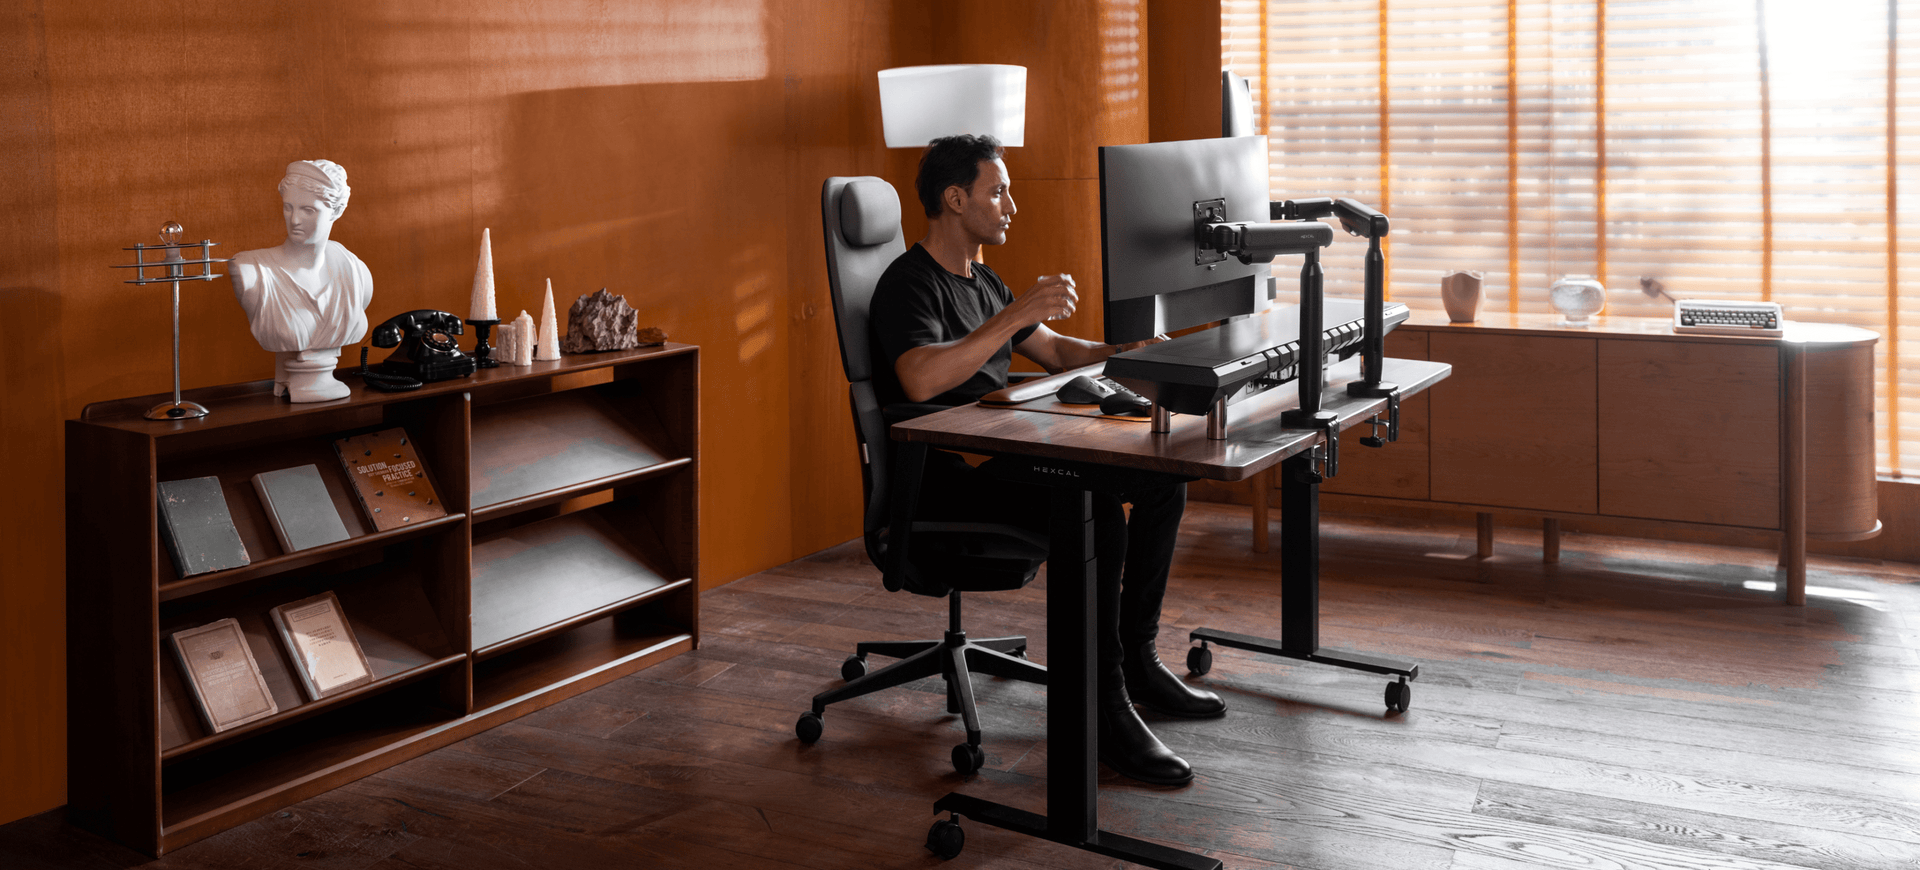
For Home, Office,
and Home Office

Powered. Innovated. By Hexcal.

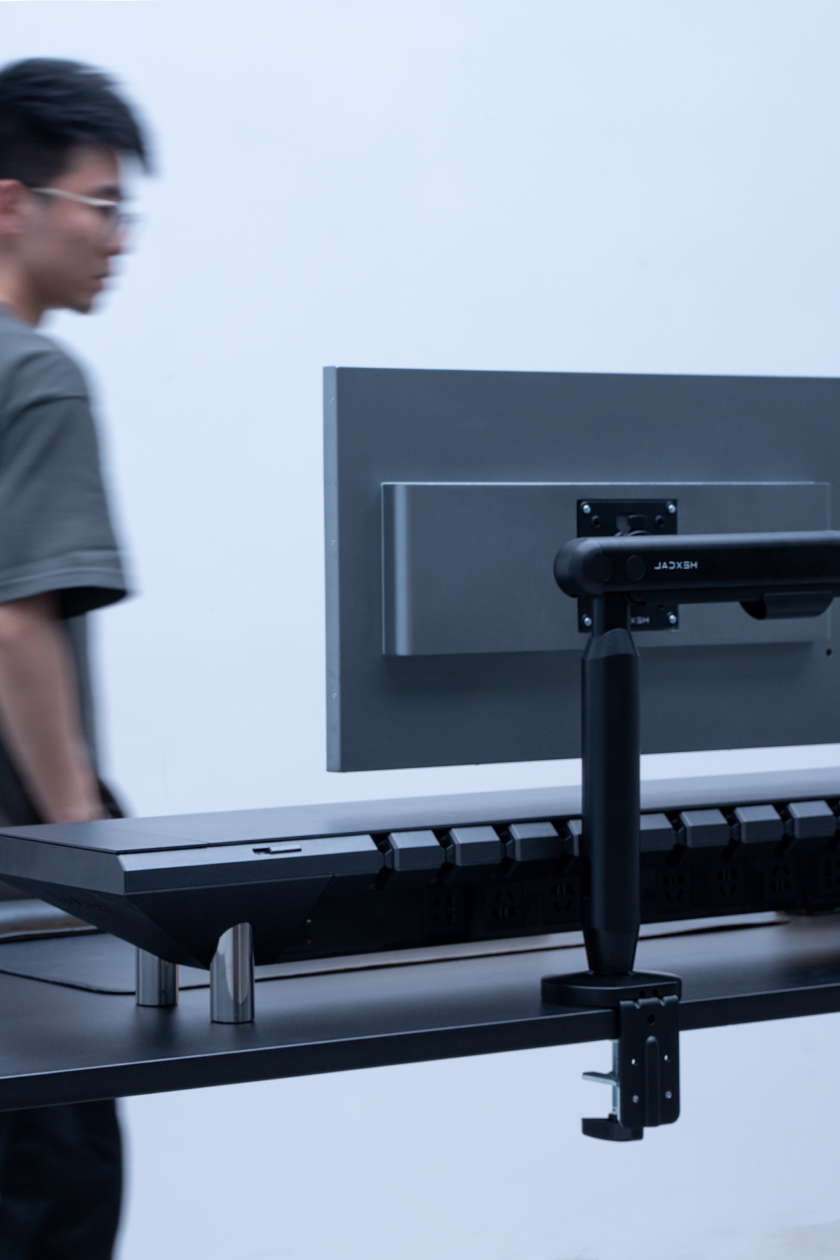
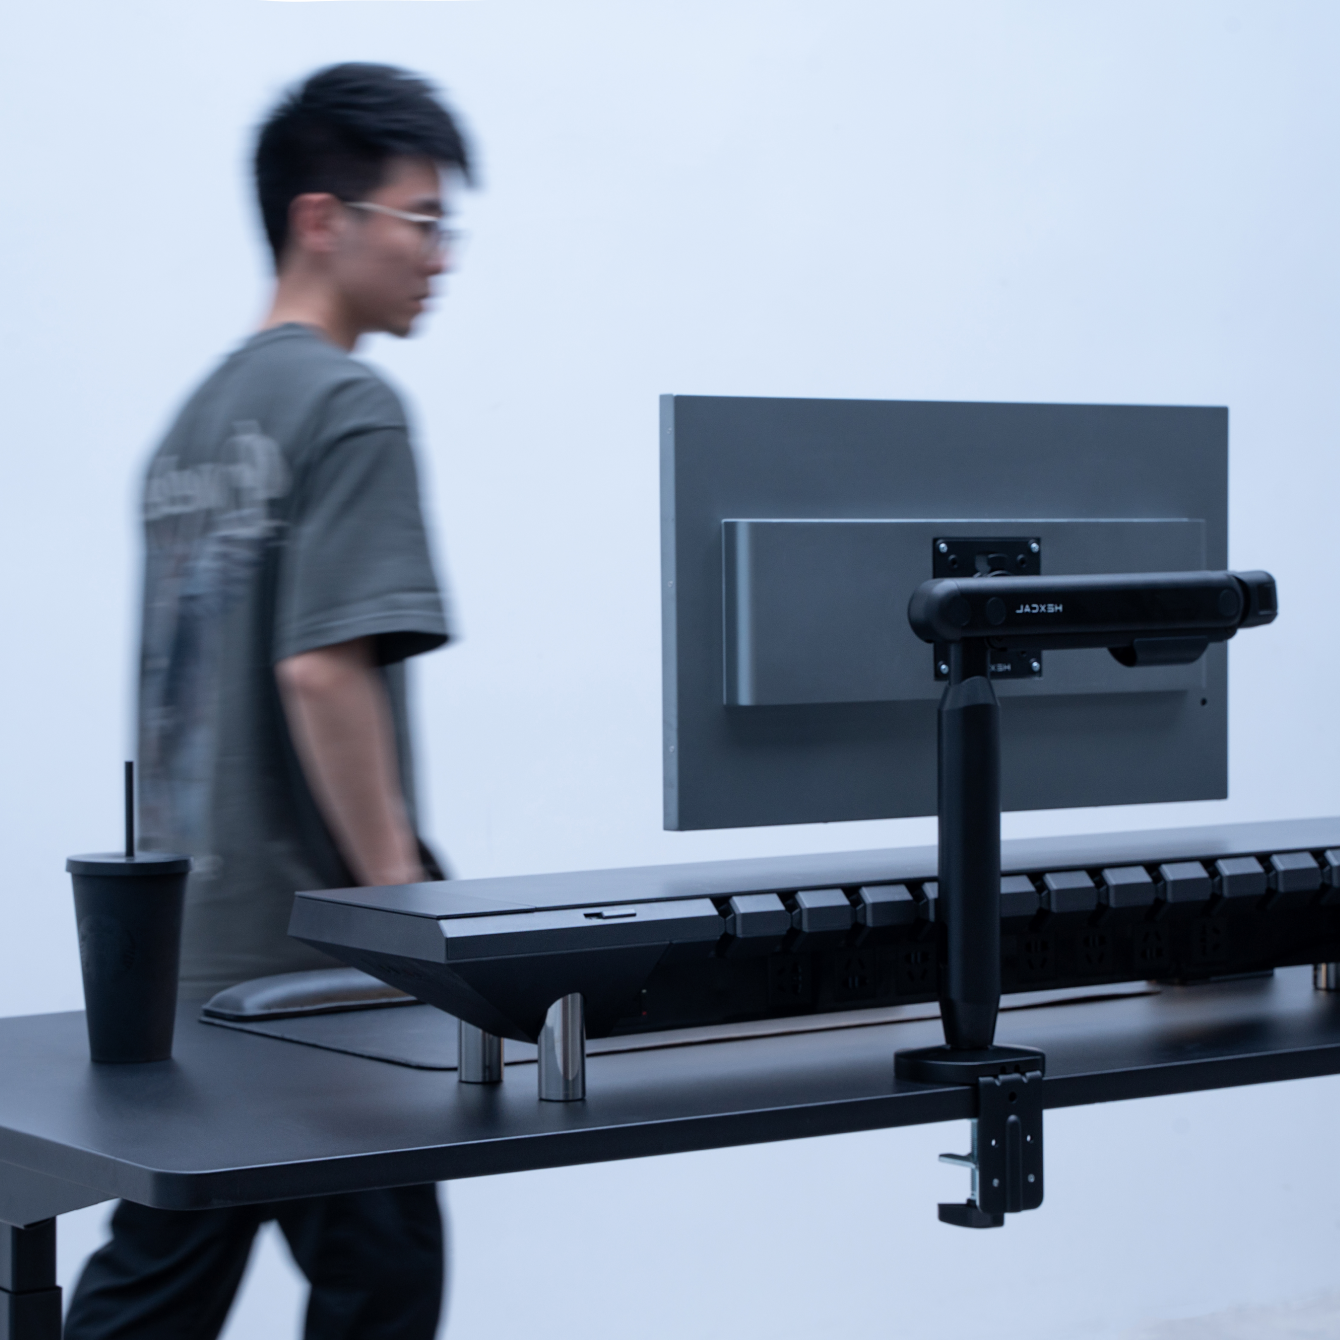
At Hexcal, our design philosophy serves as the driving force behind our commitment to redefine the future of workspaces. By seamlessly integrating form and function, embracing minimalism and simplicity, prioritizing timeless elegance and enduring durability, and adopting a user-centric approach, we are dedicated to creating products that transcend expectations and empower individuals to reach their full potential.


Timeless Elegance

At Hexcal, we aspire to achieve timeless elegance and monumental aesthetics in our designs. We firmly believe that exceptional design should transcend fleeting trends and stand the test of time.
User-Centric Approach

We place the user at the core of our design process, conducting extensive research and gathering user insights to inform every design decision. By empathizing with our users, we create products that cater to their specific requirements, preferences, and aspirations.
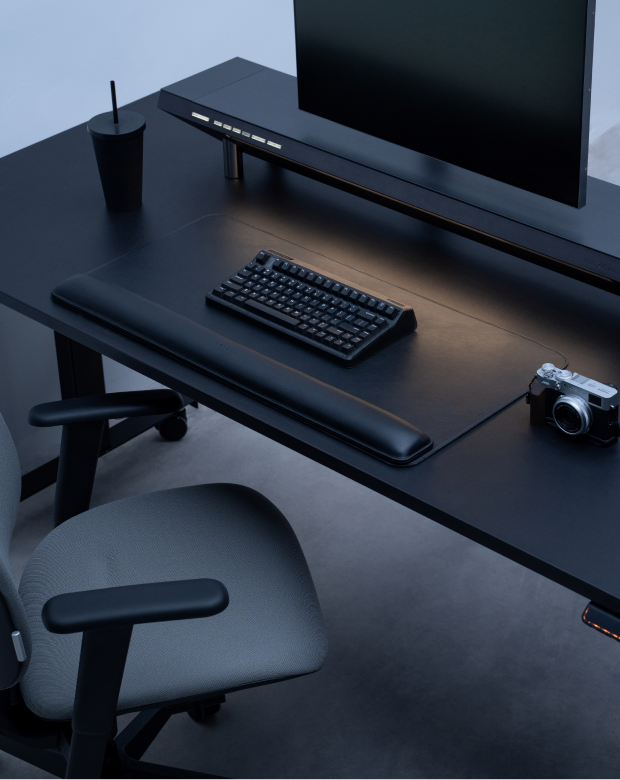
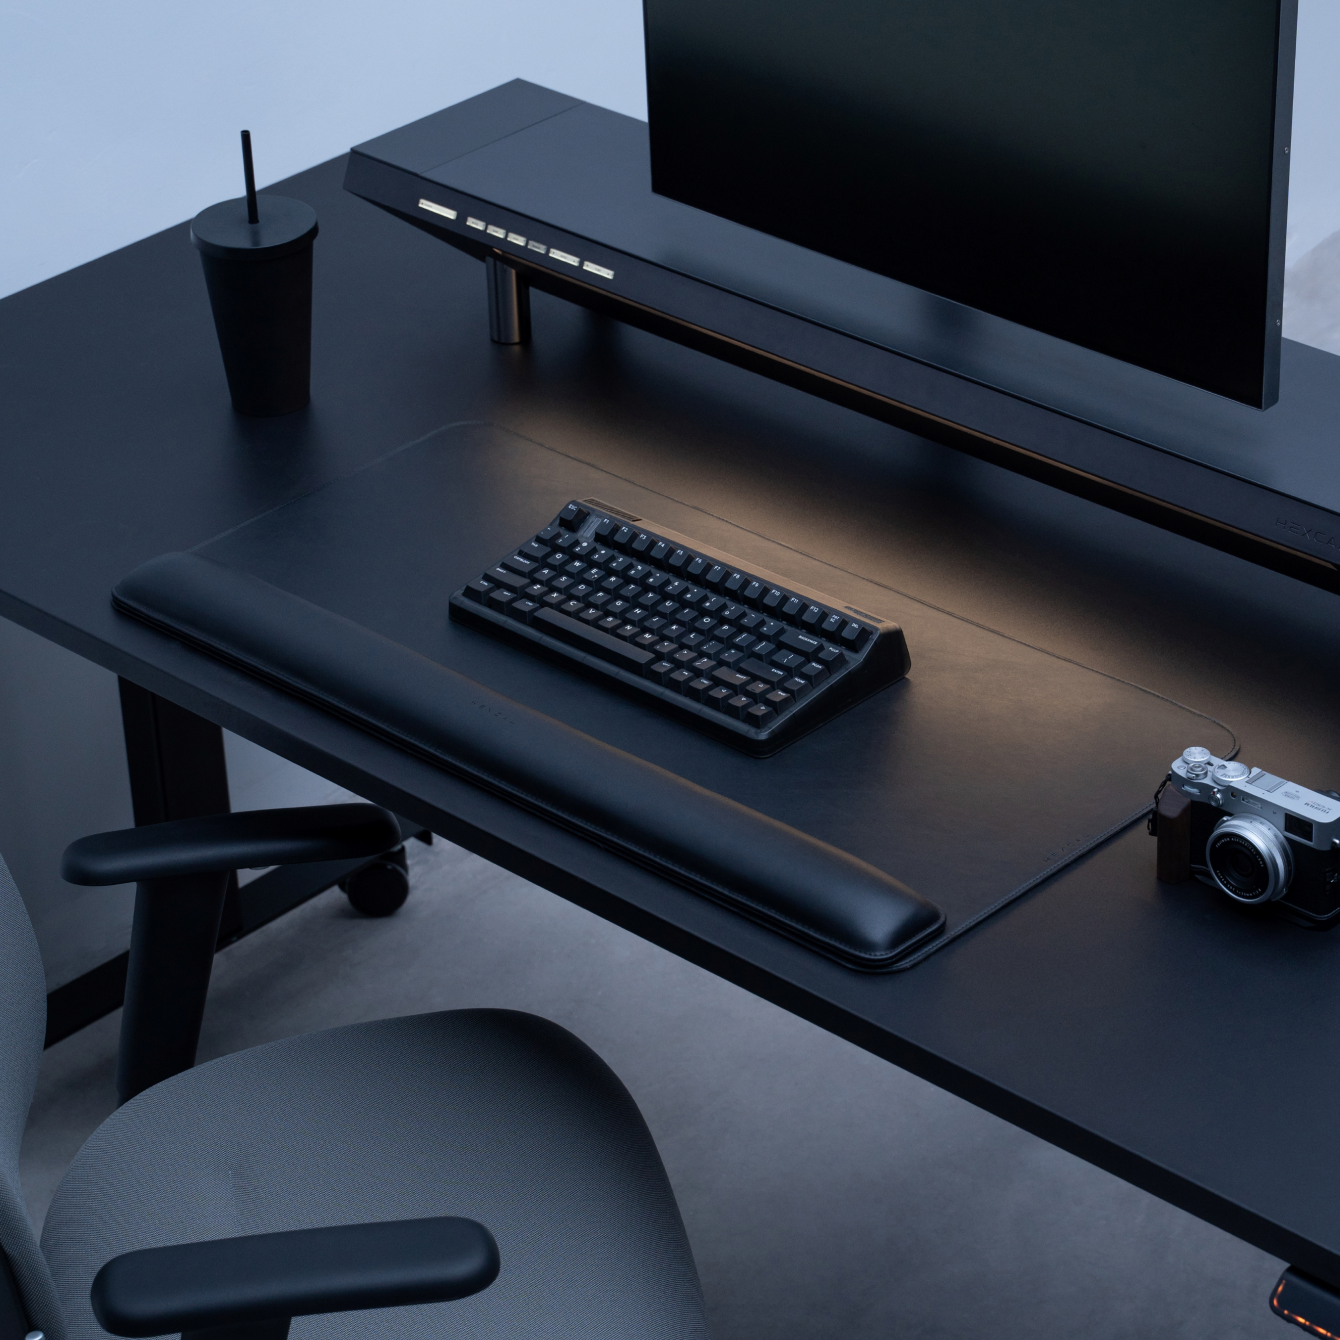
Enduring Durability

Our products are meticulously crafted using premium materials and exceptional craftsmanship, ensuring durability and longevity. By investing in quality, we create workspaces that remain aesthetically pleasing and functionally robust for years to come.
Hexcal Official
Should I Choose a Monitor Stand or a Monitor Arm?
Factor Monitor Stand Monitor Arm Adjustability Limited; typically fixed height, though some offer modular configurations Extensive; allows height, tilt, swivel, and rotation adjustments—ideal for dynamic workspaces and sit-stand desks Workspace Configuration Occupies more desk area but offers storage underneath for organizing supplies Frees up desk space; perfect for smaller or cluttered desks, and allows easy repositioning of monitors Ergonomic Support Elevates monitor to eye level, reducing neck and eye strain but may not suit all users Precise adjustments for optimal ergonomics, supporting better posture and reducing physical strain Budget More affordable, typically ranging from $20 to $900 Higher cost, with prices from $40 to $200 depending on features and quality Aesthetics Simple, functional design; can also serve as a furniture piece Sleek, minimalist look; contributes to a clean and organized workspace Weight Capacity Varies by size; small stands support up to 40-50 lbs, large stands up to 100 lbs or more Varies by model; always check weight capacity to ensure stability Additional Features May include built-in USB ports, integrated lighting, and cable management Often includes cable management, with some models offering USB charging ports or ambient lighting Ideal Use Cases Best for standard desk setups in traditional offices, home offices, or study areas Ideal for dynamic or collaborative workspaces, minimalistic setups, and users with specific ergonomic needs Advantages Simplicity and ease of use 
More affordableAdditional storage space 
Stable and sturdy for fixed setups 
Can enhance overall desk aesthetics Highly adjustable for optimal ergonomics 
Frees up desk space 
Facilitates easy collaborationIdeal for dynamic work environments 
Supports multiple monitor setups Disadvantages Limited adjustability 
Takes up more desk surface area 
May not suit all ergonomic needs 
Less flexible for changing work positions May require more effort to install
Some models may have stability issues if not properly installed
Requires a sturdy desk for mounting 

Read >

Hexcal Official
DIY Working Space: Complete Desktop Solutions for Your Home Office
Are you looking to transform your home office into a more productive and ergonomic workspace? Look no further than a DIY working space with comprehensive desktop product solutions. With customizable desk solutions and ergonomic workspace features, you can create a workspace that caters to your needs and preferences. What are the benefits of a DIY desk setup? With so many desk options available, it may seem unnecessary to take on the task of building your own. However, DIY can be done without advanced tools and skills. The setup process can often be simple, even for those with limited experience. When you DIY your desk, you can customize it to your liking. This means you can adjust features such as the desk's length or height to meet your specific needs. DIY projects are often enjoyable because you have the opportunity to be involved in the design process and create your ideal workspace. Ideas for DIY desk setup One comprehensive desktop product solution to consider is Hexcal's complete desktop product solution. This solution includes a customizable desk, ergonomic chair, cable management solutions with lighting options, and monitor arms tailored to your specific needs and preferences. With Hexcal's solution, you can transform your home office into a functional and stylish workspace that enhances productivity and supports good health. Here are some tips to DIY your desk setup with Hexcal products: 1. Consider your desk setup Do you need ample space for a dual monitor setup or a large workspace for crafting or drafting? There are various DIY desk solutions that cater to different needs, from simple standing desks to adjustable-height desks that can be tailored to your preferred height. The Hexcal Elevate Standing Desk is a great DIY desk setup option. One of the standout features of this desk is its customizable size, which means you can tailor it to fit your specific space requirements. The desk is also adjustable, allowing you to fine-tune it to your preferred height and working position. With a straightforward setup process, even those with limited DIY experience can create their ideal workspace with the Hexcal Elevate Standing Desk. In addition to its customization options, the Hexcal Elevate Standing Desk offers numerous health benefits. By allowing you to switch between sitting and standing throughout the day, this desk helps reduce the adverse effects of prolonged sitting, such as back pain and poor posture. 2. Incorporate cable management solutions and desk accessories Incorporating cable management solutions and desk accessories can significantly enhance the functionality and organization of your workspace. Hexcal offers several options to help you achieve a clean and efficient workspace, including the Hexcal Studio and Hexcal Single Monitor Arm. The Hexcal Studio is a cable management solution that offers four height options, making it easy to customize to your preferred desk height. The extension feet accessory allows additional height adjustments, ensuring a comfortable and ergonomic workspace. The immersive lighting system of the Hexcal Studio offers 1280 possible light configurations, allowing you to create a personalized lighting experience that suits your preferences and enhances your focus and productivity. The Hexcal Single Monitor Arm is another accessory that dramatically enhances your workspace. This monitor arm is adjustable and can hold up to a 35-inch monitor, freeing up desk space and allowing for a more ergonomic viewing position. The Hexcal Single Monitor Arm also offers built-in cable management, keeping cords and cables organized and out of the way. Incorporating cable management solutions and accessories such as the Hexcal Studio and Hexcal Single Monitor Arm can significantly enhance the functionality and style of your workspace. These customizable options allow you to create a workspace that caters to your needs and preferences, making your DIY desk setup even more personalized and efficient. 3. Consider your seating A comfortable chair that supports good posture is essential for a productive workspace during long work hours. Hexcal offers the Inspire Chair, which is designed with various adjustments to fit your specific needs. The chair can adjust its height, angle, width, and length, offering 4-dimensional adjustments and eight directional options. This allows for maximum comfort and support, reducing the risk of back pain and other discomforts associated with prolonged sitting. Hexcal's complete desktop product solution offers a comprehensive approach to creating an efficient and ergonomic workspace. With customizable desk solutions, you can create a DIY workspace that caters to your specific requirements. The DIY elements of Hexcal's complete desktop product solution make it easy to create a functional and stylish workspace. You can choose from a range of products that are designed to work together seamlessly, allowing you to create a cohesive and personalized workspace. Creating a DIY working space with comprehensive desktop product solutions can enhance your home office setup and transform your workspace. By considering your desk setup, seating, and desk accessories, you can create a workspace that caters to your specific needs and preferences. Remember to check out Hexcal's complete desktop product solution for a tailored and comprehensive workspace transformation.

Read >

Hexcal Official
Enhancing Your Monitor Display: A Guide to the Perfect Setup
Whether working or gaming, having a clear and comfortable display is essential to our productivity and overall health. A well-set-up monitor display can significantly impact our work and gaming experience. In this article, we will offer in-depth guidance on enhancing monitor display quality and improving ergonomics through proper setup. Types of Monitor Displays The first step in enhancing your monitor display is selecting a suitable type of monitor display. There are various configurations of monitor displays, including single monitor displays, ultrawide monitor displays, dual monitor displays, triple monitor displays, one vertical and one horizontal monitor display, and six monitor displays. 1. Single Monitor Display A single monitor display is the most common and straightforward setup. It consists of a single monitor placed on a desk or table. It's the best option for those who use their computer for general purposes like browsing, emailing, or light work. A single monitor display setup offers several benefits beyond simplicity and affordability. For one, it allows you to focus on a single task without the distractions that come with multiple screens. This can be especially useful for those who need to concentrate on their work or minimize distractions. Additionally, it can help to reduce eye strain and neck pain since you won't need to turn your head or neck as much to view multiple screens. It is also easy to set up and maintain. You don't need to worry about configuring multiple monitors or dealing with compatibility issues between different screens. This means that you can get up and running quickly and focus on your work or hobbies. An adjustable monitor stand or monitor riser can help improve the viewing angle and reduce neck and eye strain for this setup. 2. Ultrawide Monitor Display An ultrawide monitor display provides a wider field of view than a standard monitor, making it a great option for those who need to see more on their screen. Ultrawide monitors have an aspect ratio of 21:9, more expansive than the standard 16:9 aspect ratio. An ultrawide monitor display setup can be a game-changer for those who need to work with multiple windows or applications simultaneously. With an ultrawide monitor, you can see more content on your screen without having to switch between windows or tabs constantly. This can be especially useful for professionals who need to work with large spreadsheets, video editors, or graphic designers who need to work with multiple tools at once. An adjustable curved monitor stand can enhance this setup by providing a better viewing angle. 3. Dual Monitor Display A dual monitor display consists of two monitors placed side by side on a desk or table. This setup is ideal for those who need to have multiple applications open simultaneously. An adjustable monitor arm or monitor stand can provide the flexibility to position the monitors at the perfect angle. 4. One Vertical and One Horizontal Monitor Display As a type of dual monitor display, this setup consists of one vertical monitor and one horizontal monitor placed side by side on a desk or table. A vertical and horizontal dual monitor display setup offers a unique and versatile workspace for those who need to work with multiple windows or applications simultaneously. With a vertical monitor, you can easily view long documents, code, or websites without having to scroll continuously. This can be especially useful for programmers, writers, researchers, or anyone who needs to read or write lengthy documents. On the other hand, a horizontal monitor can be used for general tasks, such as browsing the internet, watching videos, or working on spreadsheets. With a horizontal monitor, you can see more content at once, which can make multitasking more efficient and productive. However, to truly optimize your dual monitor display setup, you need an adjustable monitor stand or arm that can provide the flexibility to position the monitors in any direction. 5. Triple Monitor Display A triple monitor display consists of three monitors placed side by side on a desk or table. This setup provides even more screen real estate than a dual monitor display and can improve productivity further. A monitor stand or arm that can hold three monitors is required for this setup. 6. Six Monitor Display A six-monitor display is a more advanced setup commonly used by traders or gamers. This setup consists of six monitors placed side by side on a desk or table. It is a high-end option that provides an immersive experience for those who need to work with multiple applications or screens simultaneously. It's commonly used by traders, gamers, designers, and other professionals who need to monitor several streams of information at once. A six-monitor display setup offers several benefits beyond the ability to monitor multiple streams of information. For one, it can help to improve productivity by reducing the need to switch between applications or windows constantly. With six monitors, you can keep multiple applications open and in view at the same time, making it easier to multitask and get work done more efficiently. Two or more monitor arms are required for this setup. It provides an immersive experience and allows multiple applications to be open simultaneously.

Read >

Hexcal Official
Designing Your Photography Desk Setup: Essential Features, Tips, and Ergonomics
As a photographer, your desk setup is essential to your productivity and creativity. An ergonomic photography desk can help you avoid discomfort and fatigue while working for extended periods. Furthermore, a sleek, minimalist interface provides a visually appealing and clutter-free workspace, allowing you to immerse yourself fully in your creative process without distractions. In this article, we'll discuss the essential features, tips, and ergonomics for designing your photography desk setup. Essential Features 1. Desk Size Choosing the right desk size is significant for your photography desk setup. A desk that is too small can lead to a cramped workspace, making organizing your equipment and accessories challenging. On the other hand, a desk that is too large can take up too much space, making it difficult to move around and access everything you need. Your desk should be large enough to accommodate your computer, monitor, keyboard, mouse, and other accessories. Consider the dimensions of your equipment and the space you have available. Choosing the right desk size is about balancing your equipment and workspace needs. You can create a comfortable and efficient workspace that supports your photography work by selecting a desk that is the appropriate size for your setup. 2. Monitor When it comes to photo editing, having a high-quality monitor is essential for achieving accurate and precise results. A high-resolution monitor with a minimum resolution of 1080p or higher allows you to see fine details in your images, making identifying and correcting flaws easier. Look for a monitor with a high resolution, good colour accuracy, and wide viewing angles. A larger monitor can also be beneficial for photo editing, A larger monitor can also be beneficial for photo editing, allowing you to see more detail. 3. Lighting Proper lighting is a crucial component of a well-designed photography desk setup, and it can significantly impact the quality of your work. Maintaining an average brightness level in your workspace and avoiding direct light on your editing monitor are recommended. If the room is too bright, it can cause you to compensate for the light, resulting in dark images unconsciously. Additionally, ensuring light doesn't directly hit your display can help prevent most issues. By paying attention to lighting, you can create an optimal environment for your photo editing work. Use a desk lamp or overhead lighting to minimize glare and provide adequate illumination. Consider using a color-balanced light bulb to ensure accurate color representation. 4. Storage Your desk should have ample storage to keep your workspace organized and clutter-free. Consider using drawers, shelves, or storage bins to store your equipment and accessories. Having a designated place for everything can help you stay organized and save time when you need to find something. Tips for Designing Your Photography Desk Setup 1. Keep it Minimal A minimalist desk setup can help you stay focused and avoid distractions. Keep only the essentials on your desk and store everything else out of sight. This can reduce clutter and create an organized workspace. A minimalist desk setup can also create a more professional look for your workspace. By eliminating unnecessary items, you can create a clean and uncluttered space that looks more polished and put together. This can be particularly helpful if you frequently meet with clients or need to present your work to others. 2. Cable Management When managing your cables, it's important to consider the length of your cables and the location of your equipment. Make sure that your cables are long enough to reach your equipment without being stretched or twisted and try to keep them as close to your desk or other surfaces as possible to prevent tripping hazards. Use cable ties or clips to keep your cables organized and out of the way. You can also use a cable cover or sleeve to hide your cables for a cleaner look. Having the right tools and resources is essential when managing your workflow as a photographer. That's why Zen, a professional photographer, turned to Hexcal Studio to streamline his creative process. Hexcal Studio is a powerful workstation designed specifically for professionals, providing a visually appealing and clutter-free workspace that allows you to immerse yourself fully in your creative process without distractions. In addition to its intuitive features tailored to professionals, Hexcal Studio offers built-in cable management solutions that help Zen keep his workspace organized and efficient. With cable routing channels and grommets, Hexcal Studio allows photographers to route their cables neatly and out of sight, preventing them from becoming tangled or cluttered. This helps create a more organized and efficient workspace, preventing tripping hazards and making it easier to keep his workspace clean and tidy. 3. Consider Your Workflow Think about your workflow when designing your desk setup. Place your equipment and accessories in a logical order to minimize the time you spend searching for what you need and streamline your workflow. For example, place your computer and monitor at the center of your desk and organize your keyboard, mouse, and other accessories around them. If you frequently use a tablet or graphics tablet for editing, keep it within easy reach. By considering your workflow when designing your desk setup, you can create an organized and efficient workspace that supports your photography work. 4. Personalize Your Workspace Personalizing your photography desk setup can help make your workspace feel more comfortable and inspiring, which can ultimately enhance your creativity and productivity. By adding personal touches to your workspace, you can create a space that reflects your personality and style, making it a more enjoyable place to work.One way to personalize your workspace is to add photos or artwork. Hang up your favourite photos or prints that inspire you or reflect your personal style. You can also create a photo wall or bulletin board where you can display your work or inspirational quotes. Ergonomics for Your Photography Desk Setup 1. Chair Use an adjustable chair with good lumbar support to avoid back pain and discomfort. Adjust your chair height so that your feet are flat on the floor, and your knees are at a 90-degree angle. Your chair should also have adjustable armrests to support your arms and reduce strain on your shoulders.  The Hexcal Inspire Chair features a contoured backrest that moulds to the natural curvature of your spine, promoting proper posture and reducing the risk of back pain. With its adjustable armrests and lumbar and head support, you can customize the chair by adjusting its height, angle, width and length to your specific needs, ensuring maximum comfort throughout the day. 2. Monitor Height Your monitor should be at eye level to avoid neck strain. Use a monitor stand or adjustable arm to raise or lower your monitor to the correct height. You should also position your monitor at a comfortable distance from your eyes, typically around an arm's length away. We recommend the Hexcal Single Monitor Arm if you want to adjust the height and position of your monitor to reduce neck strain and improve its ergonomic desk setup. This adjustable arm attaches to your desk and allows you to easily move your monitor to the correct height and position. It also includes a cable routing channel that allows you to route your cables through the arm of the monitor, keeping them out of sight and preventing them from getting tangled or cluttered. 3. Standing Desk A standing desk can be a great option for photographers who spend long hours sitting at their desks, as it allows for more movement throughout the day and can help prevent a range of health problems, including back pain, neck pain, and poor posture. The Hexcal Elevate Standing Desk is a popular option for photographers who want to incorporate a standing desk into their ergonomic desk setup. This adjustable desk allows you to easily transition between sitting and standing throughout the day, reducing the amount of time you spend sitting in a static position and improving your posture and overall health. The desk is made from high-quality materials and can support up to 160kg, making it a durable and long-lasting option for your photography workspace. In addition to its adjustable height, the Hexcal Elevate Standing Desk also features a spacious work surface, allowing you to comfortably use your computer, monitor, and other equipment while standing. 4. Keyboard and Mouse Your keyboard and mouse should be at a comfortable distance from your body to avoid strain. Use a keyboard tray or adjustable arm to raise or lower your keyboard to the correct height. Your mouse should be positioned close to your keyboard, at the same level, to avoid reaching or twisting your arm. 5. Take Breaks Take regular breaks to stretch, walk around, and rest your eyes. This will help prevent fatigue and discomfort. Consider using a timer or reminder app to prompt you to take breaks at regular intervals, such as every 30 minutes or hour. By incorporating these essential features, tips, and ergonomics into your photography desk setup, you can create a functional and comfortable workspace. Not only will this help you be more productive and efficient, but it can also improve your overall well-being and reduce the risk of injury or strain.

Read >

Hexcal Official
Choosing the Right Desk Pad or Desk Mat
If you spend significant time working or gaming at your desk, then a desk pad or desk mat is a must-have accessory. Not only do they help protect your desk from scratches, spills, and other damage, but they also provide a comfortable surface for your arms and hands, reducing fatigue and strain. However, with so many different desk mats in the market, choosing the right one for your needs can take time and effort. In this guide, we'll provide detailed guidance on selecting the appropriate size desk pad or mat, catering to various needs and preferences. Desk Mat Size Guide When choosing the right desk mat size, it's essential to consider the size and shape of your desk. A desk mat that's too small won't provide sufficient protection for your desk surface, leaving it vulnerable to scratches, spills, and other damage. On the other hand, a mat that's too large may take up too much space on your desk, making it difficult to work efficiently. When it comes to the thickness of the desk mat, it's crucial to choose a mat that's thick enough to provide cushioning and support for your wrists, arms, and hands. A thicker mat can also help reduce typing noise. However, a mat that's too thick can make it challenging to use your mouse and may be less comfortable for typing. Benefits of Different Sizes Desk mats come in various sizes, from small mouse pads to giant desk pads that cover the entire desk. The size you choose will depend on your needs and preferences. Here are some of the benefits of different desk mat sizes: Small Desk Mats (12 x 16 inches): These desk mats are ideal for those who only need protection for their mouse or for those with limited desk space. They provide a small but comfortable surface for your mouse and are also great for travel or for use on the go. Medium Desk Mats (18 x 24 inches): If you need protection for your keyboard and mouse, a medium desk mat is a great choice. It provides a comfortable surface for your arms and hands and can also help reduce noise from typing. This size is also ideal for artists or designers who need a larger surface area to work on. Large Desk Mats (20 x 34 inches): Large desk mats, or giant desk pads, provide complete desk protection. They're ideal for those who want to protect their entire desk from scratches, spills, and other damage. They also offer a comfortable surface for your arms and hands and can help reduce noise from typing. This size is perfect for those with a more oversized desk or workspace needing complete coverage. Tips for Measuring or Customizing Desk Mats If you're unsure of the size of the desk mat you need, you can measure your desk and use those measurements to find a mat that fits. Alternatively, you can purchase a larger mat and cut it down to size or have a mat custom-made to fit your desk perfectly. When measuring your desk, be sure to measure the width, length, and height of any accessories on the desk, such as a monitor or laptop stand. This will ensure that your desk mat fits appropriately and provides adequate protection. Other Considerations In addition to size, there are other factors to consider when choosing a desk mat. Here are a few additional things to keep in mind: Material: Desk mats can be made from a variety of materials, including leather, vinyl, and neoprene. Each material has its benefits and drawbacks, so choosing one that's right for you is important. Design: Desk mats come in a wide variety of designs, from plain black to colorful patterns. Choose a design that reflects your personality and style. Functionality: Some desk mats are designed specifically for gaming or art, while others are more versatile. Consider your intended use for the mat when making your choice. Price: Desk mats range in price from a few dollars to hundreds of dollars. Set a budget for yourself and choose a mat that fits your price range. Recommendation If you're looking for a desk mat that offers both comfort and style, the Hexcal Desk Mat Bundle is a great choice. This bundle includes a sizeable desk mat and an ergonomic wrist cushion, both carefully crafted to provide optimal comfort and support. The desk mat has a practical magnetic design that enables the wrist rest to securely attach to it, ensuring stability during use. Measuring 800 x 400 x 3.5 mm (31.5" x 15.7" x 0.14"), the desk mat offers ample surface area for your keyboard, mouse, and other accessories. Constructed from high-quality vegan leather, the mat provides a soft, waterproof, luxurious, and durable surface. The material is easy to clean, making it ideal for those who spill drinks or snacks while working. The ergonomic wrist cushion measures 780 x 80 x 28 mm (30.7" x 3.1" x 1.1") and is designed to provide support and comfort for your wrists during long periods of typing. The cushion is also made from vegan leather and features a soft, memory foam interior that conforms to the shape of your wrist. The Hexcal Desk Mat Bundle is compatible with other Hexcal products, allowing you to create a cohesive and stylish workspace. Whether you're a gamer, designer, or simply someone who spends a lot of time working at a desk, this bundle will elevate your workspace experience, combining style, functionality, and ergonomic design. Choosing the right desk pad or mat is vital for protecting your desk and providing a comfortable work or gaming surface. Consider the size of your desk, the placement of your accessories, and your personal preferences when selecting a desk mat. With the right desk mat, you can work or game comfortably and confidently, knowing that your desk is protected from damage.

Read >

Hexcal Official
How To Manage Cables Under Desk
With the rise of remote work and increased screen time, more people are investing in standing desks to improve their health and productivity. However, with a standing desk comes the challenge of managing cables. Under desk cable management is crucial for a tidy workspace, especially with a standing desk, as cables can get in the way of your feet and cause tripping hazards. In this blog, we will provide you with tips on how to manage cables under your desk. By following these tips, you can enjoy a more organized and productive workspace, whether you're sitting or standing. 1. Find the blind spots for cables The first step to managing cables is to locate the blind spots. These are areas where cables tend to accumulate, and they can be hard to reach. Start by looking at your desk and identifying areas where cables are bunched up or tangled. Once you locate these areas, you can start organizing your cables. Also, try to look for cable ports that are built into your desk. These ports allow you to route your cables through the desk and keep them hidden from view. Some desks even come with built-in cable management systems that make it easy to organize your cables and keep them out of sight. So, if you're in the market for a new desk, be sure to look for one that has cable ports or a built-in cable management system to make your cable management process much easier. 2. Mounting a power strip A power strip is a great way to manage multiple cables. Mounting the power strip under the desk keeps the cords off the ground and out of sight. To mount a power strip, you can use adhesive strips or screws. Make sure to position the power strip in a spot that is easy to reach but not in the way. You can also use a surge protector to protect your devices from power surges. 3. Desk organisers with built-in cable management Desk organisers like the Hexcal Studio have built-in cable management, making keeping your cables tidy and organized easy. These organizers can be attached to the underside of the desk and have channels or clips to hold cables. The Hexcal Studio is a great example of a desk cable organizer with built-in cable management. The Studio has multiple outlets and USB ports, so you can plug in all your devices without having to run cables up to your desk. 4.Cable raceways Cable raceways are channels that can also be mounted under your desk to hold cables. They keep cables organized and off the ground. Cable raceways come in different sizes and materials, so it's important to choose one that fits your needs. 5.Velcro straps Another effective method of organizing cables and preventing tangling is to utilize Velcro straps. Simply wrap the Velcro strap around the cable and secure it in place. There are various sizes and colors available for Velcro straps, allowing you to select the one that best suits your requirements. You can also use cable ties or zip ties to bundle cables together and keep them organized. 6.Cable sleeving Keeping cables organized and preventing them from tangling can be easily achieved by using cable sleeving. It's a protective cover that you can slip over the cables to keep them neat. Cable sleeving comes in different sizes and materials, so make sure to choose one that fits your needs. You can also use cable ties or Velcro straps to bundle cables together and keep them organized. 7.Label cables Labelling your cables is an easy way to keep track of which cable belongs to which device. This makes it easier to troubleshoot any issues and quickly identify the cable you need. To label your cables, you can use a label maker or write on a piece of tape. Make sure to label both ends of the cable so you can identify it from either end. Managing cables under your desk can be a daunting task, but with the right tools and techniques, it can be done. By using standing desk cable management solutions, desk cable organizers, cable raceways, Velcro straps, cable sleeving, and labelling your cables, you can keep your workspace organized and free from tripping hazards. In addition to the safety benefits, an organized workspace can boost productivity and reduce stress levels. So, take some time to organize your cables, and enjoy the benefits of a tidy workspace, whether you're sitting or standing.

Read >

Hexcal Official
Should I Choose a Monitor Stand or a Monitor Arm?
Factor Monitor Stand Monitor Arm Adjustability Limited; typically fixed height, though some offer modular configurations Extensive; allows height, tilt, swivel, and rotation adjustments—ideal for dynamic workspaces and sit-stand desks Workspace Configuration Occupies more desk area but offers storage underneath for organizing supplies Frees up desk space; perfect for smaller or cluttered desks, and allows easy repositioning of monitors Ergonomic Support Elevates monitor to eye level, reducing neck and eye strain but may not suit all users Precise adjustments for optimal ergonomics, supporting better posture and reducing physical strain Budget More affordable, typically ranging from $20 to $900 Higher cost, with prices from $40 to $200 depending on features and quality Aesthetics Simple, functional design; can also serve as a furniture piece Sleek, minimalist look; contributes to a clean and organized workspace Weight Capacity Varies by size; small stands support up to 40-50 lbs, large stands up to 100 lbs or more Varies by model; always check weight capacity to ensure stability Additional Features May include built-in USB ports, integrated lighting, and cable management Often includes cable management, with some models offering USB charging ports or ambient lighting Ideal Use Cases Best for standard desk setups in traditional offices, home offices, or study areas Ideal for dynamic or collaborative workspaces, minimalistic setups, and users with specific ergonomic needs Advantages Simplicity and ease of use 
More affordableAdditional storage space 
Stable and sturdy for fixed setups 
Can enhance overall desk aesthetics Highly adjustable for optimal ergonomics 
Frees up desk space 
Facilitates easy collaborationIdeal for dynamic work environments 
Supports multiple monitor setups Disadvantages Limited adjustability 
Takes up more desk surface area 
May not suit all ergonomic needs 
Less flexible for changing work positions May require more effort to install
Some models may have stability issues if not properly installed
Requires a sturdy desk for mounting 

Read >

Hexcal Official
DIY Working Space: Complete Desktop Solutions for Your Home Office
Are you looking to transform your home office into a more productive and ergonomic workspace? Look no further than a DIY working space with comprehensive desktop product solutions. With customizable desk solutions and ergonomic workspace features, you can create a workspace that caters to your needs and preferences. What are the benefits of a DIY desk setup? With so many desk options available, it may seem unnecessary to take on the task of building your own. However, DIY can be done without advanced tools and skills. The setup process can often be simple, even for those with limited experience. When you DIY your desk, you can customize it to your liking. This means you can adjust features such as the desk's length or height to meet your specific needs. DIY projects are often enjoyable because you have the opportunity to be involved in the design process and create your ideal workspace. Ideas for DIY desk setup One comprehensive desktop product solution to consider is Hexcal's complete desktop product solution. This solution includes a customizable desk, ergonomic chair, cable management solutions with lighting options, and monitor arms tailored to your specific needs and preferences. With Hexcal's solution, you can transform your home office into a functional and stylish workspace that enhances productivity and supports good health. Here are some tips to DIY your desk setup with Hexcal products: 1. Consider your desk setup Do you need ample space for a dual monitor setup or a large workspace for crafting or drafting? There are various DIY desk solutions that cater to different needs, from simple standing desks to adjustable-height desks that can be tailored to your preferred height. The Hexcal Elevate Standing Desk is a great DIY desk setup option. One of the standout features of this desk is its customizable size, which means you can tailor it to fit your specific space requirements. The desk is also adjustable, allowing you to fine-tune it to your preferred height and working position. With a straightforward setup process, even those with limited DIY experience can create their ideal workspace with the Hexcal Elevate Standing Desk. In addition to its customization options, the Hexcal Elevate Standing Desk offers numerous health benefits. By allowing you to switch between sitting and standing throughout the day, this desk helps reduce the adverse effects of prolonged sitting, such as back pain and poor posture. 2. Incorporate cable management solutions and desk accessories Incorporating cable management solutions and desk accessories can significantly enhance the functionality and organization of your workspace. Hexcal offers several options to help you achieve a clean and efficient workspace, including the Hexcal Studio and Hexcal Single Monitor Arm. The Hexcal Studio is a cable management solution that offers four height options, making it easy to customize to your preferred desk height. The extension feet accessory allows additional height adjustments, ensuring a comfortable and ergonomic workspace. The immersive lighting system of the Hexcal Studio offers 1280 possible light configurations, allowing you to create a personalized lighting experience that suits your preferences and enhances your focus and productivity. The Hexcal Single Monitor Arm is another accessory that dramatically enhances your workspace. This monitor arm is adjustable and can hold up to a 35-inch monitor, freeing up desk space and allowing for a more ergonomic viewing position. The Hexcal Single Monitor Arm also offers built-in cable management, keeping cords and cables organized and out of the way. Incorporating cable management solutions and accessories such as the Hexcal Studio and Hexcal Single Monitor Arm can significantly enhance the functionality and style of your workspace. These customizable options allow you to create a workspace that caters to your needs and preferences, making your DIY desk setup even more personalized and efficient. 3. Consider your seating A comfortable chair that supports good posture is essential for a productive workspace during long work hours. Hexcal offers the Inspire Chair, which is designed with various adjustments to fit your specific needs. The chair can adjust its height, angle, width, and length, offering 4-dimensional adjustments and eight directional options. This allows for maximum comfort and support, reducing the risk of back pain and other discomforts associated with prolonged sitting. Hexcal's complete desktop product solution offers a comprehensive approach to creating an efficient and ergonomic workspace. With customizable desk solutions, you can create a DIY workspace that caters to your specific requirements. The DIY elements of Hexcal's complete desktop product solution make it easy to create a functional and stylish workspace. You can choose from a range of products that are designed to work together seamlessly, allowing you to create a cohesive and personalized workspace. Creating a DIY working space with comprehensive desktop product solutions can enhance your home office setup and transform your workspace. By considering your desk setup, seating, and desk accessories, you can create a workspace that caters to your specific needs and preferences. Remember to check out Hexcal's complete desktop product solution for a tailored and comprehensive workspace transformation.

Read >

Hexcal Official
Enhancing Your Monitor Display: A Guide to the Perfect Setup
Whether working or gaming, having a clear and comfortable display is essential to our productivity and overall health. A well-set-up monitor display can significantly impact our work and gaming experience. In this article, we will offer in-depth guidance on enhancing monitor display quality and improving ergonomics through proper setup. Types of Monitor Displays The first step in enhancing your monitor display is selecting a suitable type of monitor display. There are various configurations of monitor displays, including single monitor displays, ultrawide monitor displays, dual monitor displays, triple monitor displays, one vertical and one horizontal monitor display, and six monitor displays. 1. Single Monitor Display A single monitor display is the most common and straightforward setup. It consists of a single monitor placed on a desk or table. It's the best option for those who use their computer for general purposes like browsing, emailing, or light work. A single monitor display setup offers several benefits beyond simplicity and affordability. For one, it allows you to focus on a single task without the distractions that come with multiple screens. This can be especially useful for those who need to concentrate on their work or minimize distractions. Additionally, it can help to reduce eye strain and neck pain since you won't need to turn your head or neck as much to view multiple screens. It is also easy to set up and maintain. You don't need to worry about configuring multiple monitors or dealing with compatibility issues between different screens. This means that you can get up and running quickly and focus on your work or hobbies. An adjustable monitor stand or monitor riser can help improve the viewing angle and reduce neck and eye strain for this setup. 2. Ultrawide Monitor Display An ultrawide monitor display provides a wider field of view than a standard monitor, making it a great option for those who need to see more on their screen. Ultrawide monitors have an aspect ratio of 21:9, more expansive than the standard 16:9 aspect ratio. An ultrawide monitor display setup can be a game-changer for those who need to work with multiple windows or applications simultaneously. With an ultrawide monitor, you can see more content on your screen without having to switch between windows or tabs constantly. This can be especially useful for professionals who need to work with large spreadsheets, video editors, or graphic designers who need to work with multiple tools at once. An adjustable curved monitor stand can enhance this setup by providing a better viewing angle. 3. Dual Monitor Display A dual monitor display consists of two monitors placed side by side on a desk or table. This setup is ideal for those who need to have multiple applications open simultaneously. An adjustable monitor arm or monitor stand can provide the flexibility to position the monitors at the perfect angle. 4. One Vertical and One Horizontal Monitor Display As a type of dual monitor display, this setup consists of one vertical monitor and one horizontal monitor placed side by side on a desk or table. A vertical and horizontal dual monitor display setup offers a unique and versatile workspace for those who need to work with multiple windows or applications simultaneously. With a vertical monitor, you can easily view long documents, code, or websites without having to scroll continuously. This can be especially useful for programmers, writers, researchers, or anyone who needs to read or write lengthy documents. On the other hand, a horizontal monitor can be used for general tasks, such as browsing the internet, watching videos, or working on spreadsheets. With a horizontal monitor, you can see more content at once, which can make multitasking more efficient and productive. However, to truly optimize your dual monitor display setup, you need an adjustable monitor stand or arm that can provide the flexibility to position the monitors in any direction. 5. Triple Monitor Display A triple monitor display consists of three monitors placed side by side on a desk or table. This setup provides even more screen real estate than a dual monitor display and can improve productivity further. A monitor stand or arm that can hold three monitors is required for this setup. 6. Six Monitor Display A six-monitor display is a more advanced setup commonly used by traders or gamers. This setup consists of six monitors placed side by side on a desk or table. It is a high-end option that provides an immersive experience for those who need to work with multiple applications or screens simultaneously. It's commonly used by traders, gamers, designers, and other professionals who need to monitor several streams of information at once. A six-monitor display setup offers several benefits beyond the ability to monitor multiple streams of information. For one, it can help to improve productivity by reducing the need to switch between applications or windows constantly. With six monitors, you can keep multiple applications open and in view at the same time, making it easier to multitask and get work done more efficiently. Two or more monitor arms are required for this setup. It provides an immersive experience and allows multiple applications to be open simultaneously.

Read >

Hexcal Official
Designing Your Photography Desk Setup: Essential Features, Tips, and Ergonomics
As a photographer, your desk setup is essential to your productivity and creativity. An ergonomic photography desk can help you avoid discomfort and fatigue while working for extended periods. Furthermore, a sleek, minimalist interface provides a visually appealing and clutter-free workspace, allowing you to immerse yourself fully in your creative process without distractions. In this article, we'll discuss the essential features, tips, and ergonomics for designing your photography desk setup. Essential Features 1. Desk Size Choosing the right desk size is significant for your photography desk setup. A desk that is too small can lead to a cramped workspace, making organizing your equipment and accessories challenging. On the other hand, a desk that is too large can take up too much space, making it difficult to move around and access everything you need. Your desk should be large enough to accommodate your computer, monitor, keyboard, mouse, and other accessories. Consider the dimensions of your equipment and the space you have available. Choosing the right desk size is about balancing your equipment and workspace needs. You can create a comfortable and efficient workspace that supports your photography work by selecting a desk that is the appropriate size for your setup. 2. Monitor When it comes to photo editing, having a high-quality monitor is essential for achieving accurate and precise results. A high-resolution monitor with a minimum resolution of 1080p or higher allows you to see fine details in your images, making identifying and correcting flaws easier. Look for a monitor with a high resolution, good colour accuracy, and wide viewing angles. A larger monitor can also be beneficial for photo editing, A larger monitor can also be beneficial for photo editing, allowing you to see more detail. 3. Lighting Proper lighting is a crucial component of a well-designed photography desk setup, and it can significantly impact the quality of your work. Maintaining an average brightness level in your workspace and avoiding direct light on your editing monitor are recommended. If the room is too bright, it can cause you to compensate for the light, resulting in dark images unconsciously. Additionally, ensuring light doesn't directly hit your display can help prevent most issues. By paying attention to lighting, you can create an optimal environment for your photo editing work. Use a desk lamp or overhead lighting to minimize glare and provide adequate illumination. Consider using a color-balanced light bulb to ensure accurate color representation. 4. Storage Your desk should have ample storage to keep your workspace organized and clutter-free. Consider using drawers, shelves, or storage bins to store your equipment and accessories. Having a designated place for everything can help you stay organized and save time when you need to find something. Tips for Designing Your Photography Desk Setup 1. Keep it Minimal A minimalist desk setup can help you stay focused and avoid distractions. Keep only the essentials on your desk and store everything else out of sight. This can reduce clutter and create an organized workspace. A minimalist desk setup can also create a more professional look for your workspace. By eliminating unnecessary items, you can create a clean and uncluttered space that looks more polished and put together. This can be particularly helpful if you frequently meet with clients or need to present your work to others. 2. Cable Management When managing your cables, it's important to consider the length of your cables and the location of your equipment. Make sure that your cables are long enough to reach your equipment without being stretched or twisted and try to keep them as close to your desk or other surfaces as possible to prevent tripping hazards. Use cable ties or clips to keep your cables organized and out of the way. You can also use a cable cover or sleeve to hide your cables for a cleaner look. Having the right tools and resources is essential when managing your workflow as a photographer. That's why Zen, a professional photographer, turned to Hexcal Studio to streamline his creative process. Hexcal Studio is a powerful workstation designed specifically for professionals, providing a visually appealing and clutter-free workspace that allows you to immerse yourself fully in your creative process without distractions. In addition to its intuitive features tailored to professionals, Hexcal Studio offers built-in cable management solutions that help Zen keep his workspace organized and efficient. With cable routing channels and grommets, Hexcal Studio allows photographers to route their cables neatly and out of sight, preventing them from becoming tangled or cluttered. This helps create a more organized and efficient workspace, preventing tripping hazards and making it easier to keep his workspace clean and tidy. 3. Consider Your Workflow Think about your workflow when designing your desk setup. Place your equipment and accessories in a logical order to minimize the time you spend searching for what you need and streamline your workflow. For example, place your computer and monitor at the center of your desk and organize your keyboard, mouse, and other accessories around them. If you frequently use a tablet or graphics tablet for editing, keep it within easy reach. By considering your workflow when designing your desk setup, you can create an organized and efficient workspace that supports your photography work. 4. Personalize Your Workspace Personalizing your photography desk setup can help make your workspace feel more comfortable and inspiring, which can ultimately enhance your creativity and productivity. By adding personal touches to your workspace, you can create a space that reflects your personality and style, making it a more enjoyable place to work.One way to personalize your workspace is to add photos or artwork. Hang up your favourite photos or prints that inspire you or reflect your personal style. You can also create a photo wall or bulletin board where you can display your work or inspirational quotes. Ergonomics for Your Photography Desk Setup 1. Chair Use an adjustable chair with good lumbar support to avoid back pain and discomfort. Adjust your chair height so that your feet are flat on the floor, and your knees are at a 90-degree angle. Your chair should also have adjustable armrests to support your arms and reduce strain on your shoulders.  The Hexcal Inspire Chair features a contoured backrest that moulds to the natural curvature of your spine, promoting proper posture and reducing the risk of back pain. With its adjustable armrests and lumbar and head support, you can customize the chair by adjusting its height, angle, width and length to your specific needs, ensuring maximum comfort throughout the day. 2. Monitor Height Your monitor should be at eye level to avoid neck strain. Use a monitor stand or adjustable arm to raise or lower your monitor to the correct height. You should also position your monitor at a comfortable distance from your eyes, typically around an arm's length away. We recommend the Hexcal Single Monitor Arm if you want to adjust the height and position of your monitor to reduce neck strain and improve its ergonomic desk setup. This adjustable arm attaches to your desk and allows you to easily move your monitor to the correct height and position. It also includes a cable routing channel that allows you to route your cables through the arm of the monitor, keeping them out of sight and preventing them from getting tangled or cluttered. 3. Standing Desk A standing desk can be a great option for photographers who spend long hours sitting at their desks, as it allows for more movement throughout the day and can help prevent a range of health problems, including back pain, neck pain, and poor posture. The Hexcal Elevate Standing Desk is a popular option for photographers who want to incorporate a standing desk into their ergonomic desk setup. This adjustable desk allows you to easily transition between sitting and standing throughout the day, reducing the amount of time you spend sitting in a static position and improving your posture and overall health. The desk is made from high-quality materials and can support up to 160kg, making it a durable and long-lasting option for your photography workspace. In addition to its adjustable height, the Hexcal Elevate Standing Desk also features a spacious work surface, allowing you to comfortably use your computer, monitor, and other equipment while standing. 4. Keyboard and Mouse Your keyboard and mouse should be at a comfortable distance from your body to avoid strain. Use a keyboard tray or adjustable arm to raise or lower your keyboard to the correct height. Your mouse should be positioned close to your keyboard, at the same level, to avoid reaching or twisting your arm. 5. Take Breaks Take regular breaks to stretch, walk around, and rest your eyes. This will help prevent fatigue and discomfort. Consider using a timer or reminder app to prompt you to take breaks at regular intervals, such as every 30 minutes or hour. By incorporating these essential features, tips, and ergonomics into your photography desk setup, you can create a functional and comfortable workspace. Not only will this help you be more productive and efficient, but it can also improve your overall well-being and reduce the risk of injury or strain.

Read >

Hexcal Official
Choosing the Right Desk Pad or Desk Mat
If you spend significant time working or gaming at your desk, then a desk pad or desk mat is a must-have accessory. Not only do they help protect your desk from scratches, spills, and other damage, but they also provide a comfortable surface for your arms and hands, reducing fatigue and strain. However, with so many different desk mats in the market, choosing the right one for your needs can take time and effort. In this guide, we'll provide detailed guidance on selecting the appropriate size desk pad or mat, catering to various needs and preferences. Desk Mat Size Guide When choosing the right desk mat size, it's essential to consider the size and shape of your desk. A desk mat that's too small won't provide sufficient protection for your desk surface, leaving it vulnerable to scratches, spills, and other damage. On the other hand, a mat that's too large may take up too much space on your desk, making it difficult to work efficiently. When it comes to the thickness of the desk mat, it's crucial to choose a mat that's thick enough to provide cushioning and support for your wrists, arms, and hands. A thicker mat can also help reduce typing noise. However, a mat that's too thick can make it challenging to use your mouse and may be less comfortable for typing. Benefits of Different Sizes Desk mats come in various sizes, from small mouse pads to giant desk pads that cover the entire desk. The size you choose will depend on your needs and preferences. Here are some of the benefits of different desk mat sizes: Small Desk Mats (12 x 16 inches): These desk mats are ideal for those who only need protection for their mouse or for those with limited desk space. They provide a small but comfortable surface for your mouse and are also great for travel or for use on the go. Medium Desk Mats (18 x 24 inches): If you need protection for your keyboard and mouse, a medium desk mat is a great choice. It provides a comfortable surface for your arms and hands and can also help reduce noise from typing. This size is also ideal for artists or designers who need a larger surface area to work on. Large Desk Mats (20 x 34 inches): Large desk mats, or giant desk pads, provide complete desk protection. They're ideal for those who want to protect their entire desk from scratches, spills, and other damage. They also offer a comfortable surface for your arms and hands and can help reduce noise from typing. This size is perfect for those with a more oversized desk or workspace needing complete coverage. Tips for Measuring or Customizing Desk Mats If you're unsure of the size of the desk mat you need, you can measure your desk and use those measurements to find a mat that fits. Alternatively, you can purchase a larger mat and cut it down to size or have a mat custom-made to fit your desk perfectly. When measuring your desk, be sure to measure the width, length, and height of any accessories on the desk, such as a monitor or laptop stand. This will ensure that your desk mat fits appropriately and provides adequate protection. Other Considerations In addition to size, there are other factors to consider when choosing a desk mat. Here are a few additional things to keep in mind: Material: Desk mats can be made from a variety of materials, including leather, vinyl, and neoprene. Each material has its benefits and drawbacks, so choosing one that's right for you is important. Design: Desk mats come in a wide variety of designs, from plain black to colorful patterns. Choose a design that reflects your personality and style. Functionality: Some desk mats are designed specifically for gaming or art, while others are more versatile. Consider your intended use for the mat when making your choice. Price: Desk mats range in price from a few dollars to hundreds of dollars. Set a budget for yourself and choose a mat that fits your price range. Recommendation If you're looking for a desk mat that offers both comfort and style, the Hexcal Desk Mat Bundle is a great choice. This bundle includes a sizeable desk mat and an ergonomic wrist cushion, both carefully crafted to provide optimal comfort and support. The desk mat has a practical magnetic design that enables the wrist rest to securely attach to it, ensuring stability during use. Measuring 800 x 400 x 3.5 mm (31.5" x 15.7" x 0.14"), the desk mat offers ample surface area for your keyboard, mouse, and other accessories. Constructed from high-quality vegan leather, the mat provides a soft, waterproof, luxurious, and durable surface. The material is easy to clean, making it ideal for those who spill drinks or snacks while working. The ergonomic wrist cushion measures 780 x 80 x 28 mm (30.7" x 3.1" x 1.1") and is designed to provide support and comfort for your wrists during long periods of typing. The cushion is also made from vegan leather and features a soft, memory foam interior that conforms to the shape of your wrist. The Hexcal Desk Mat Bundle is compatible with other Hexcal products, allowing you to create a cohesive and stylish workspace. Whether you're a gamer, designer, or simply someone who spends a lot of time working at a desk, this bundle will elevate your workspace experience, combining style, functionality, and ergonomic design. Choosing the right desk pad or mat is vital for protecting your desk and providing a comfortable work or gaming surface. Consider the size of your desk, the placement of your accessories, and your personal preferences when selecting a desk mat. With the right desk mat, you can work or game comfortably and confidently, knowing that your desk is protected from damage.

Read >

Hexcal Official
How To Manage Cables Under Desk
With the rise of remote work and increased screen time, more people are investing in standing desks to improve their health and productivity. However, with a standing desk comes the challenge of managing cables. Under desk cable management is crucial for a tidy workspace, especially with a standing desk, as cables can get in the way of your feet and cause tripping hazards. In this blog, we will provide you with tips on how to manage cables under your desk. By following these tips, you can enjoy a more organized and productive workspace, whether you're sitting or standing. 1. Find the blind spots for cables The first step to managing cables is to locate the blind spots. These are areas where cables tend to accumulate, and they can be hard to reach. Start by looking at your desk and identifying areas where cables are bunched up or tangled. Once you locate these areas, you can start organizing your cables. Also, try to look for cable ports that are built into your desk. These ports allow you to route your cables through the desk and keep them hidden from view. Some desks even come with built-in cable management systems that make it easy to organize your cables and keep them out of sight. So, if you're in the market for a new desk, be sure to look for one that has cable ports or a built-in cable management system to make your cable management process much easier. 2. Mounting a power strip A power strip is a great way to manage multiple cables. Mounting the power strip under the desk keeps the cords off the ground and out of sight. To mount a power strip, you can use adhesive strips or screws. Make sure to position the power strip in a spot that is easy to reach but not in the way. You can also use a surge protector to protect your devices from power surges. 3. Desk organisers with built-in cable management Desk organisers like the Hexcal Studio have built-in cable management, making keeping your cables tidy and organized easy. These organizers can be attached to the underside of the desk and have channels or clips to hold cables. The Hexcal Studio is a great example of a desk cable organizer with built-in cable management. The Studio has multiple outlets and USB ports, so you can plug in all your devices without having to run cables up to your desk. 4.Cable raceways Cable raceways are channels that can also be mounted under your desk to hold cables. They keep cables organized and off the ground. Cable raceways come in different sizes and materials, so it's important to choose one that fits your needs. 5.Velcro straps Another effective method of organizing cables and preventing tangling is to utilize Velcro straps. Simply wrap the Velcro strap around the cable and secure it in place. There are various sizes and colors available for Velcro straps, allowing you to select the one that best suits your requirements. You can also use cable ties or zip ties to bundle cables together and keep them organized. 6.Cable sleeving Keeping cables organized and preventing them from tangling can be easily achieved by using cable sleeving. It's a protective cover that you can slip over the cables to keep them neat. Cable sleeving comes in different sizes and materials, so make sure to choose one that fits your needs. You can also use cable ties or Velcro straps to bundle cables together and keep them organized. 7.Label cables Labelling your cables is an easy way to keep track of which cable belongs to which device. This makes it easier to troubleshoot any issues and quickly identify the cable you need. To label your cables, you can use a label maker or write on a piece of tape. Make sure to label both ends of the cable so you can identify it from either end. Managing cables under your desk can be a daunting task, but with the right tools and techniques, it can be done. By using standing desk cable management solutions, desk cable organizers, cable raceways, Velcro straps, cable sleeving, and labelling your cables, you can keep your workspace organized and free from tripping hazards. In addition to the safety benefits, an organized workspace can boost productivity and reduce stress levels. So, take some time to organize your cables, and enjoy the benefits of a tidy workspace, whether you're sitting or standing.

Read >