So verstecken Sie Monitorkabel: Eine saubere und wartungsfreundliche Einrichtungsanleitung
Die meisten Monitor-Setups sind verkehrt herum organisiert. Zuerst werden Kabelclips und -schläuche gekauft, dann versucht man, den Bildschirm und seine Kabel in den verbleibenden Raum zu zwängen. So sieht ein Schreibtisch vom Stuhl aus zwar ordentlich aus, wird aber hinter dem Bildschirm zu einem Knoten aus Strom-, HDMI-, DisplayPort-, USB- und Audiokabeln.
Wenn Ihre Suche lautete, wie man Monitorkabel versteckt, beginnen Sie mit dem Monitor selbst. Positionieren Sie zuerst den Bildschirm, geben Sie dann jedem Kabel einen klaren Weg hinter dem Display, am Standfuß oder Arm entlang und zu einem kontrollierten Pfad unter dem Schreibtisch. Das Ergebnis sollte leicht einzustellen, leicht abzuziehen und aus dem normalen Blickwinkel sauber sein.
Kurze Antwort: Wie man Monitorkabel versteckt
Um Ihr Monitor-Setup zu organisieren, positionieren Sie den Hauptbildschirm direkt vor sich, führen Sie Strom- und Displaykabel gerade hinter dem Bildschirm entlang und verlegen Sie sie an der Rückseite des Standfußes oder Monitorarms herunter. Lassen Sie eine kleine Serviceschleife für Bewegungen, und befestigen Sie die Kabel dann unter dem Schreibtisch mit Clips, einem Schlauch oder einer Kabelwanne.
| Monitor-Setup | Beste Kabelführung |
|---|---|
| Einzelner Monitor mit Originalstandfuß | Hinter dem Standfuß, dann gerade nach unten zur Rückseite des Schreibtisches |
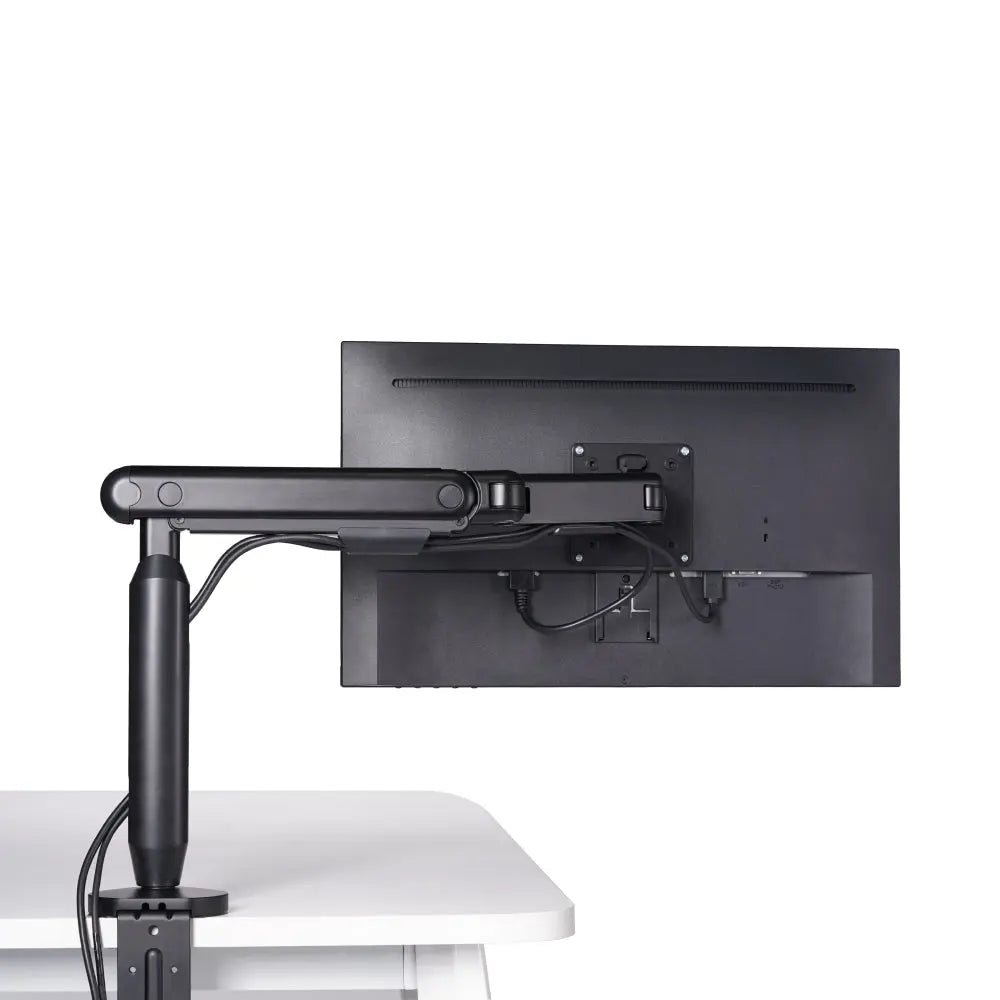
| Monitor an einem Arm | Durch den Kabelkanal des Arms, dann den Stützpfosten hinunter |
| Zwei Monitore | Halten Sie jede Displayleitung getrennt, bis sie denselben Weg unter dem Schreibtisch erreichen |
| Stehschreibtisch | Verwenden Sie eine Wanne und lassen Sie genügend Spielraum für den Schreibtisch in voller Höhe |
| Laptop plus Monitor | Halten Sie die Laptop-Verbindung kurz und verlegen Sie die restlichen Kabel hinter dem Display |
Sortieren. Verstecken. Befestigen.
Dieses dreiteilige System sorgt dafür, dass der Monitor selbst für seine Kabelführung zuständig ist. Sortieren Sie die Anschlüsse nach ihrem Zweck. Verstecken Sie die sichtbaren Kabel hinter dem Bildschirm und unter dem Schreibtisch. Befestigen Sie die Kabel, die Sie täglich berühren, damit das Setup auch nach dem ersten Aufräumen nutzbar bleibt.
Was vor der Organisation des Monitors vorzubereiten ist
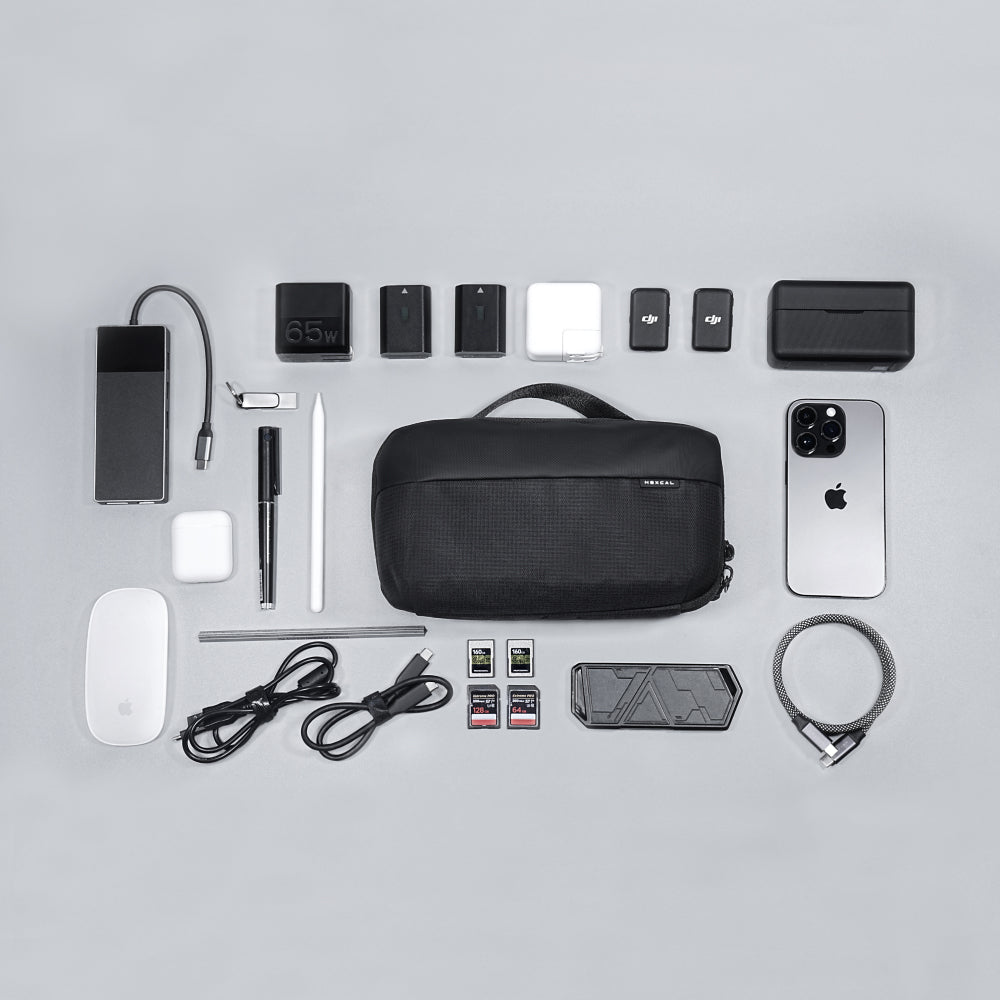
Sie brauchen keine Schublade voller Zubehör. Beginnen Sie mit dem Monitor und seinem Standfuß, Riser oder Arm; den Strom- und Displaykabeln; allen USB-, Audio-, Webcam- oder Hub-Kabeln, die an den Bildschirm angeschlossen sind; wiederverwendbaren Kabelbindern oder Clips; einem kurzen Schlauch für die sichtbare Strecke; und einer Untertischwanne, wenn Sie eine Steckdosenleiste oder mehrere Adapter haben.
Schalten Sie den Monitor aus und trennen Sie die Kabel, bevor Sie ihn bewegen. Legen Sie die Kabel so aus, dass Sie beide Enden sehen können. Beschriften Sie jedes Kabel an beiden Enden, wenn Sie mit mehreren Displays arbeiten. Die Beschriftung muss Sie nur davor bewahren, den gesamten Monitor von der Wand wegzuziehen, wenn Sie das nächste Mal eine Verbindung identifizieren müssen.
Schritt 1: Monitor platzieren, bevor etwas versteckt wird
Kabelmanagement beginnt mit der Monitorplatzierung, nicht mit Clips.
Setzen Sie sich in Ihre normale Position und entscheiden Sie, welcher Bildschirm das primäre Display ist. Bei einem Monitor positionieren Sie ihn in einer Linie mit Ihrem Stuhl und Ihrer Tastatur. Bei zwei Monitoren halten Sie den Hauptbildschirm vor sich und winkeln den zweiten Bildschirm dazu an. Dies verhindert, dass die Kabel später das Layout bestimmen.
Bewegen Sie den Monitor durch seinen normalen Bewegungsbereich, bevor Sie die Kabel verlegen. Neigen und schwenken Sie den Bildschirm, ziehen Sie ihn bei Verwendung eines Arms nach vorne, prüfen Sie, ob die Anschlüsse zugänglich bleiben, und bestätigen Sie, dass kein Stecker gegen die Wand oder den Schreibtisch gedrückt wird.
Wenn der Monitor auf seinem Originalstandfuß steht, suchen Sie nach einem Kabelschlitz oder -kanal. Wenn er auf einem Riser steht, führen Sie die Kabel durch die hintere Öffnung, falls vorhanden. Ein Riser kann den ersten Teil des Kabelwegs verdecken, sollte die Kabel aber nicht in eine scharfe Biegung zwingen.
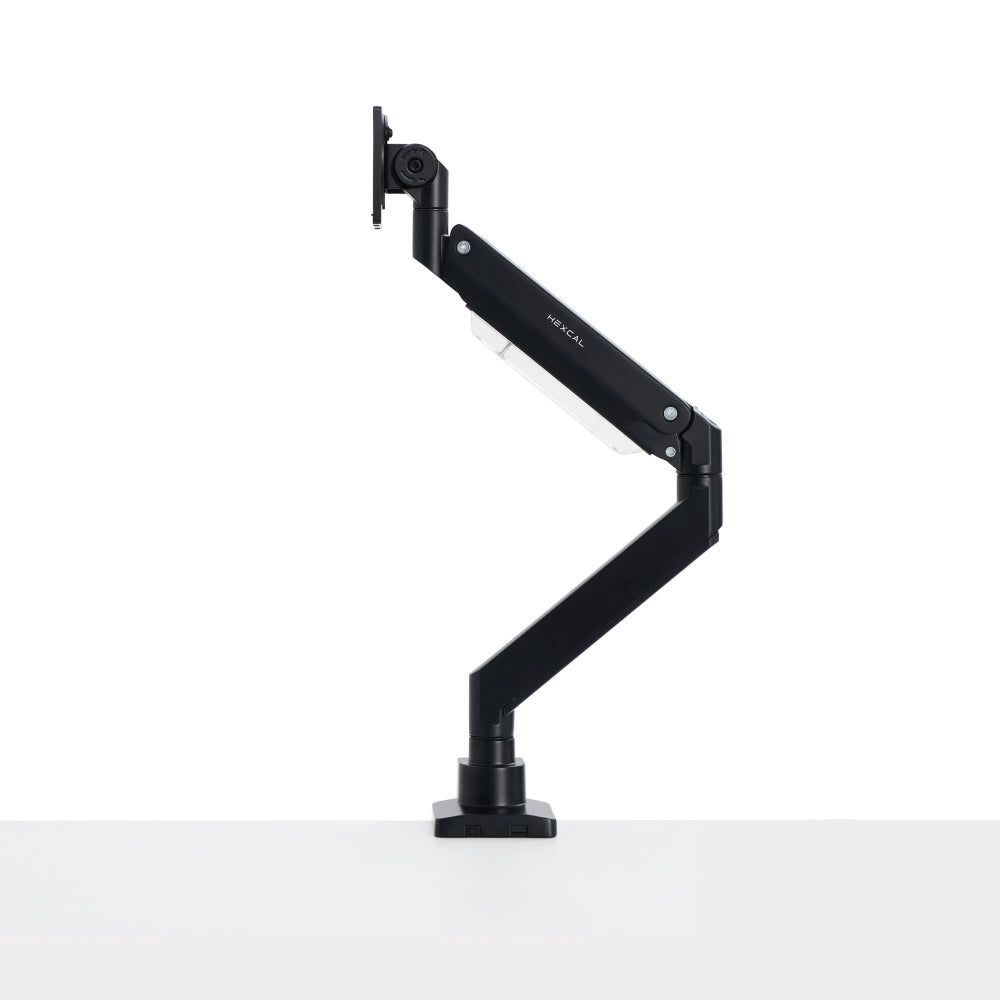
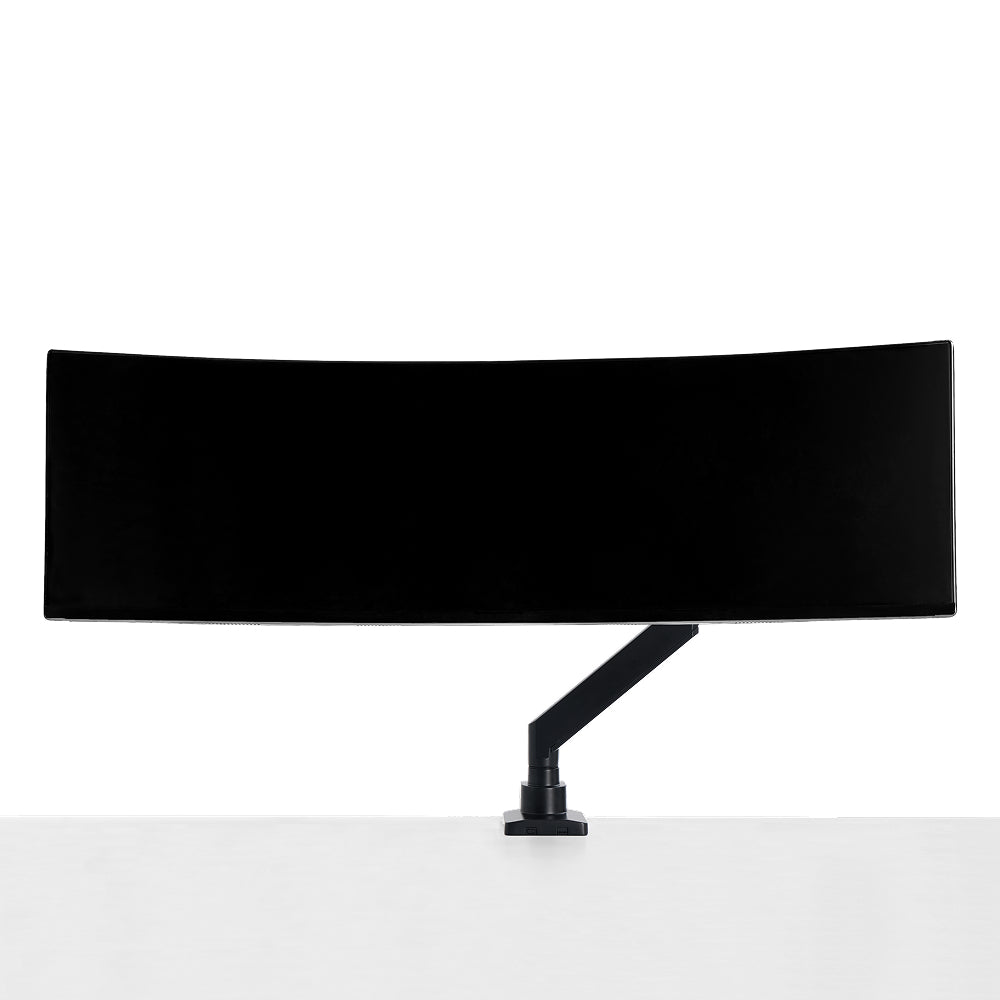
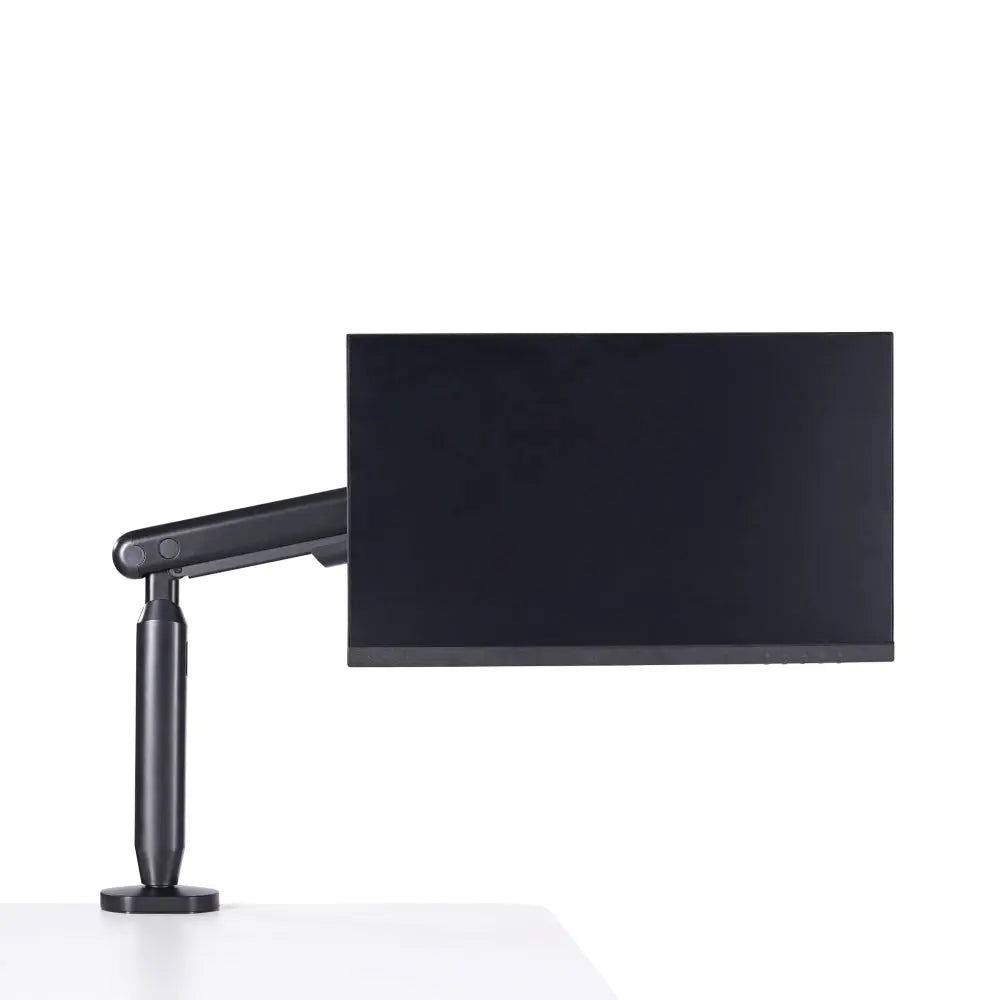
Produktoption: Einzelner Monitorarm
Ein Monitorarm kann Schreibtischfläche freigeben und eine sauberere vertikale Kabelführung ermöglichen. Der Hexcal Einzelmonitorarm ist für einen Bildschirm bis zu 35 Zoll und 3–11 kg ausgelegt, mit 75×75 mm und 100×100 mm VESA-Unterstützung. Er bietet Klemm- und Durchführungsoptionen sowie integriertes Kabelmanagement.
Überprüfen Sie das Gewicht, das VESA-Muster und die Schreibtischstärke Ihres Monitors, bevor Sie einen Arm auswählen. Die sauberste Kabelführung ist immer noch die falsche, wenn die Halterung nicht mit dem Display kompatibel ist.

Schritt 2: Kabel nach Ziel sortieren
Bündeln Sie nicht jedes Kabel hinter dem Monitor, nur weil sie nahe beieinander liegen.
Sortieren Sie sie in Gruppen für Strom, Display, Daten, Audio und Netzwerk. Dann entscheiden Sie, wohin jede Gruppe gehen soll. Das Monitorkabel muss möglicherweise zur Steckdosenleiste. Das Displaykabel muss möglicherweise einen Desktop-Computer oder eine Dockingstation erreichen. Ein USB-Kabel muss möglicherweise für ein Gerät auf dem Schreibtisch zugänglich bleiben. Diese Pfade gehören nicht immer in dasselbe Bündel.
Für einen einzelnen Monitor ist der sauberste sichtbare Weg einfach: Kabel verlassen die hinteren Anschlüsse, verlaufen hinter dem Bildschirm nach unten, folgen dem Standfuß oder Arm, erreichen einen Punkt an der Rückseite des Schreibtisches und führen unter dem Schreibtisch weiter zum Computer oder zur Stromversorgung.
Schritt 3: Kabel hinter dem Monitor verstecken
Der Bereich direkt hinter dem Monitor ist der Ort, an dem die meisten Setups entweder ordentlich werden oder unordentlich bleiben.
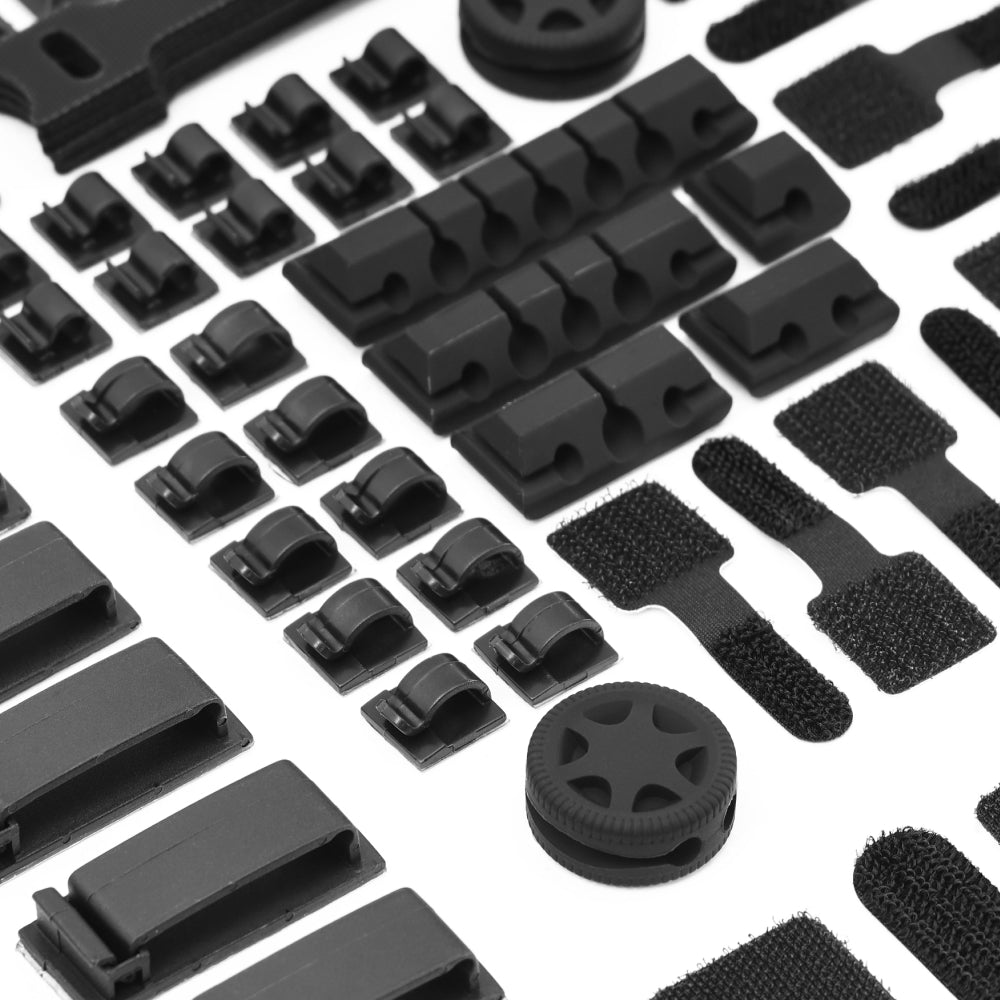
Nutzen Sie den Kabelkanal im Monitorständer oder die Armabdeckung, wo vorhanden. Verwenden Sie kleine Clips an einem Ständer ohne integrierte Kabelführung und einen schmalen Schlauch, wo mehrere Kabel denselben sichtbaren Weg teilen. Halten Sie Steckverbinder und Adapter außerhalb enger Biegungen.
Lassen Sie eine kleine Serviceschleife in der Nähe des Monitors. Diese kurze Menge an zusätzlichem Kabel ermöglicht es Ihnen, den Bildschirm zu entfernen, zu drehen oder den Arm zu verstellen, ohne am Stecker zu ziehen. Eine große Spule schafft ein zweites Problem; eine zu kurze Schleife erzeugt Spannung, wann immer sich der Monitor bewegt.
Bei einem Monitorarm verlegen Sie das Kabel entlang der beweglichen Abschnitte und prüfen Sie den gesamten Bewegungsbereich, bevor Sie etwas befestigen. Bewegen Sie den Bildschirm vorwärts, rückwärts, links und rechts. Wenn das Kabel hängen bleibt, benötigt die Verlegung mehr Spiel oder einen anderen Ankerpunkt.
Schritt 4: Einen kontrollierten Pfad unter dem Schreibtisch schaffen
Sobald die Kabel die hintere Kante des Schreibtisches erreichen, geben Sie ihnen eine klare Richtung.
Wenn die Steckdosenleiste und die Adapter auf dem Boden liegen, verschieben Sie sie in eine Untertischwanne oder an einen anderen zugänglichen Ort unter der Oberfläche. Die Wanne muss vom Stuhl aus nicht sichtbar sein, aber Sie sollten trotzdem den Netzschalter erreichen und ein Gerät abziehen können, ohne das Setup auseinanderzunehmen.
Lassen Sie Kabel, die zum Computer führen, einen hinteren Weg teilen. Lassen Sie Stromkabel zur Steckdosenleiste führen. Halten Sie Kabel für Schreibtischzubehör in der Nähe der Vorder- oder Seite, die sie bedienen. Die Kabel eines Monitorarms sollten dem Arm folgen, bevor sie sich dem größeren Weg unter dem Schreibtisch anschließen.
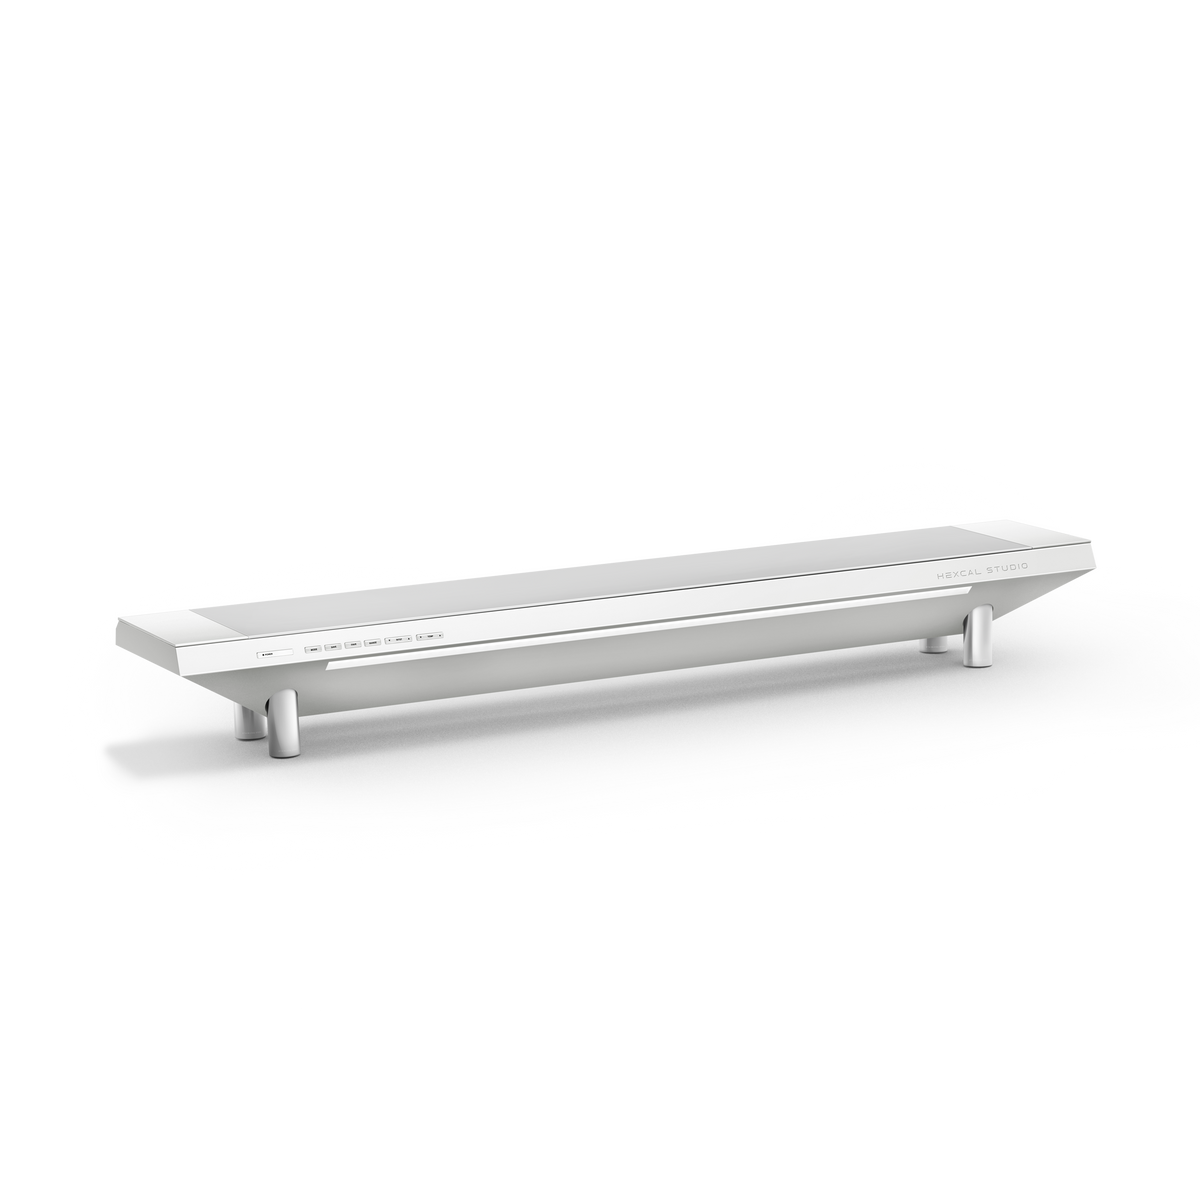
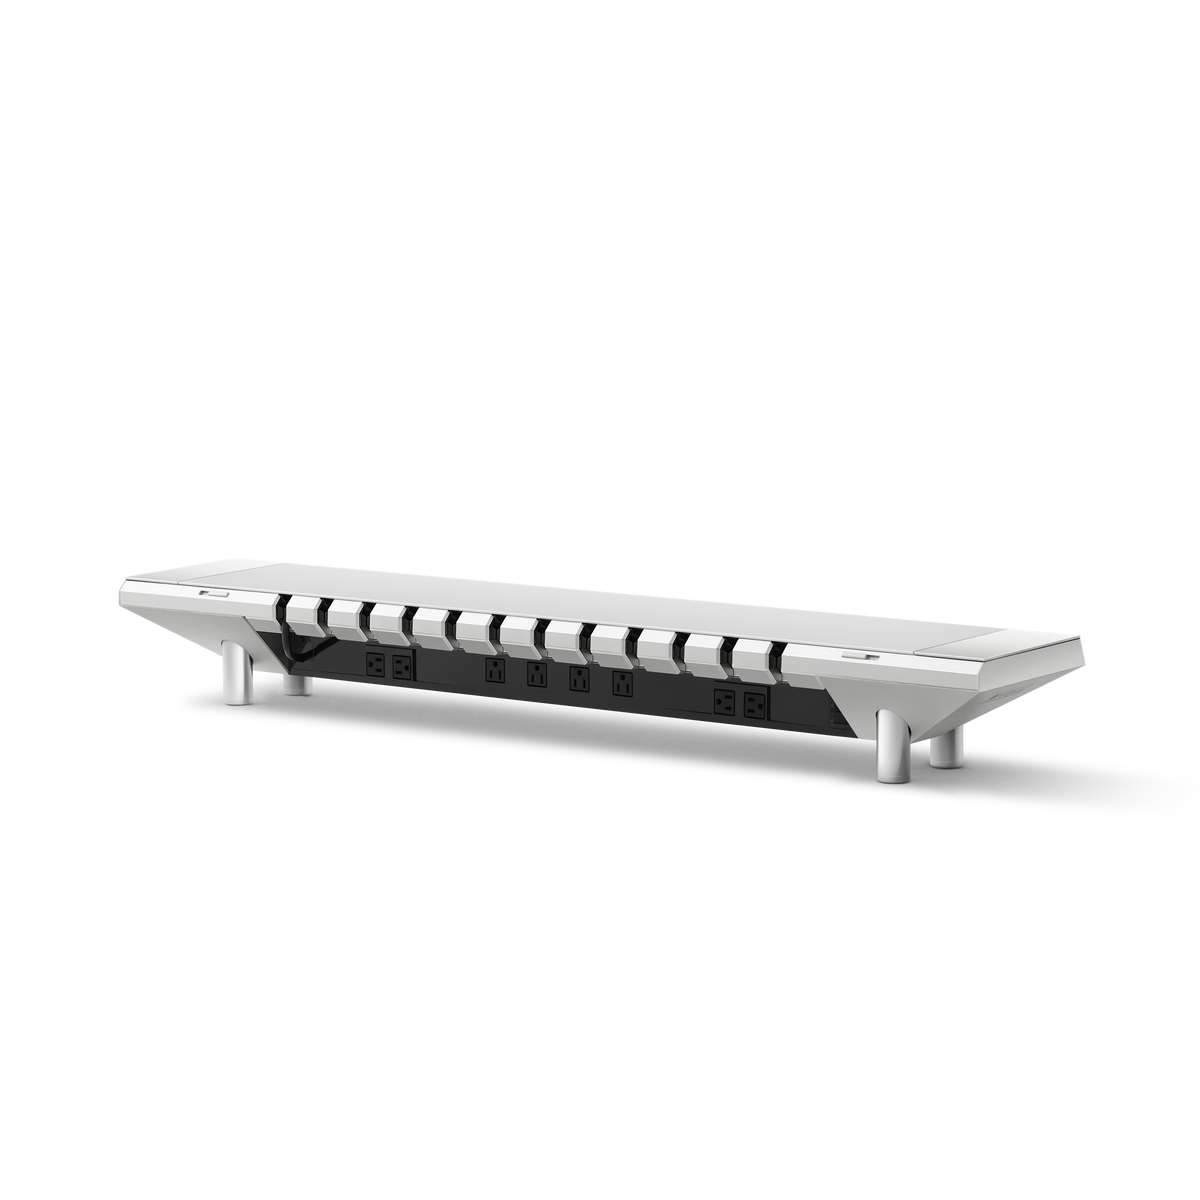
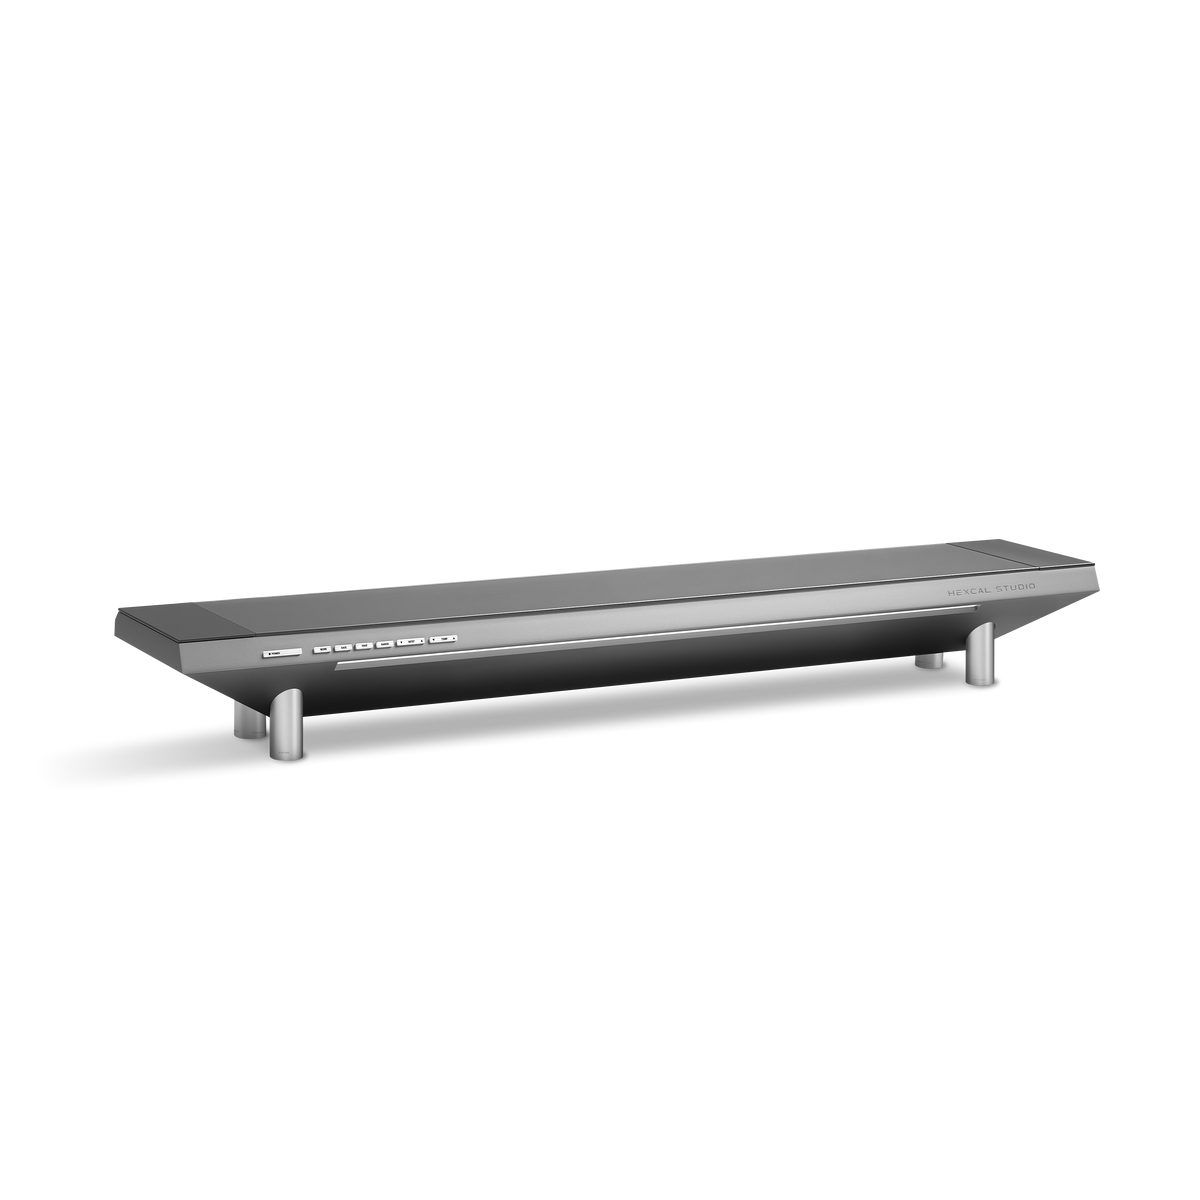
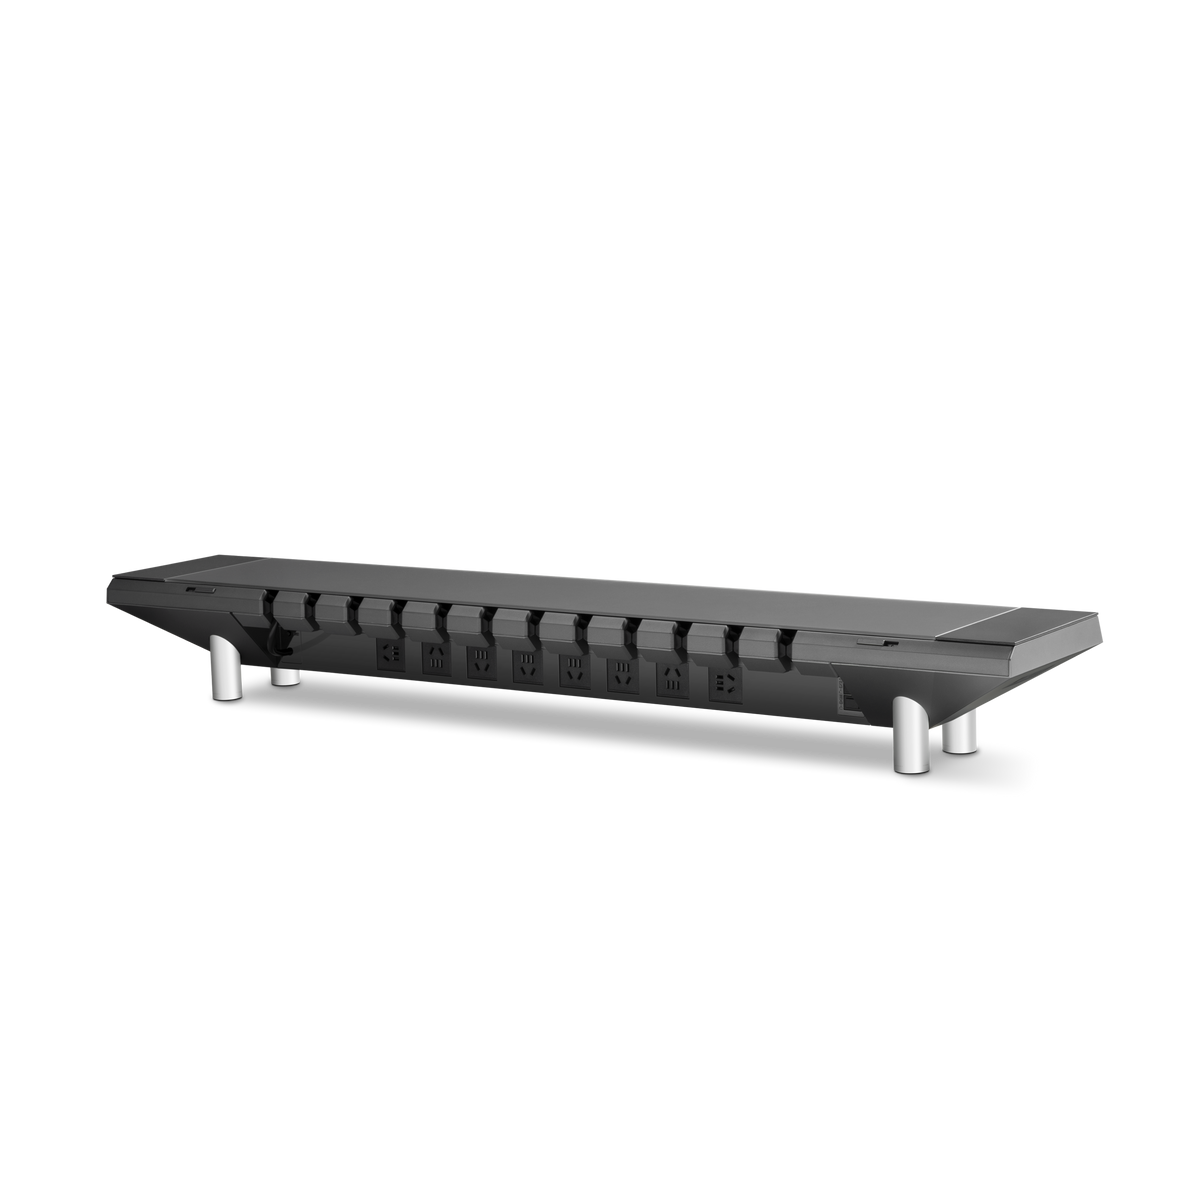
Produktoption: Kabelmanagement-Wanne für unter dem Schreibtisch
Die Hexcal Kabelmanagement-Wanne für unter dem Schreibtisch bietet der Steckdosenleiste, Adaptern und überschüssigen Kabelschlaufen einen definierten Platz unter dem Schreibtisch. Verwenden Sie sie für das größere Bündel; halten Sie die kurzen Kabel, die Sie täglich anschließen, in Reichweite.

Verwenden Sie einen Kabelschlauch nur dort, wo mehrere Kabel in die gleiche Richtung verlaufen. Ein Schlauch ist nützlich für die Hauptleitung vom Monitor zum Computer. Er ist weniger nützlich, wenn er jedes Kabel im Schreibtisch-Setup in einem großen Bündel einschließt.
Wenn Sie einen Stehschreibtisch verwenden, fahren Sie ihn in seine höchste Arbeitsposition, bevor Sie die Verlegung abschließen. Beobachten Sie das Kabel vom Monitor zum Computer, zur Steckdosenleiste und zur Wandsteckdose. Es sollte genügend Bewegungsspielraum vorhanden sein, ohne den Computer zu ziehen, den Stecker zu dehnen oder die Steckdosenleiste zu schleifen. Weitere Details finden Sie in unserem Leitfaden zum Kabelmanagement für Stehschreibtische.
Schritt 5: Die täglich verwendeten Kabel befestigen
Die Kabel, die die meiste Aufmerksamkeit benötigen, sind nicht immer die größten. Es sind die Kabel, die Sie ständig berühren.
Befestigen Sie ein Laptop-Ladegerät, Kopfhörerkabel, USB-C-Kabel, Webcam-Kabel, Tastatur- oder Mauskabel und jedes Kabel, das zum Anschließen eines Telefons oder einer tragbaren Festplatte verwendet wird, so, dass es leicht erreichbar ist.
Ein kleiner Kabelclip in der Nähe der Vorder- oder Seite des Schreibtisches kann verhindern, dass ein Ladekabel hinter den Schreibtisch fällt. Ein wiederverwendbarer Kabelbinder kann ein Webcam-Kabel nah am Monitorarm halten. Ein hinter dem Monitor oder unter dem Schreibtisch montierter Hub kann mehrere kurze Kabel vom Desktop entfernen.
Testen Sie jede Verbindung, nachdem Sie sie befestigt haben. Stecken Sie das Gerät ein, ziehen Sie es ab und bewegen Sie es wie gewohnt. Wenn die Befestigung das Kabel unhandlich macht, verschieben Sie die Befestigung. Kabelmanagement sollte die Reibung bei täglicher Nutzung reduzieren, nicht jede Verbindung fest verankert wirken lassen.
Wie man Kabel bei einem Dual-Monitor-Setup versteckt
Dual-Monitore benötigen separate Kabelführungen am Bildschirm und eine gemeinsame Führung unter dem Schreibtisch.
Führen Sie jedes Displaykabel an der Rückseite des jeweiligen Monitors herunter. Halten Sie die beiden Kabel getrennt, während sie sich bewegen oder schwenken. Verbinden Sie sie erst, wenn sie einen stabilen Punkt erreicht haben, z. B. die hintere Kante des Schreibtisches oder eine Untertischwanne. Wenn ein Display nicht mehr funktioniert, können Sie seine Strom- und Signalkabel identifizieren, ohne ein großes Bündel öffnen zu müssen.
Bei einem Laptop und einem externen Monitor halten Sie die Laptop-Seite des Setups so kurz wie möglich. Eine Dockingstation kann die Anzahl der über den Schreibtisch verlaufenden Kabel reduzieren, aber die Dockingstation selbst sollte einen definierten Platz haben. Platzieren Sie sie hinter dem Monitor, unter dem Schreibtisch oder neben dem Laptop und führen Sie dann ihre Hauptverbindung entlang des gleichen Pfades wie das Displaykabel.
Häufige Fehler beim Kabelmanagement von Monitoren
Kabel verstecken, bevor der Bildschirm positioniert wird
Der Monitor bewegt sich, die Kabelführung nicht, und der Stecker gerät unter Spannung. Zuerst den Bildschirm platzieren.
Keine Serviceschleife lassen
Ein Kabel, das perfekt aussieht, während der Monitor stillsteht, kann ziehen, wenn der Arm schwenkt oder der Bildschirm angehoben wird. Lassen Sie einen kleinen Spielraum für die Arbeit.
Strom- und Datenkabel zu einem engen Seil bündeln
Ein einziges großes Bündel ist später schwer zu ändern. Gruppieren Sie Kabel nach Ziel und verwenden Sie einen Kabelschlauch nur für eine gemeinsame Route.
Kabel über den offenen Schreibtisch verlegen
Wenn das Kabel über den Desktop verläuft, bevor es den Monitor erreicht, wird das Layout immer unfertig aussehen. Verschieben Sie die Dockingstation, den Hub oder die Stromquelle näher an den hinteren Weg.
Die Steckdosenleiste unerreichbar platzieren
Versteckt ist nützlich. Unerreichbar nicht. Sie sollten ein Gerät immer noch ausschalten oder ersetzen können, ohne den Monitor zu bewegen.
Die Bewegung des Schreibtisches ignorieren
Eine Kabelführung, die im Sitzen funktioniert, kann fehlschlagen, wenn ein Stehschreibtisch hochfährt. Testen Sie den gesamten Bereich, bevor Sie die letzte Verankerung festziehen.
FAQ
Wie verstecke ich Monitorkabel?
Führen Sie die Strom- und Displaykabel hinter dem Monitor entlang und dann den Standfuß oder Monitorarm hinunter. Nutzen Sie den integrierten Kabelkanal, wenn verfügbar. An der Schreibtischkante führen Sie die Kabel weiter zu einer Untertischwanne oder einem einzelnen hinteren Weg.
Wohin sollen Monitorkabel?
Monitorkabel sollten die hinteren Anschlüsse verlassen, die Rückseite des Standfußes oder Arms hinunterlaufen und dann zum Computer oder zur Stromquelle geführt werden. Vermeiden Sie es, sie über die offene Tischplatte zu führen oder eine lose Schleife neben dem Bildschirm zu lassen.
Wie organisiere ich Kabel hinter einem Monitor?
Sortieren Sie die Kabel nach Funktion, schließen Sie zuerst den Monitor an und halten Sie die Strom- und Displaykabel nahe am Standfuß oder Arm. Verwenden Sie eine kleine Serviceschleife für Bewegungen und befestigen Sie die Kabel dann mit Clips oder einem Schlauch, nachdem Sie die Bildschirmposition getestet haben.
Kann ein Monitorarm beim Kabelmanagement helfen?
Ja. Ein Monitorarm kann die Displaykabel nahe an der Stützstruktur halten und Platz auf dem Schreibtisch freimachen. Überprüfen Sie das Gewichtslimit, das VESA-Muster, die Befestigungsmethode und den Kabelkanal des Arms, bevor Sie ihn installieren.
Wie organisiere ich Kabel am besten für einen Stehschreibtisch?
Führen Sie die Kabel durch oder in eine Untertischwanne, lassen Sie genügend Spielraum für den Schreibtisch in seiner höchsten Position und testen Sie die Verlegung beim Hoch- und Runterfahren des Schreibtisches. Das Monitorkabel sollte niemals am Display-Port oder am Computer ziehen.
Verwandte Anleitungen
- Schreibtisch-Kabelmanagement: Ein umfassender Leitfaden zur Organisation des gesamten Arbeitsplatzes
- So montieren Sie einen Monitor ohne Bohren: Eine umfassende Anleitung
- Hexcal Einzelmonitorarm
Ein Monitor-Setup bleibt organisiert, wenn jedes Kabel einen Weg hat, jedes bewegliche Teil genügend Spielraum hat und die am häufigsten verwendeten Anschlüsse leicht erreichbar bleiben. Beginnen Sie hinter dem Bildschirm. Der Rest des Schreibtisches lässt sich viel einfacher ordnen, sobald dieser erste Weg stimmt.