Premium Monitor Stand Buying Guide: Choose the Right Setup
The wrong premium monitor stand can leave you with a higher screen and the same cable mess. A wider shelf or a better finish won't solve a charging problem, and built-in ports won't help if they don't support the connections you need.
Choose the stand around the job your desk needs done. A shelf can be enough for extra height and storage. An arm suits a screen you reposition frequently. An integrated powered stand is worth considering when accessible power, cable storage and the raised surface all have a useful role in your workstation.

Decide which features are worth paying for
Premium can describe materials, finish, construction or integrated functions. Those are different reasons to buy. A wooden shelf can be a deliberate design choice; a powered platform can help organize a desk with several devices. Judge each against the problem you actually want to solve.
| Your requirement | A route worth considering | When to reconsider |
|---|---|---|
| More height or storage beneath a fixed screen | A shelf or riser that fits the monitor's base | The screen is already high enough at its lowest setting |
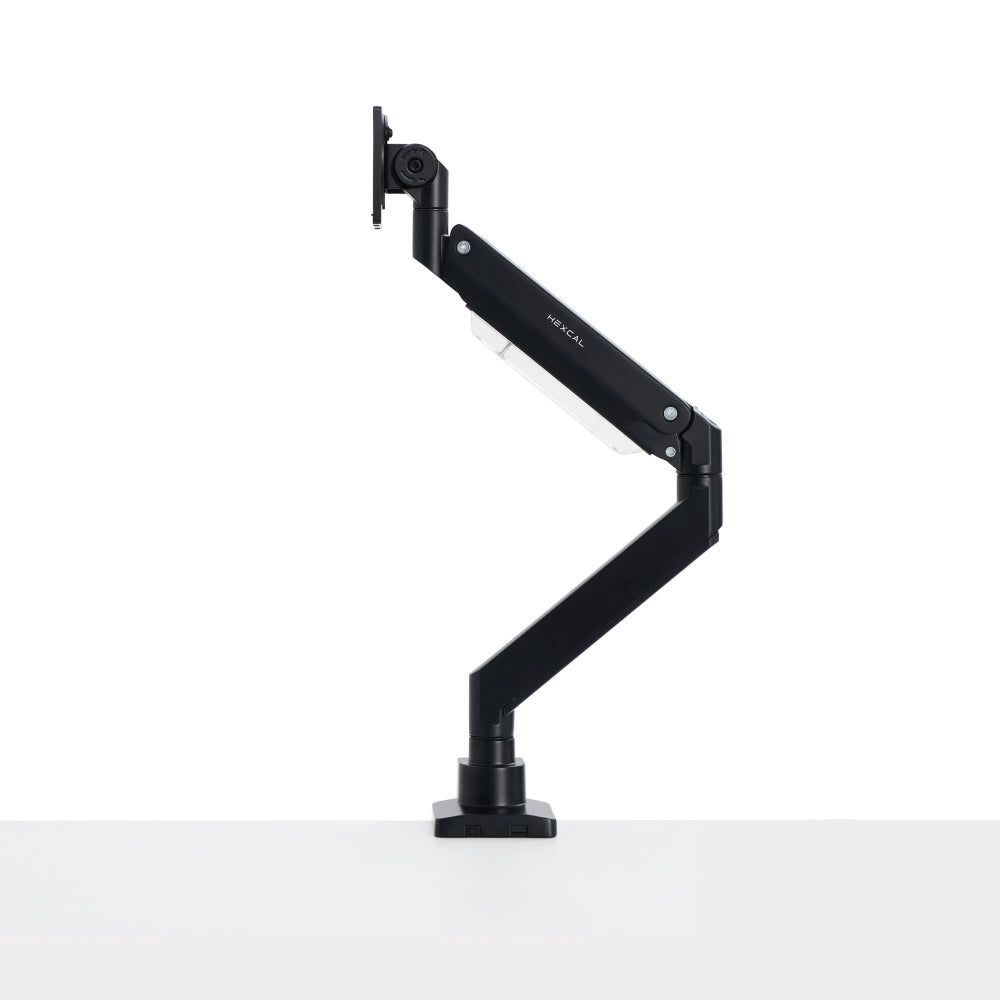
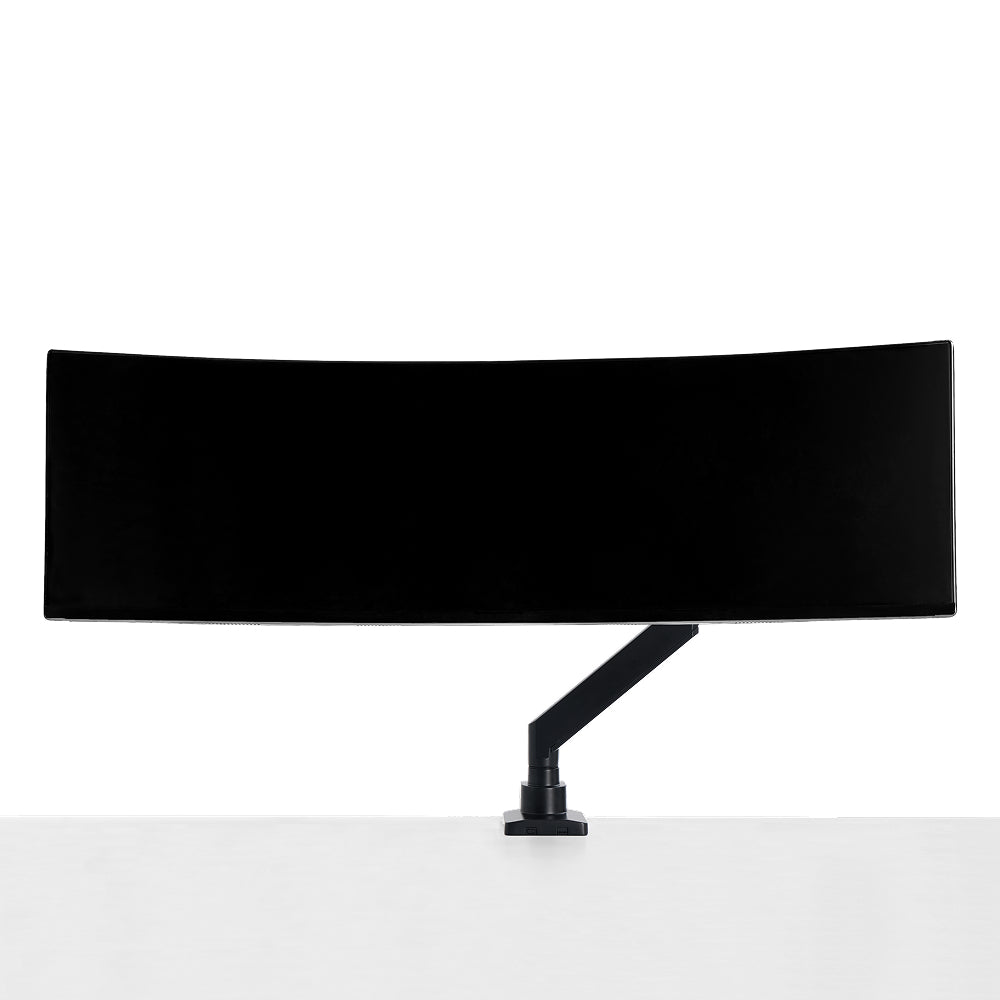
| Frequent changes to screen position | An adjustable monitor arm | The display or desktop doesn't meet its mounting requirements |
| Power and cable organization around several devices | An integrated powered monitor stand | Your existing charging and cable arrangement already works well |
| A laptop connection that also carries display and peripheral data | A dock or a stand with the required documented docking functions | You are relying on connector shape or port count to establish compatibility |
Start with what you already own. If the dock, charger and cable route work, a new stand doesn't need to duplicate them. If adapters occupy the working surface and frequently used connections are hard to reach, integration has a clear task to perform.
For a deeper comparison of support options, use the existing monitor stand or monitor arm guide. The checks below help you evaluate the route you choose.
Step 1: Check the footprint and resulting screen height
Measure the monitor's base and the usable top of the stand. The screen's diagonal doesn't establish whether its feet will be supported. Keep the manufacturer's load requirement separate from the footprint check: a base can fit while the combined load is unsuitable, or the load can be within the limit while the base overhangs.
Include the original base when planning the load on a shelf. If you choose an arm instead, follow its instructions for the mounted display and attached accessories. The two support arrangements carry different equipment.
Height deserves the same attention. Lower your monitor to the bottom of its adjustment range before choosing a riser. If the screen is already at your preferred height, adding a fixed platform raises the whole adjustment range. Look for a lower support or evaluate an arm if you need to bring it back down.

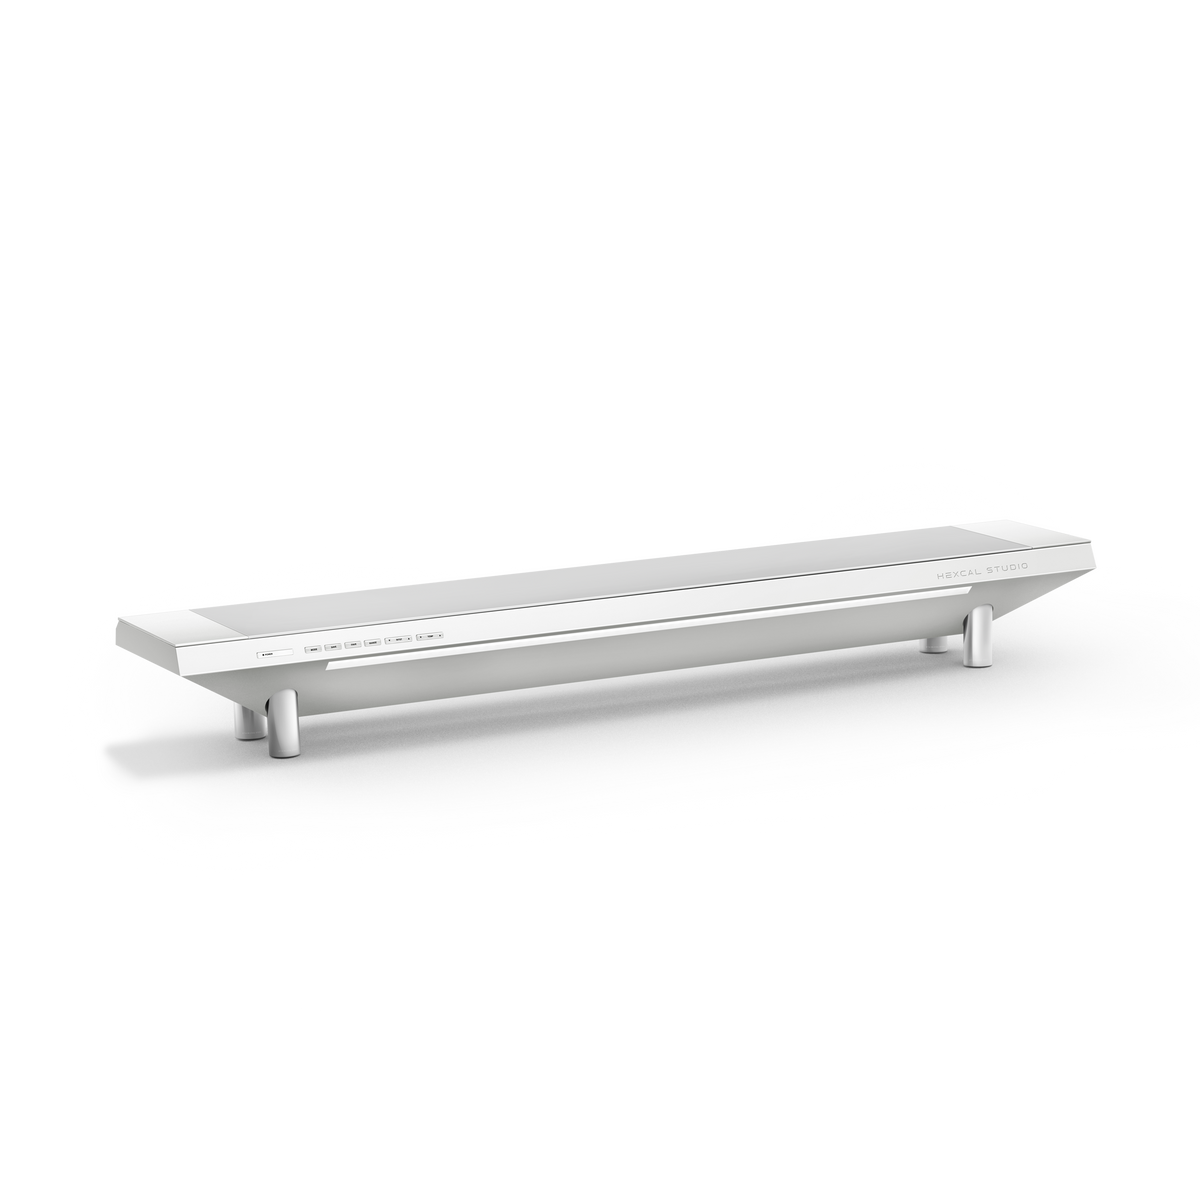
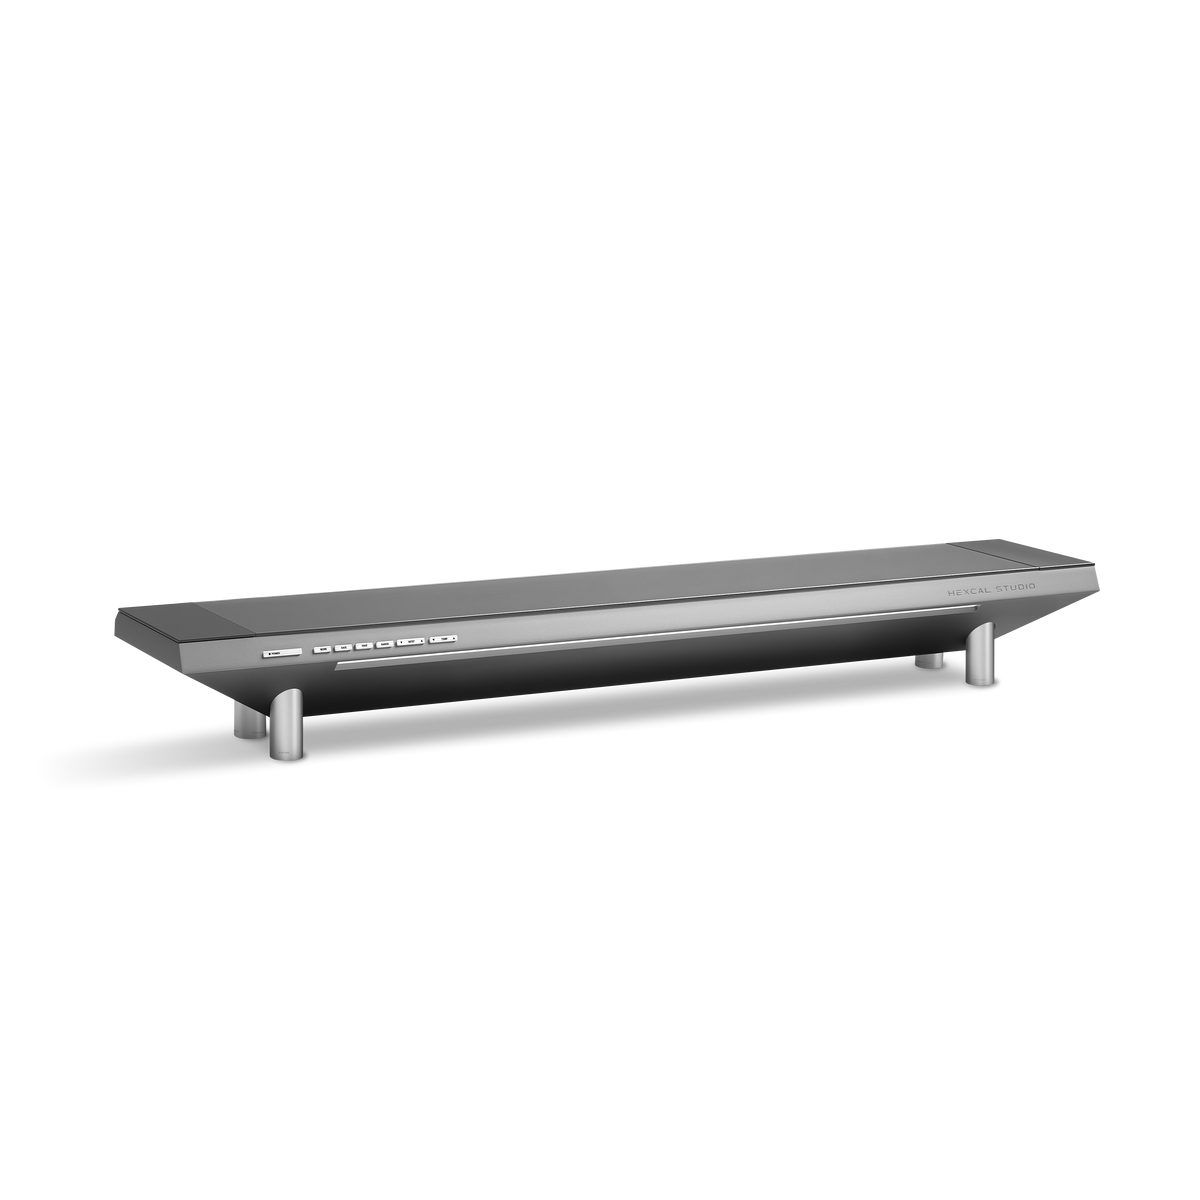
A real product example makes the calculation useful. Hexcal's current Gen2 specifications list an overall width of 120 cm, a depth of 22 cm, and heights of 14.8 cm in single-leg mode or 17.8 cm in double-leg mode. Overall depth and usable top area should be checked separately when judging the monitor's base.
Consider an illustrative setup where the monitor, at its lowest setting, can rise only 6 cm before passing the user's preferred screen position. A platform that adds 14.8 cm exceeds that allowance. Its height-adjustment options don't solve the mismatch: the user needs a lower support or a different mounting arrangement. These are example inputs, not measurements from a tested workstation.
OSHA's monitor guidance recommends positioning the top of the screen at or below eye level and considering the monitor together with the desk, chair and keyboard. Use that guidance with your own workstation; a stand's price doesn't establish suitable placement.
Mark the proposed footprint on the desktop with paper, including room for connectors at the rear. This lets you see whether the keyboard and mouse still have a usable work area. A paper outline checks space, not load capacity.
Step 2: Separate charging, data and video
“It has USB-C” leaves several buying questions unanswered.
A charging port supplies power. A data connection links a peripheral to a computer. A video connection carries the display signal. One connector can support several functions, but the product, computer and cable must support the path you intend to use. USB-IF's cable guidance explains that cables have different capabilities; the connector alone isn't a complete specification.
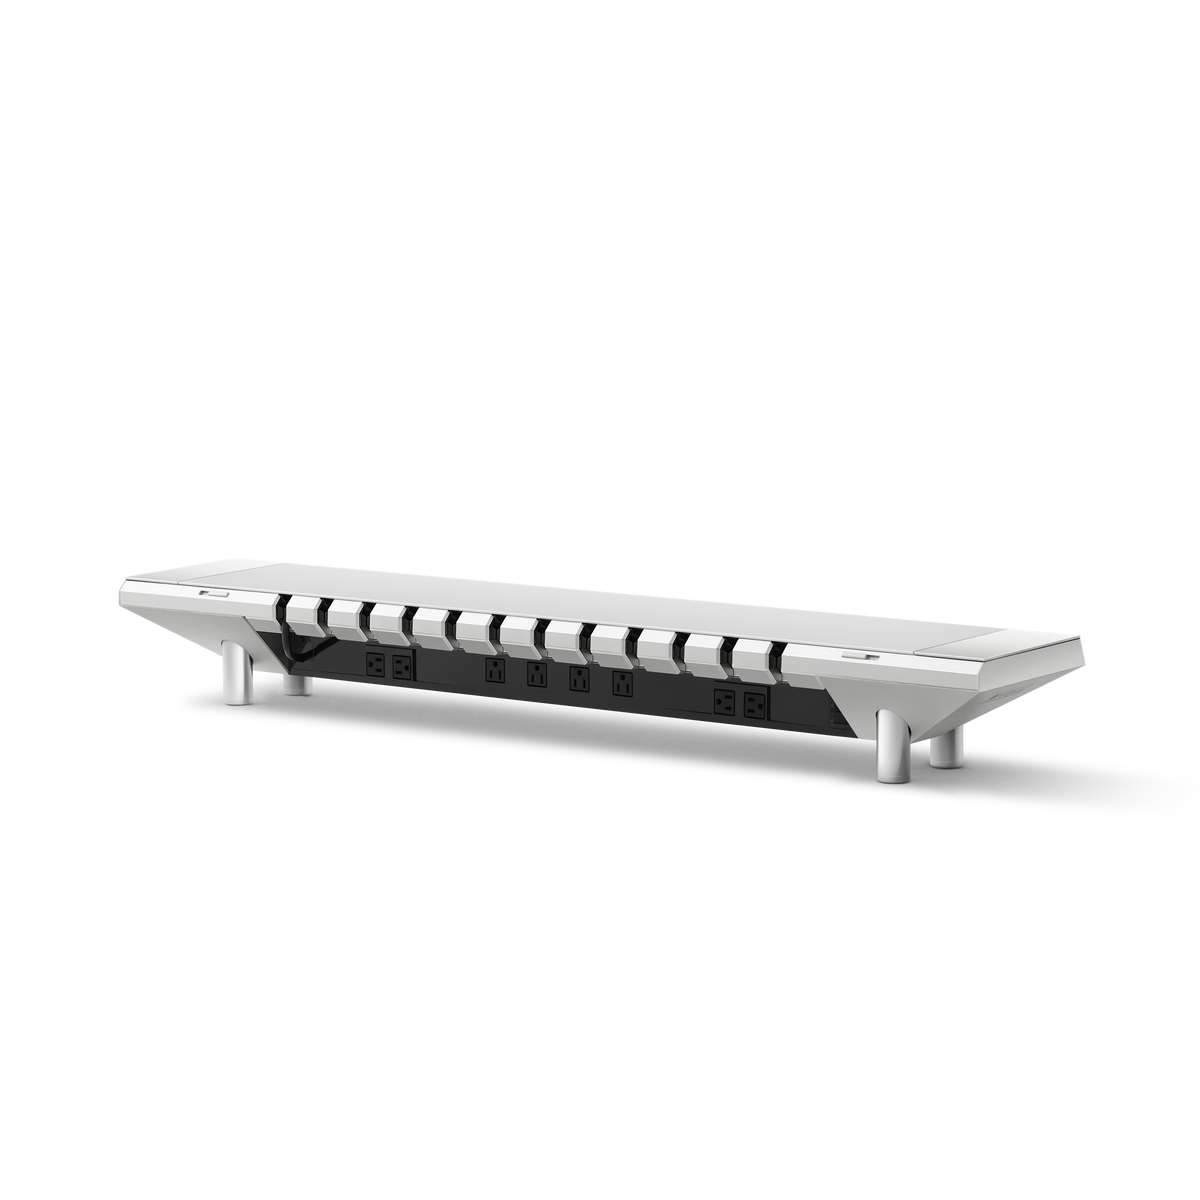
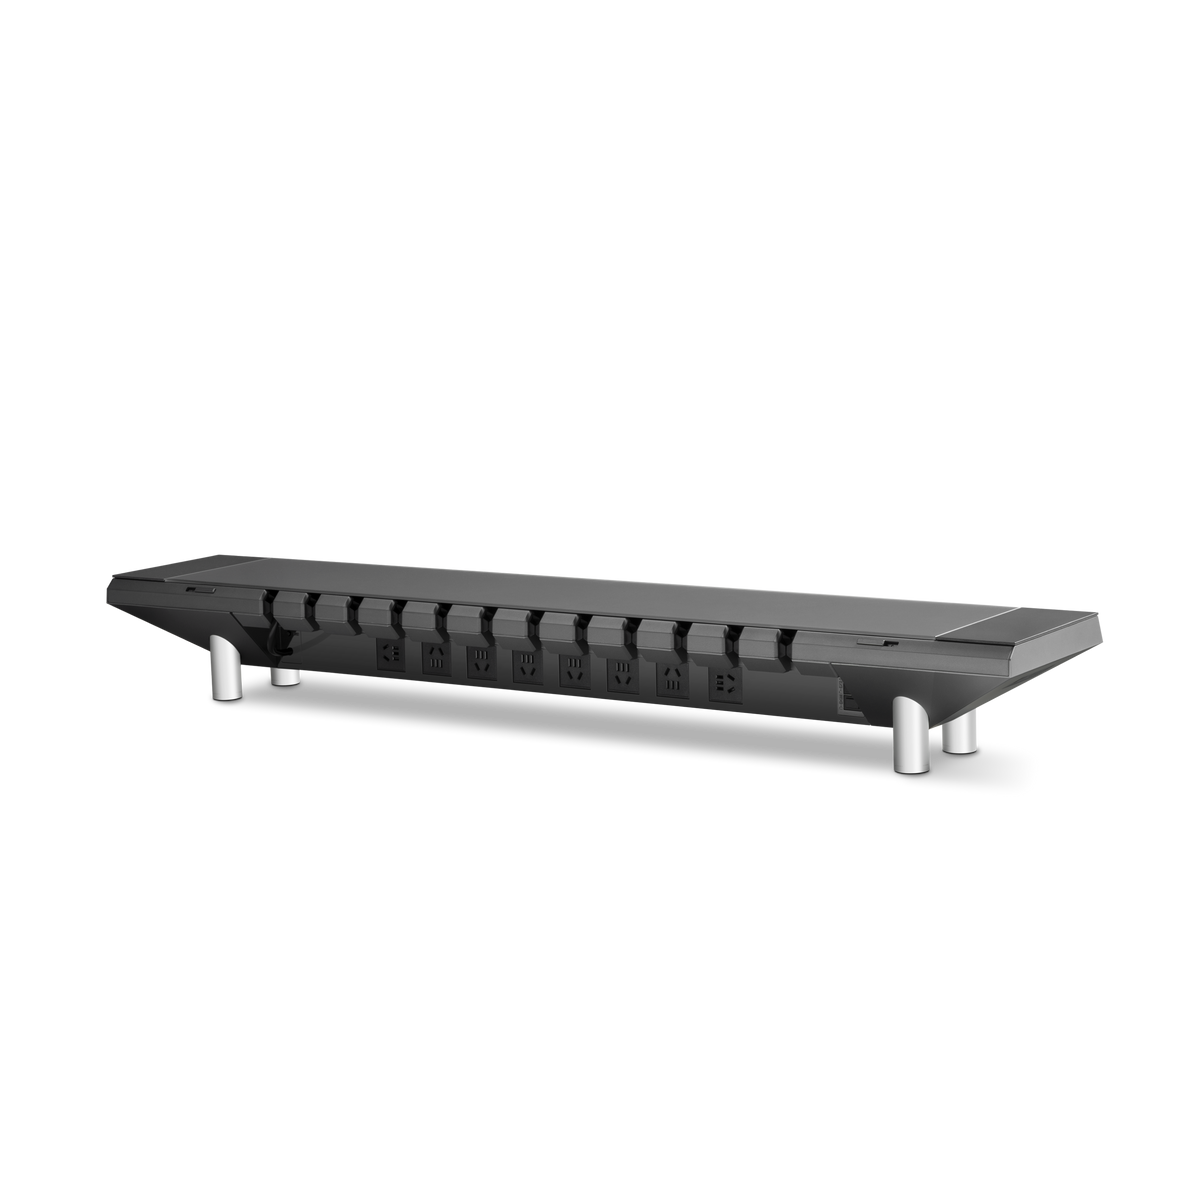
For example, the Hexcal Studio Gen2 powered monitor stand documents charging ports and separate USB data-bridging connections. That distinction matters when you plan the desk. A convenient charging connection doesn't establish a route from your computer to an external display.

For a laptop you take away each evening, map its charging, peripheral and display connections separately. Keep the dock if it still provides required display or peripheral functions. Route that equipment within the desk setup where appropriate, rather than assuming the stand replaces it.
With a desktop computer, identify the computer's connection to each display and the host connection required for any peripheral data path. Charging a phone at the stand is a separate task. This simple map helps you avoid buying a feature you cannot use.
Before ordering, confirm charging output for the intended port and the stated behavior when other ports are occupied. Where the manufacturer hasn't made a capability clear, ask rather than treating it as supported. You should be able to explain where each device gets its power and how each display receives its signal.
Step 3: Make hidden cables accessible
A Concealment Chamber gives adapters and cable runs a place to live. The useful question is how you will access a connection after the desk is assembled.
Start with the cable you touch most often. For a laptop that leaves the desk daily, keep the connection reachable without moving the screen or opening storage. A display's power lead may stay fixed, but you should still be able to identify it and remove it when replacing the display.

Use the product's opening and access instructions to plan that replacement. Work through one path: disconnect the device, identify its lead, reach its adapter or socket, and remove it without disturbing unrelated runs. If a required step means shifting a heavy screen, factor that into your choice. Don't assume a compartment can be opened under load unless the instructions establish it.
For a monitor stand with cable management, neatness has practical value when the route remains serviceable. Labeling both ends helps you trace a fixed cable. Leave frequently disconnected leads accessible. Keep any clearance the product instructions require around adapters and openings.
Our monitor cable management guide covers the routing work in more detail. Use it once you've decided where the screen and its support will sit.
Step 4: Check the desk and mounting arrangement
A shelf, an arm and a standing desk can share a workstation, but each introduces its own space requirements.

Check the room behind the shelf for plugs and cable exits. If you also use an arm, check the fixing against the actual desktop and its underside. The shelf's surface load rating doesn't establish permission to clamp an arm to it. Desk frames, trays and other attachments may also occupy the space the clamp needs.
For a single large display, review the Heavy Duty Monitor Arm's compatibility requirements against the actual display and mounting surface. Choose its support first, then arrange the shelf or storage around the resulting footprint.
If you're choosing the desk as well, compare the Hexcal Elevate Standing Desk's current configuration with your planned work area and fixing location. An integrated stand can organize connections on the desktop, but connections to a wall outlet or equipment that stays below still need freedom through the desk's travel.
The standing desk cable slack guide explains those movement checks. A tidy route at sitting height doesn't establish that it works at standing height.
Choose the functions your setup will use
Hexcal designs monitor stands, so this guide reflects that product perspective. Studio Gen2 combines a raised platform with power distribution, cable management and lighting. That combination is worth evaluating when those functions address recurring problems in your desk setup.
If you already have accessible charging, suitable screen height and a serviceable cable route, keep those advantages in your plan. Material and finish can still matter to you; they don't require replacing equipment that works.
Choose for long-term use. Before ordering, you should know which function you're adding, whether the monitor and desk fit, how every device connects, and how you'll replace a cable later. With those decisions made, compare the current Studio monitor stand models and check the exact model's connections, outlet version and availability.