Skip to content
How to Build a Cohesive Desk Accessory System (Not a Pile of Gadgets)

The problem is almost never the individual desk accessory. The monitor arm works. The power strip works. The desk mat works. The problem is that none of them were designed to work together—so the cable from the monitor arm fights the power strip, the lamp clamp collides with the riser, and the "clean" desk you bought five things to achieve ends up looking like a hardware store shelf. Most desk accessories are sold as standalone SKUs, which is exactly why most desks built from them feel incoherent. The way out is to treat desk accessories as parts of one system rather than as a list of separate buys.
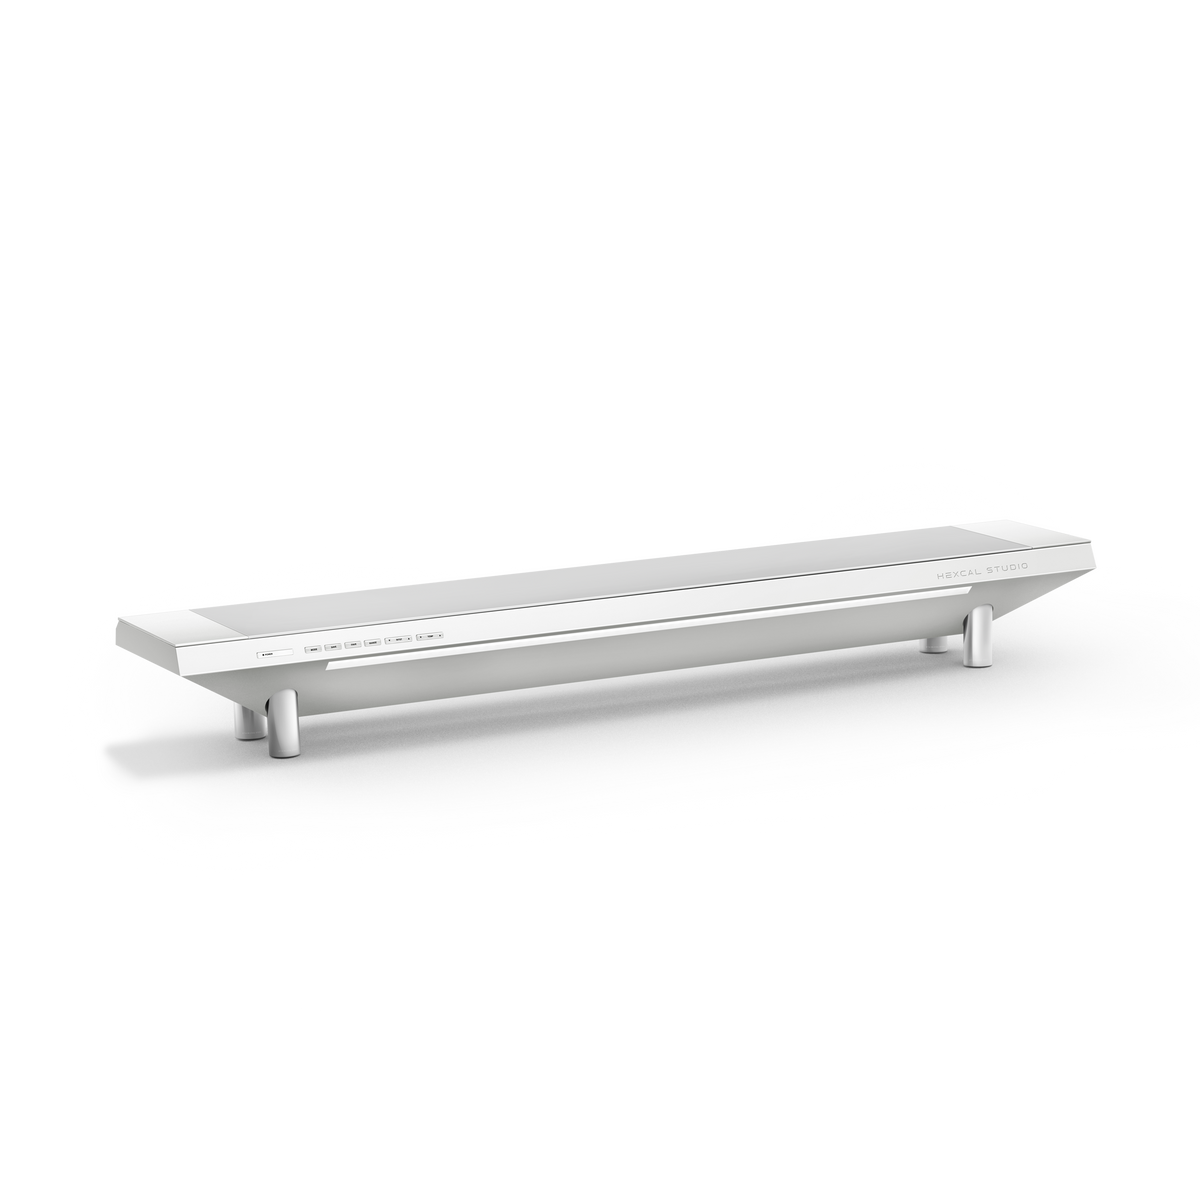
The fix is to stop shopping for accessories and start engineering a system. That means choosing components by how they interface with each other, not by how good each one looks alone. This is the logic behind a platform-first product like the Hexcal Studio, where power, lighting, and cable routing are one chassis instead of three separate purchases.
Key Takeaways
- A cohesive desk accessory system is built in three tiers: Surface (Tier 1), Power and Cabling (Tier 2), and Light and Ergonomics (Tier 3)—each tier constrains the next.
- The hidden cost of buying desk accessories piecemeal is the "Compatibility Tax": clamp collisions, mismatched cable exits, and a power strip rated for fewer watts than your gear actually draws.
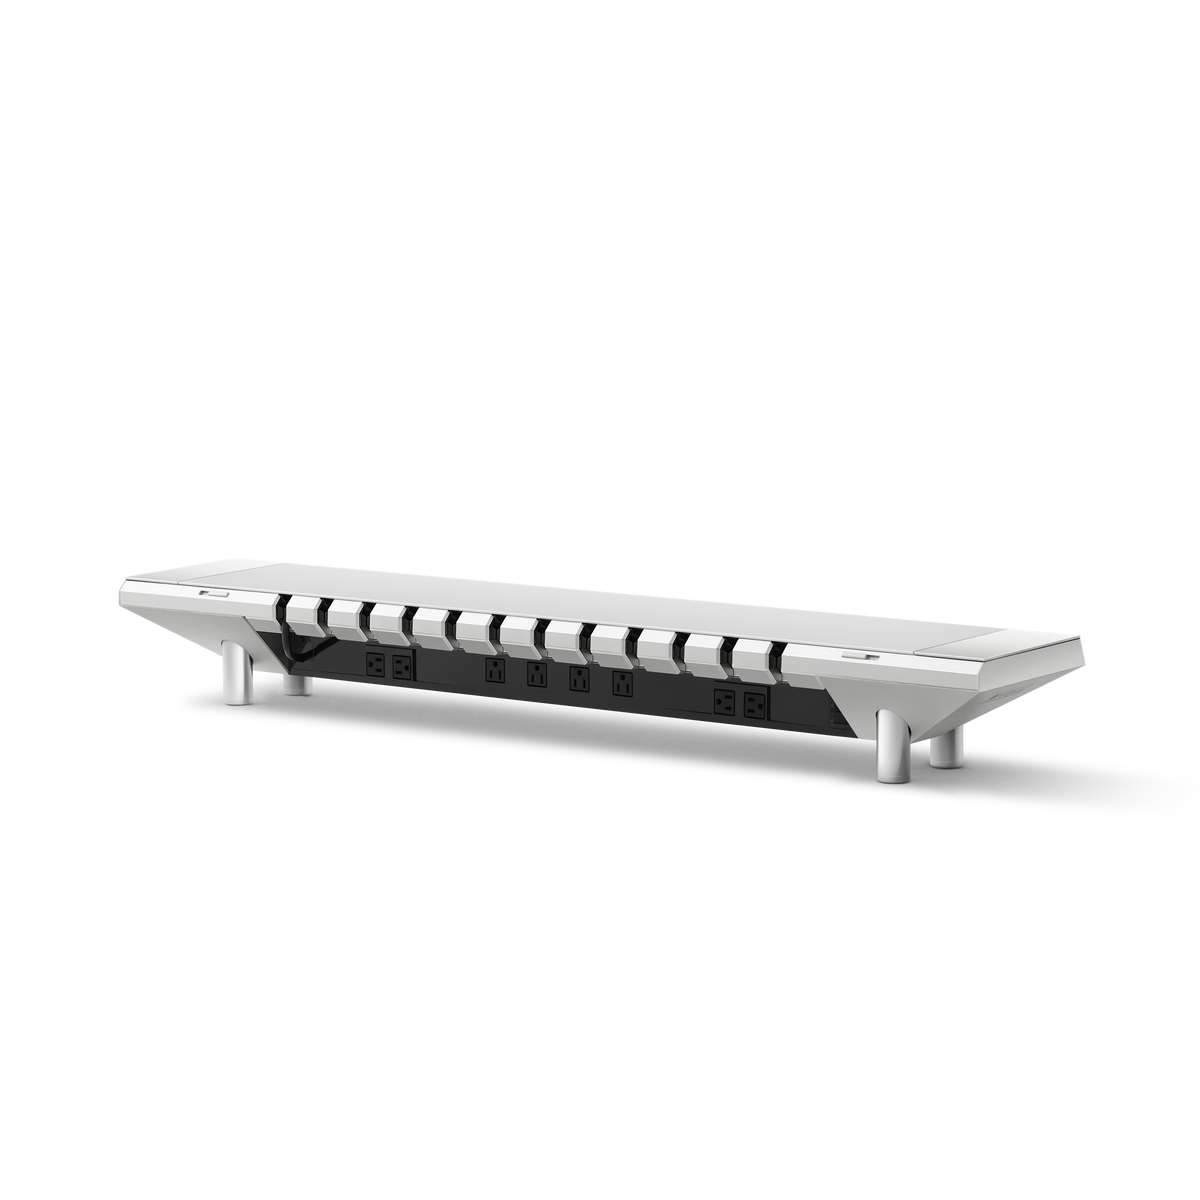
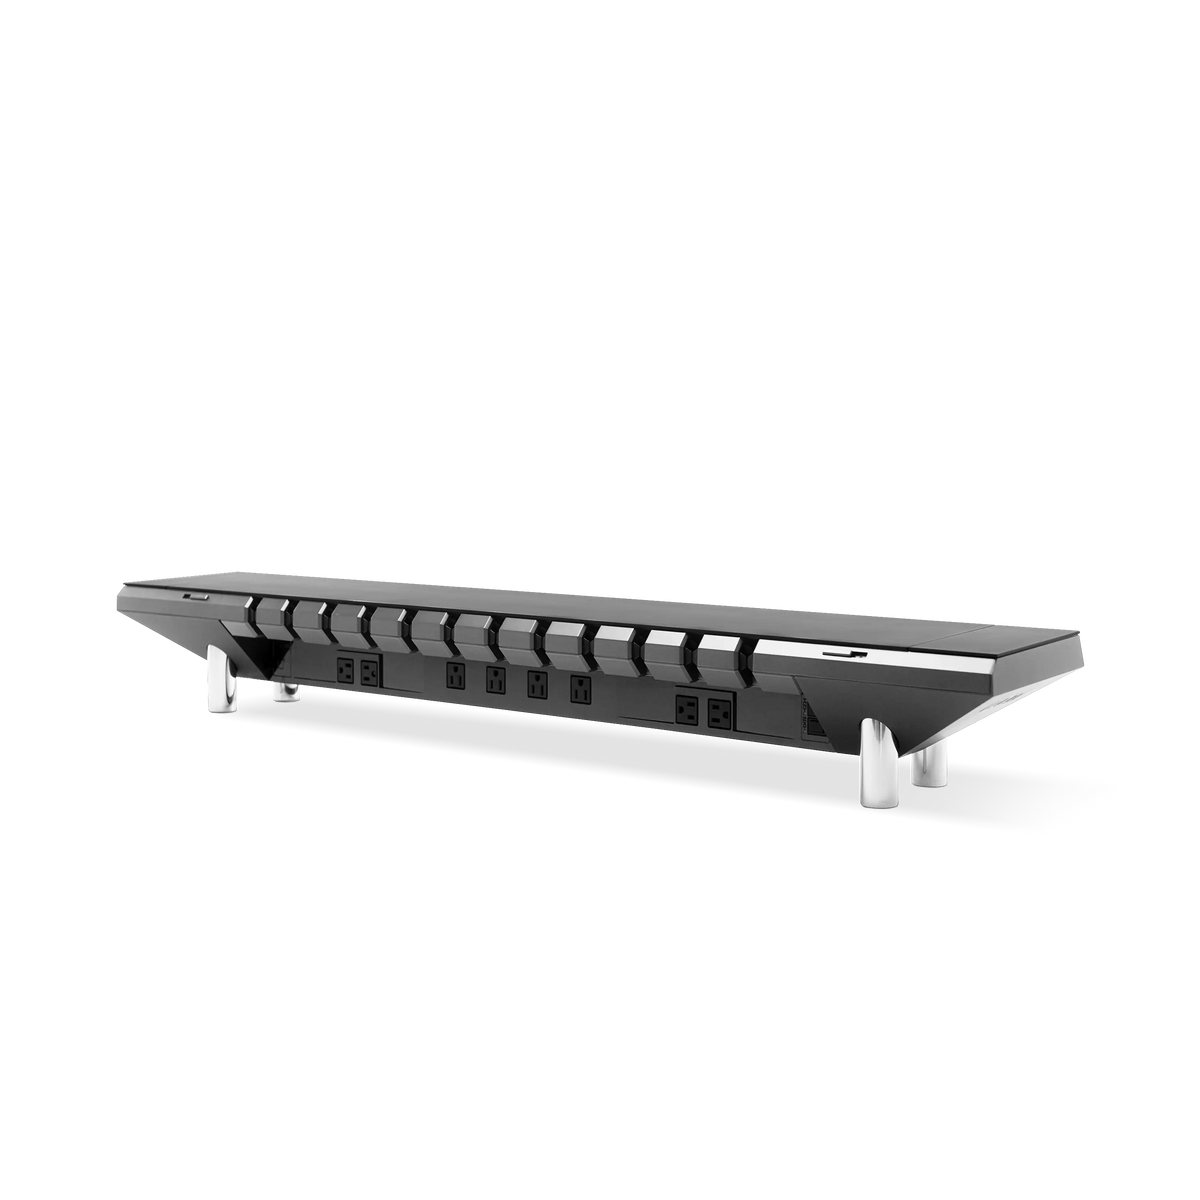
- USB-C Power Delivery was capped at 100W (20V/5A) until USB-IF's PD Revision 3.1 raised it to 240W in 2021—so a single integrated supply like the Studio's 1,440W distributed output removes the multi-brick sprawl entirely.
- Who should build a system: anyone running a monitor, a laptop, and 3+ peripherals on one surface. Who shouldn't: a floating wall-mounted desk with no under-surface clamp area—several of these components need a fixed edge.

Tier 1: The Surface, Decide What the Desk Actually Has to Hold
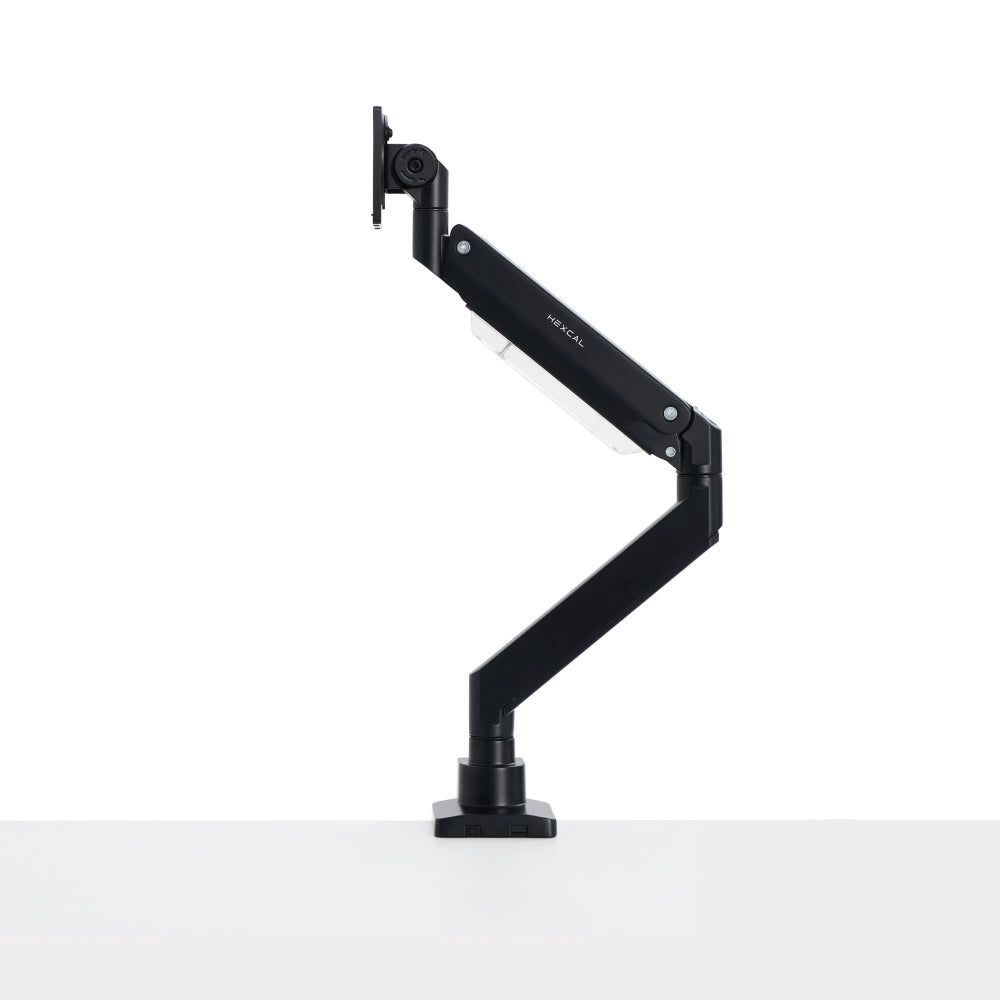
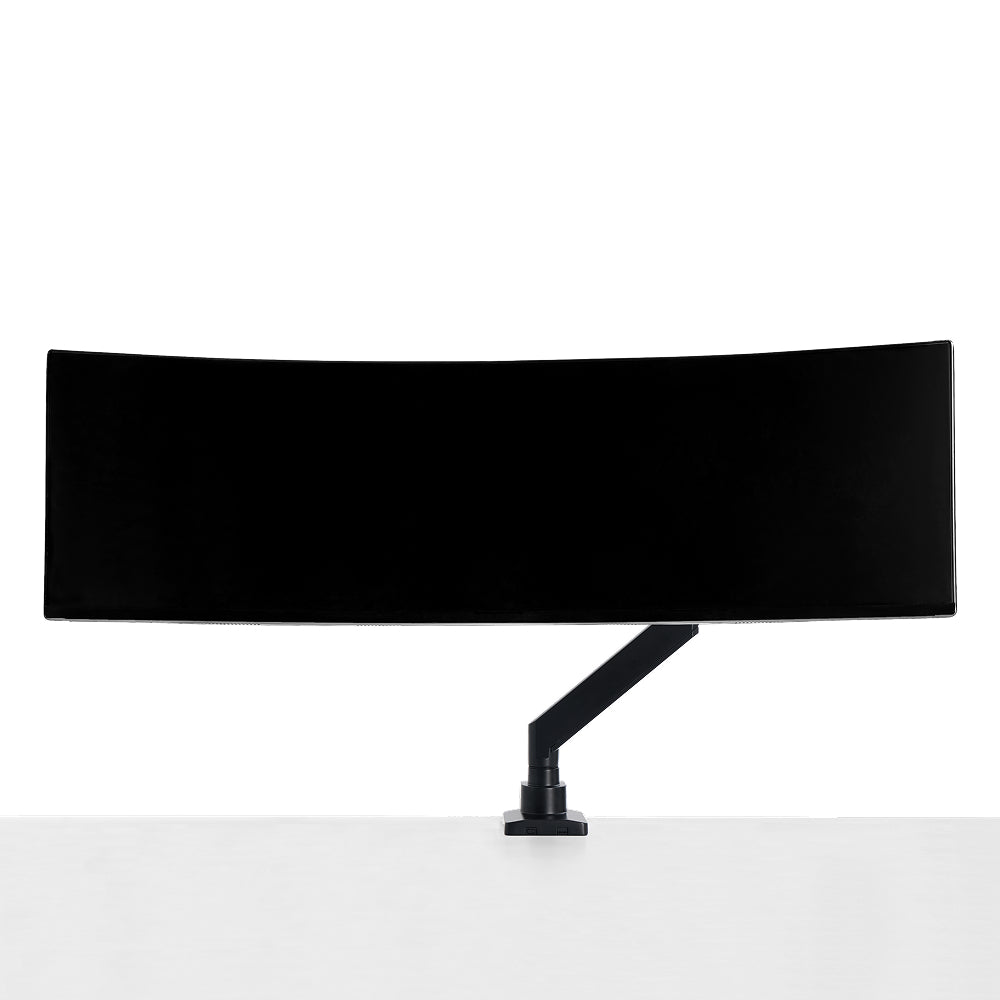
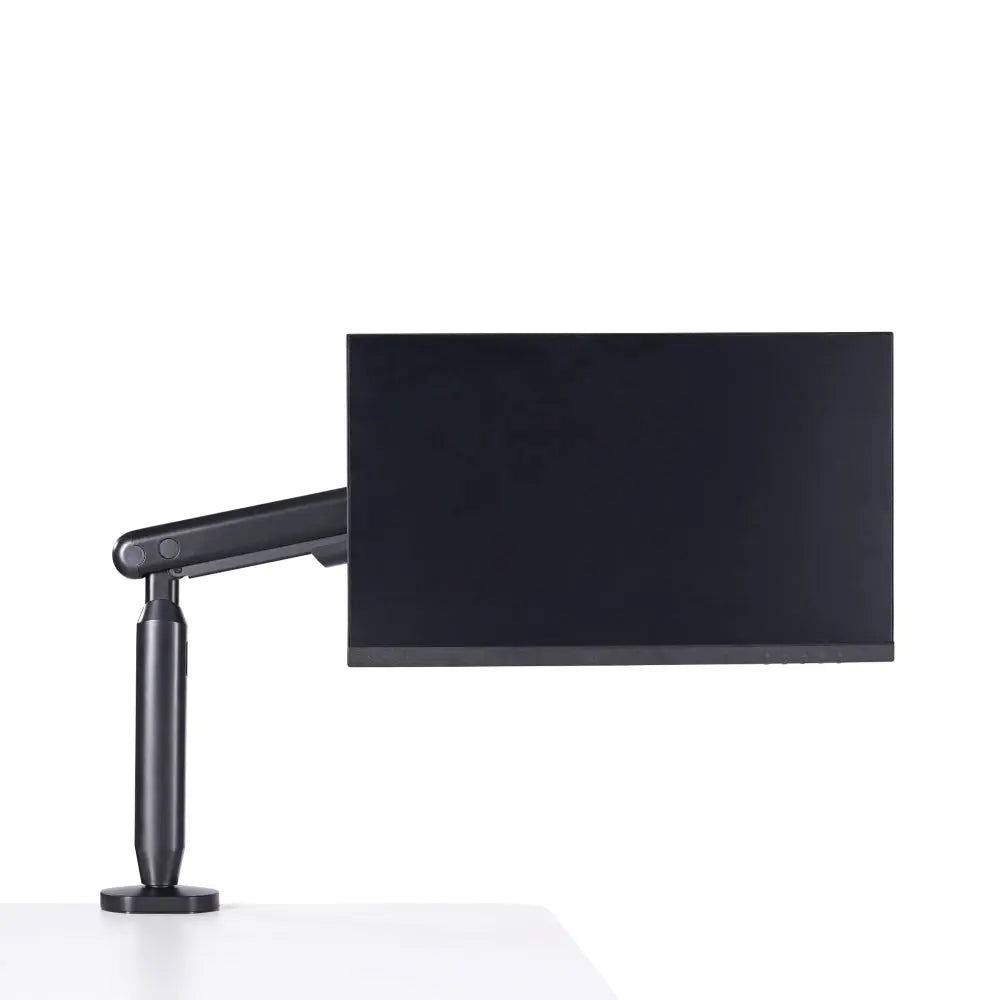
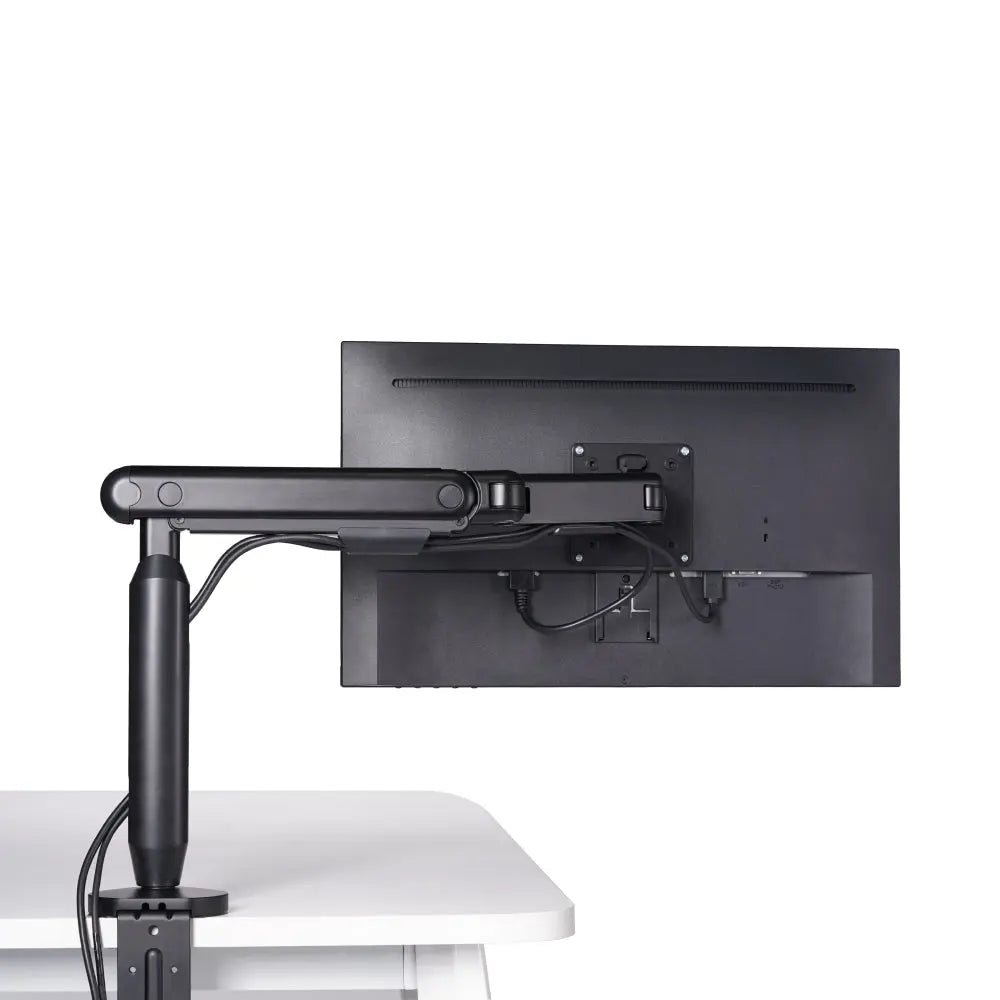
Every cohesive system starts at the surface, because the surface defines every clamp, grommet, and load limit downstream. Before adding a single desk accessory, the first question is mechanical: how much weight will sit on this desk, and where are the fixed edges a clamp can grip? A floating or wall-cantilevered top changes the entire answer, because most monitor arms and trays need a rigid edge to mount to—the Single Monitor Arm, for instance, clamps to an edge between 10mm and 80mm thick.
The principle is simple: a primary surface should comfortably hold a monitor, a laptop, a keyboard, a mat, and a few kilograms of incidental load without flexing. A desk mat is the unglamorous desk accessory that ties this tier together. It defines the work zone, dampens noise, and gives magnetic accessories a home. The Magnetic Desk Mat Bundle exists for exactly this reason: it turns a flat surface into an anchored work zone instead of a slippery field where cables and devices drift. If you are starting from a height-adjustable base like the Elevate Standing Desk, lock your surface decisions in first, since every accessory above it inherits that footprint.
Tier 2: Power and Cabling, The System That Decides If the Rest Stays Clean
This is the tier where most desk accessory setups quietly fall apart. You can have a beautiful monitor and a premium mat, but if four power bricks and a tangle of cables live under the desk, the system is broken. Power is not a "nice to have" accessory. It is the backbone that determines whether everything else can be hidden.
Here is the spec context that matters. USB-C Power Delivery was limited to 100W (20V at 5A) for years, and only USB-IF's PD Revision 3.1, announced in 2021, pushed the ceiling to 240W over a full-featured Type-C cable. The practical consequence is that a modern desk often needs more deliverable power than a single old brick can provide, which is why people end up with a drawer of chargers. A consolidated supply solves this at the root. The Studio's integrated power delivers 1,440W of distributed output with a 27W USB-C PD port and dual USB-A Quick Charge, all from one chassis, so the multi-brick sprawl never starts.
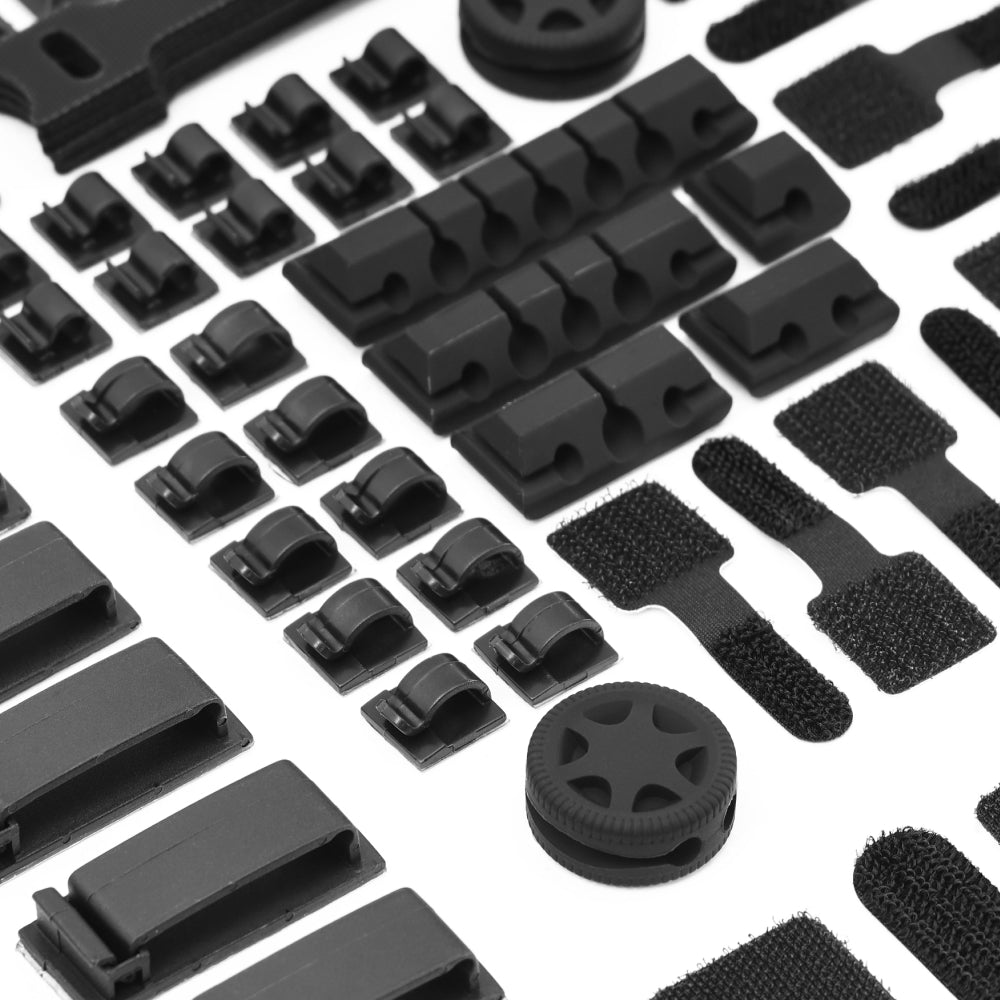
Cabling is the other half of this tier, and it deserves a deliberate routing plan rather than a fistful of velcro ties. Most people abandon cable management because the cables are physically inaccessible the moment the desk is assembled. Treating routing as a designed path—a single exit point, a service loop, a concealment channel—is the difference between a one-time setup and a recurring chore, a logic we break down step by step in our desk cable management guide.

Tier 3: Light and Ergonomics, Where the System Meets Your Body
The top tier is where desk accessories stop being about the desk and start being about you. Lighting and monitor positioning are governed by how your body actually sits, not by preference. The widely taught ergonomic guidance is that your primary display should sit close to your natural line of sight, with the top of the screen roughly at or slightly below eye level so you look gently downward rather than craning up or hunching forward. That single constraint dictates how high your monitor needs to float—and therefore which mounting accessory you need.
A monitor arm is the desk accessory that makes this tier adjustable instead of fixed. The Single Monitor Arm handles screens up to 35" and 3–11kg on VESA 75x75 or 100x100, with a tilt range of +60° to -60° and swivel of +90° to -90°, which is more than enough latitude to land a standard single display in a comfortable viewing position. Lighting closes the loop: the Studio's task lighting offers over 1,000 configurable settings, letting you tune a shadowless field to the time of day rather than fighting a fixed-temperature lamp that clashes with everything around it.
The Compatibility Tax: Why Piecemeal Buying Costs More Than It Looks
The conventional wisdom is that buying desk accessories one at a time lets you "build slowly." In practice it imposes a hidden Compatibility Tax. The lamp you bought last month clamps to the same strip of desk edge your monitor arm needs. The power strip is rated for less wattage than your monitor, dock, and laptop charger together draw. The desk mat is a few millimeters too thick for the under-surface tray to close. None of these are visible at checkout—they only appear after assembly, when returns are inconvenient.
The setups that stay clean six months later are the ones planned as a system from Tier 1 down. The ones assembled SKU-by-SKU tend to get partly re-bought once a collision surfaces. This is the case for skipping the cart full of single-purpose gadgets in favor of components engineered to interface. These are infrastructure, not short-lived tech accessories you replace every season—and infrastructure is judged by how long it lasts, not how new it looks. The same principle drives a genuinely minimalist desk setup: fewer, better-integrated parts beat a wide collection of disconnected ones.

A Practical Build Order, and Where This System Doesn't Apply
The fastest way to a coherent result is to build top-down in tiers but buy bottom-up in dependencies. Lock the surface and load limits, then the power and cable backbone, then light and ergonomics last—because each tier constrains the one above it. The table below is a sensible order to follow.
| Tier | Component role | Constraint it sets | Decide before |
|---|---|---|---|
| Tier 1, Surface | Desk top, mat, load limit | Edge thickness (10–80mm), footprint, weight budget | Anything that clamps |
| Tier 2, Power & Cabling | Integrated supply, routing path | Total wattage, single cable exit | Any device that needs power |
| Tier 3, Light & Ergonomics | Monitor arm, task light | Comfortable viewing height, VESA pattern | Final placement |
This is a fair place to be transparent: Hexcal designs and manufactures the Studio, Studio Plus, Magnetic Desk Mat Bundle, and Single Monitor Arm referenced here, so this is not an independent third-party roundup. The system logic stands on its own, but the integration is easiest to achieve when components are built to one spec. It also has limits. A floating or fully wall-mounted desk often has no rigid under-surface edge for clamp-mount accessories, so Tier 1 and parts of Tier 3 simply will not attach. Very small surfaces under standard depth can also struggle to reach a comfortable viewing distance for larger displays. Know your edges before you buy.

From Accessory Pile to Engineered Workstation
A desk accessory is a thing you add. A desk accessory system is an environment you build—one where each part assumes the existence of the others, so the cables disappear, the light obeys, and nothing fights for the same inch of edge. That shift, from buying desk accessories to engineering a system, is the whole point. The piecemeal approach optimizes each purchase in isolation and produces an incoherent whole; the system approach optimizes the relationships and produces a desk that quietly works.
If you want the shortest path from a pile of gadgets to an integrated workstation, start with the layer that unifies power, lighting, and cabling into a single chassis. Look at the Hexcal Studio Plus as the backbone of the system, then let the surface, mat, and arm fall into place around it. Build the platform first, and the accessories stop being a collection and start being infrastructure.
By the Hexcal team.