Will a Monitor Arm Fit Your Desk? Check the Mounting Point
Before ordering a monitor arm, photograph the place where you want to attach it from above and below. Measure the desktop there, inspect the contact surfaces and find out what sits underneath. A clamp can accept the stated thickness and still have nowhere suitable to grip.
The mounting point is a small part of the desk with a large job. Treat its material, shape and clear space as separate checks.
What the mounting point actually carries
A monitor arm holds one screen, but the desk holds the clamp, the arm and the screen together. That load arrives as a lever: the further the screen sits from the clamp, the more turning force the clamp pads and the desktop underneath them feel. Two arms set up the same way can load a desk very differently if one screen hangs 20 cm further forward.
That is why the desk check comes before the arm choice, not after it. A rating tells you what the arm can lift. The mounting point tells you what your desk can be asked to resist.
Measure the edge you will actually use
A desktop can have a different shape at its edge than at its centre. A bevel reduces the flat area available to the clamp. An apron or reinforced edge can change what the lower jaw encounters. Measure the exact location you intend to use, rather than copying the desktop's nominal thickness from a listing.
Count the flat contact first. A 25 mm desktop with a 15 mm rolled front edge leaves only 10 mm for the upper pad to sit on, which is often not enough for that pad to stay put under load. Measure from the rear of the edge profile to the first feature that interrupts the surface, then repeat underneath.
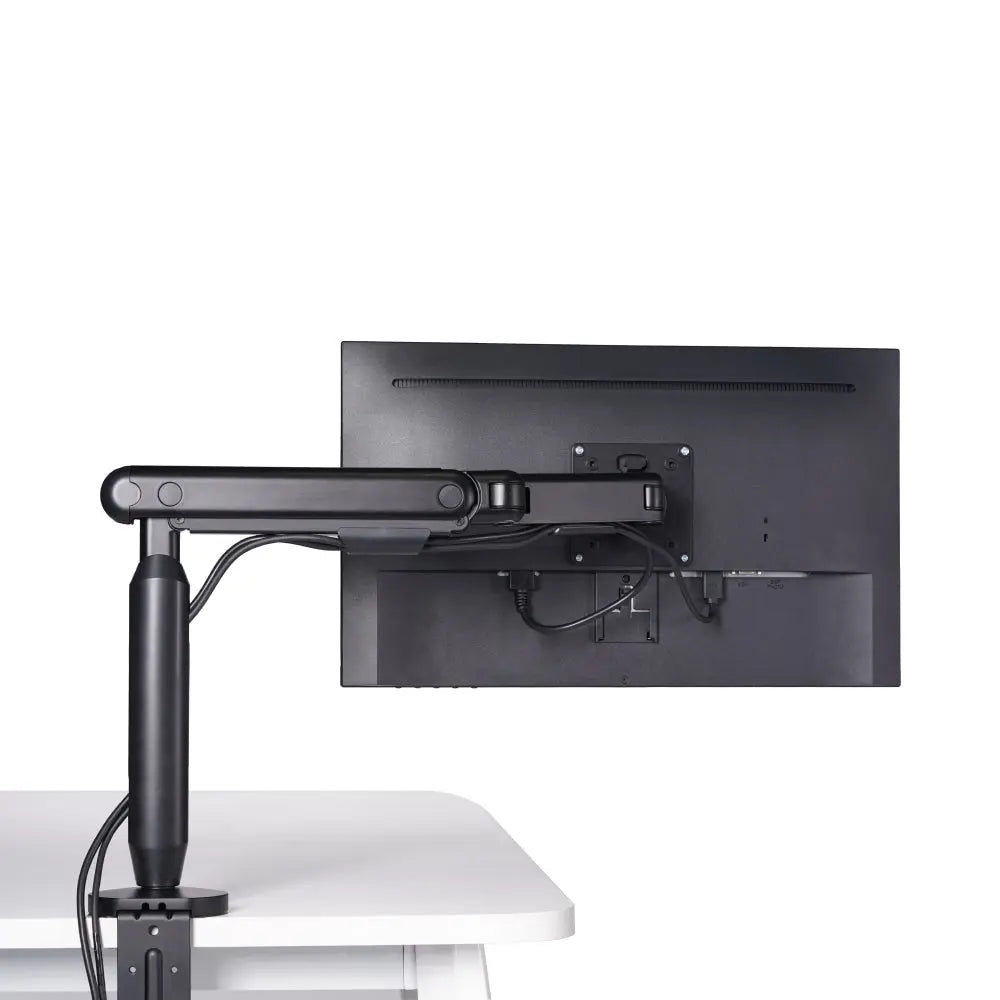
Check both contact surfaces. A cable tray, support rail or drawer mechanism can occupy the space needed by the lower pad, fastening bolt or tool. Leave access for tightening and later inspection as well as room for the hardware itself.
The clamp concentrates the screen's weight on a small area of the desk. If you don't know how that area is built, send the desk manufacturer a photo and ask whether it can take a monitor-arm clamp.

Compare the correct installation measurements
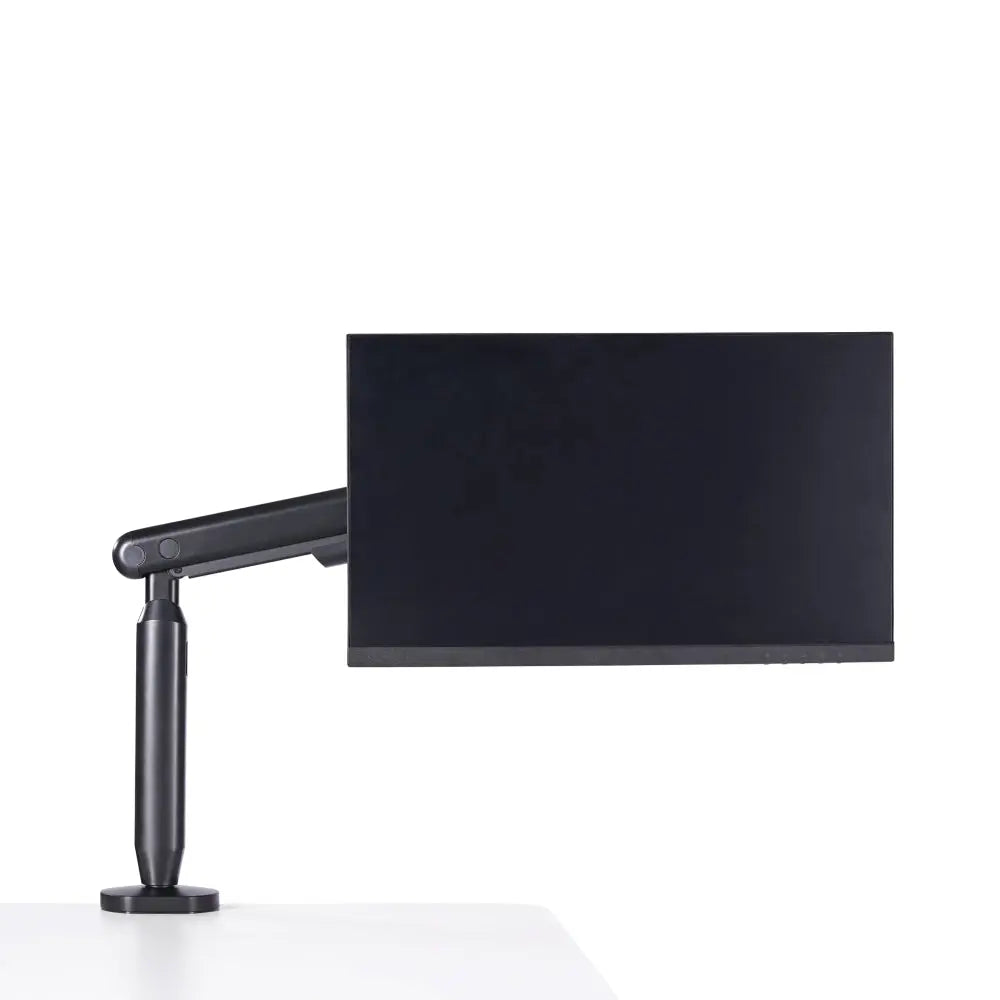
Compare your measurements with the mounting ranges below. A clamp grips the desk edge; a grommet mount fastens through a hole in the desktop.
| Hexcal product | Clamp: desktop thickness | Grommet: desktop thickness | Grommet: hole diameter |
|---|---|---|---|
| Single Monitor Arm | 10–45 mm or 40–80 mm, depending on bracket position | 10–35 mm | 10–60 mm |
| Heavy Duty Monitor Arm | 10–45 mm | 10–40 mm | 10–60 mm |
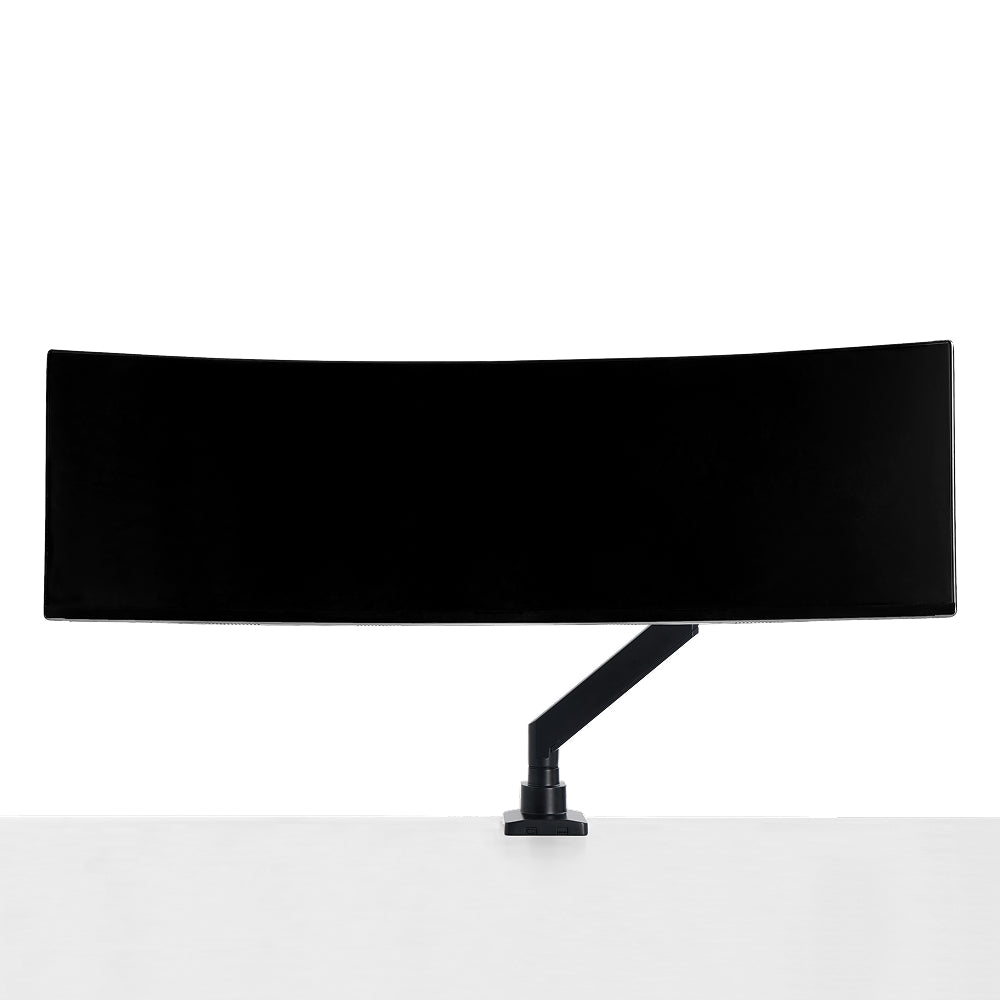
| Monitor Mount System — Dual Arms | 10–45 mm | 10–40 mm | 10–60 mm |
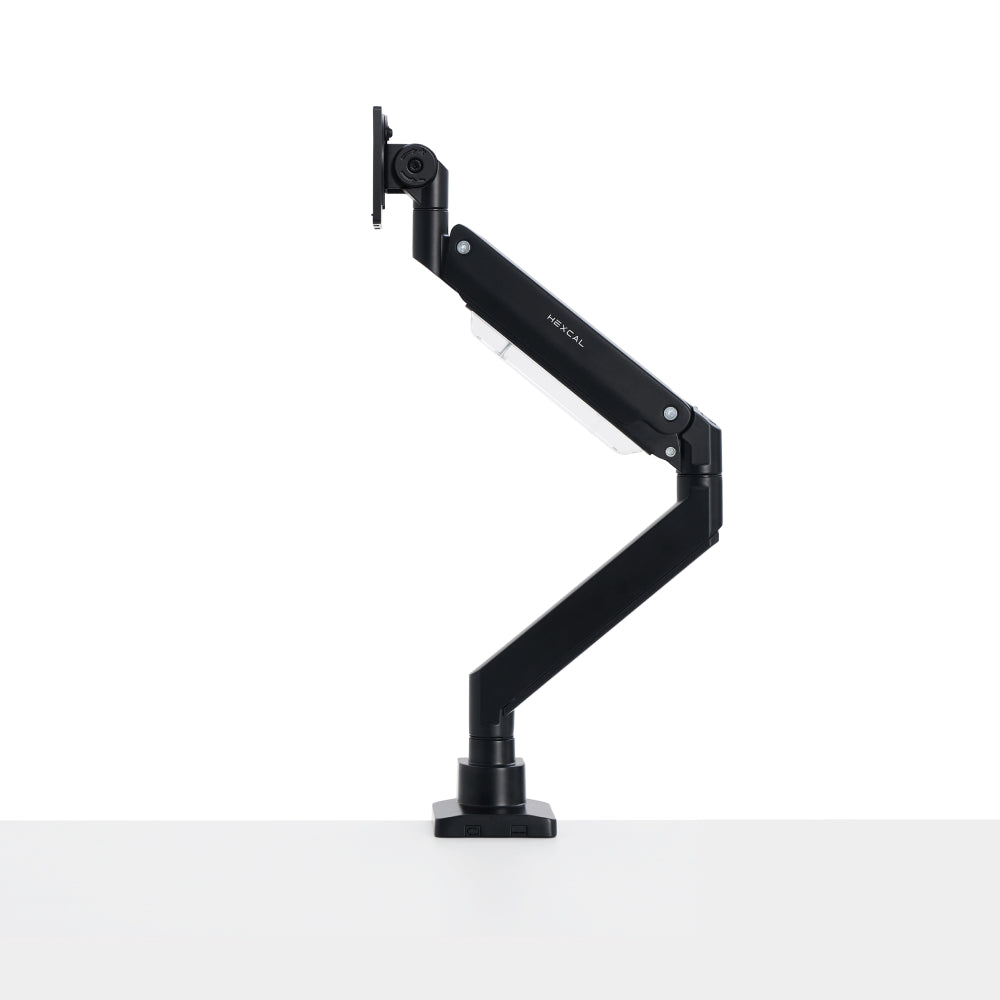
The Single Monitor Arm has two bracket positions: one covers 10–45 mm desktops, and the other covers 40–80 mm. The bracket must be fitted in the position for your desk thickness before tightening the clamp.
For both the Heavy Duty arm and the Dual Arms configuration, 10–60 mm is the grommet hole diameter. The supported desktop thickness is a separate 10–40 mm measurement. Keep both on your fit checklist.
Where the Hexcal ranges sit
Buyers usually compare arms from more than one brand before choosing, so here are published clamp and grommet ranges for common alternatives. These come from each maker's own specification pages, not from testing.
| Brand and model | Clamp: desktop thickness | Grommet: desktop thickness | Grommet: hole diameter |
|---|---|---|---|
| Hexcal Single Monitor Arm | 10–45 mm or 40–80 mm | 10–35 mm | 10–60 mm |
| Hexcal Heavy Duty Monitor Arm | 10–45 mm | 10–40 mm | 10–60 mm |
| Ergotron HX Desk Monitor Arm | up to 66 mm | up to 57 mm | 10–54 mm |
| BenQ Ergo Arm (AM02) | 15–70 mm | 15–70 mm | check with BenQ |
| StarTech ARMDUAL | up to 75 mm | up to 95 mm | check with StarTech |
The pattern is that thicker desks push most arms toward a grommet route, and the grommet hole itself rarely needs to be larger than 60 mm. What separates the products is the top of the clamp range and whether the same desk thickness works on both routes. Two structural checks cut across every brand. A bevel or rounded edge wider than about 25 mm can stop a clamp gripping, so a grommet mount becomes the practical option. A hollow-core, honeycomb or thin MDF desktop may open far enough for the clamp and still crush under the load; a manufacturer's approval for that desk construction matters more than the thickness number.
Three checks that settle it
Press where the clamp will sit. Push down and lift up at the exact spot, because a clamp presses from above and below even though the screen's weight only pulls down. Give, creaking, or a hollow sound at one spot that a stiffer section does not share points to less solid material there. Then repeat at a second position nearby: if the two feel different, the desktop is not uniform and the weaker spot decides the answer.
Follow the pressure into the structure. The clamp does not stress the edge alone. Its load transfers into the frame, the legs and whatever joins the desktop to them. A desk with a stiff, well-braced frame can carry a clamp on a modest desktop; a thick-looking top on a weak frame cannot.
Test the underside, because that is where most clamps meet their limit. Many desks are braced, have a crossbar near the rear edge, or hide a frame channel exactly where an arm base or grommet bolt needs to go. Slide a hand or a phone camera along the underside before you commit to a position. It is a cheaper discovery than a clamp that cannot close.
On the underside, look for short screws, staples or a join line under the proposed spot: each suggests the area is thinner than the top looks. A single row of fixing holes is a join, not a brace; a crossbar or steel channel is the brace.

Decide whether a clamp or grommet has a suitable location
Choose an edge clamp when both pads can sit flat on a solid, accessible part of the desk within the thickness range. You can move it among suitable edge positions without adding a hole.
A grommet mount needs a suitable hole, enough surrounding support and access underneath. An existing cable hole is useful only if its size, location and the surrounding desktop meet the installation requirements. Check the underside before assuming that a hole through the top solves the problem.
If a rail or drawer blocks the clamp, try another fixing point. If the desktop itself cannot carry the mount, choose another support arrangement; padding the clamp will not change how the desk is built.
Keep a desk shelf separate from the fixing surface
A desk shelf can carry accessories and organise connections while a monitor arm attaches to the desk behind it. Those are different roles in the workstation.
With Hexcal Studio Plus or Studio Gen2, attach the monitor arm directly to the desk. Keep the platform available for the equipment and connections it is designed to carry.
Include the shelf in your spatial plan: it can affect access to the base, arm movement and cable routing. Its position shouldn't force the arm onto an unsuitable fixing surface.
Give the fit check a clear result
| Result | What it means | Next action |
|---|---|---|
| Ready for the next check | The desk can take the clamp, the pads sit flat and the mounting dimensions fit | Check screen position and movement |
| One question remains | You cannot confirm the desktop construction or a mounting dimension | Send the measurements and underside photographs to the desk or arm supplier |
| Choose another fixing point | The clamp is blocked, the desk is too thick or thin, or the surface cannot carry the mount | Move the base or choose another support |
For support, send a photograph from above, another from underneath, the measured desktop thickness and your intended arm model. Include the monitor model and weight. These details let support check the fixing point without asking you to take another set of photographs.
| What to send | Why it settles the question |
|---|---|
| Top photograph with a ruler or tape measure across the edge | Shows thickness and the flat contact available |
| Underside photograph at the same spot | Shows rails, trays, frame, joins and screws |
| Desktop material and construction, if listed | Glass, hollow-core and thin MDF need a different answer from solid wood |
| The exact position from the desk edge and from the nearest obstruction | Tells the supplier whether a clamp, grommet or neither is possible |
Once the fixing point is workable, use the small-desk clearance plan to check where the screen will sit. On a height-adjustable desk, also check the complete arrangement through the desk's travel using the standing-desk monitor mount guide.