Skip to content
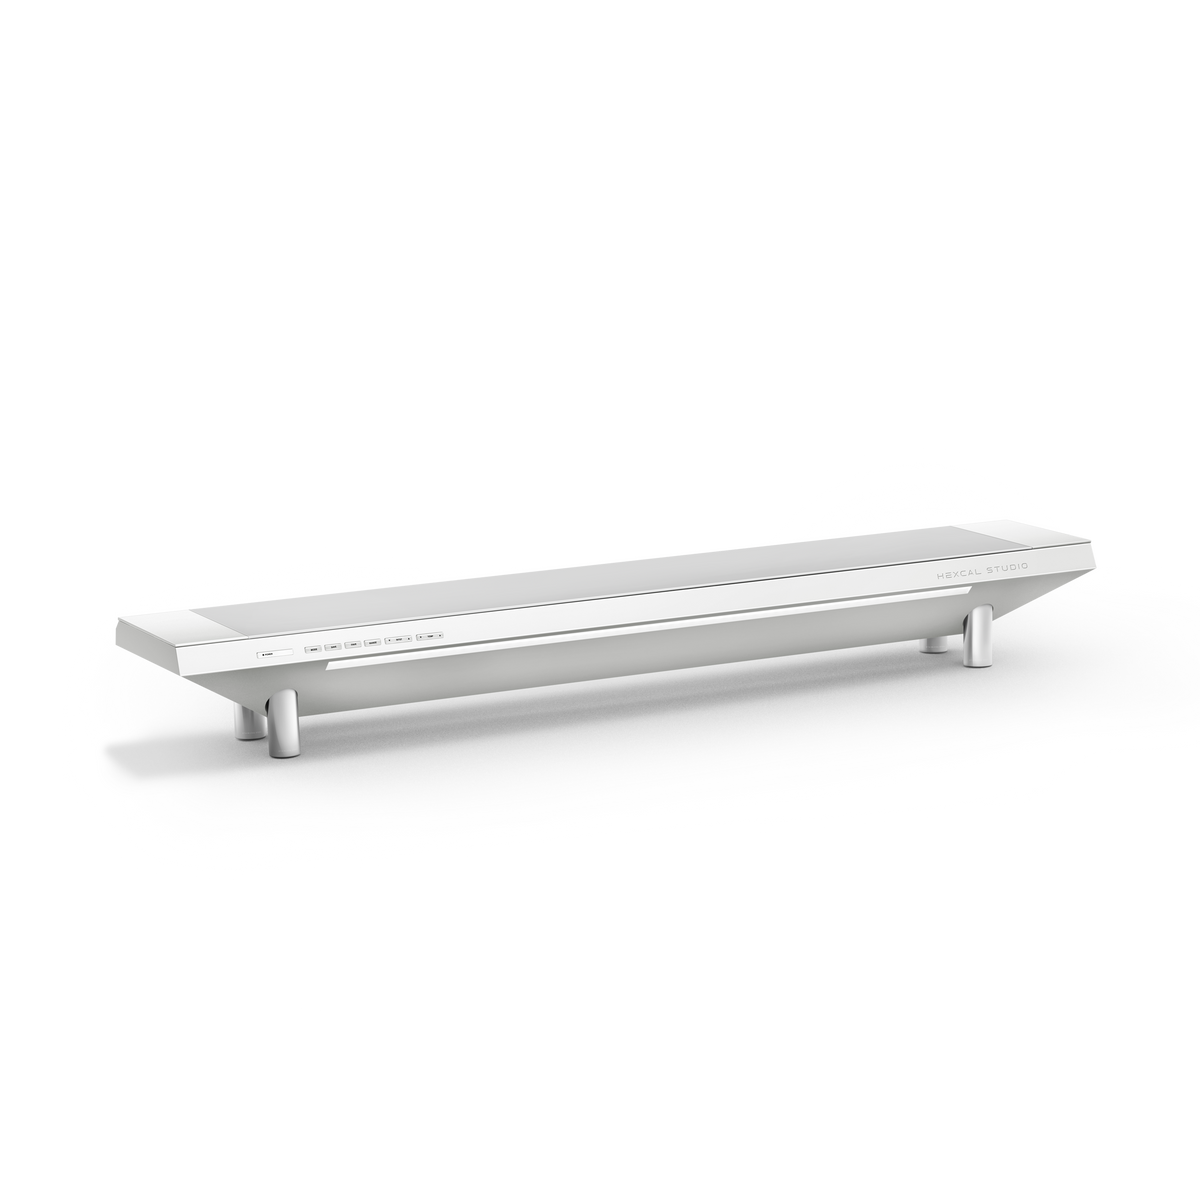
Hexcal Studio — Firmware Update Guide
What's New
This update improves lighting stability and daily experience:
-
More stable lighting: Fixed an issue where light channels could occasionally fall out of sync when switching modes or adjusting color/brightness quickly. Transitions are now smoother.
-
Quieter on/off: Refined the power-on/off fade to reduce a faint electrical noise that some units could produce during those moments.
-
Factory Reset
If the lighting behaves abnormally and does not recover after a power cycle, manually restore factory settings:
Press and hold the Save and Fave buttons together for about 5 seconds. The lamp will restart and return to default settings.
Note: This clears all saved custom lighting configurations and cannot be undone. Use only when the lighting is stuck and won't recover on its own.
Keep your Hexcal Studio running the latest firmware. Choose your operating system below — the steps take about 5 minutes.
Updating on macOS
This guide walks you through updating the firmware on your Hexcal Studio. It takes about 5 minutes and works on Windows or macOS.
Download macOS Firmware Updater (.zip)
What you’ll need
- Your Hexcal Studio
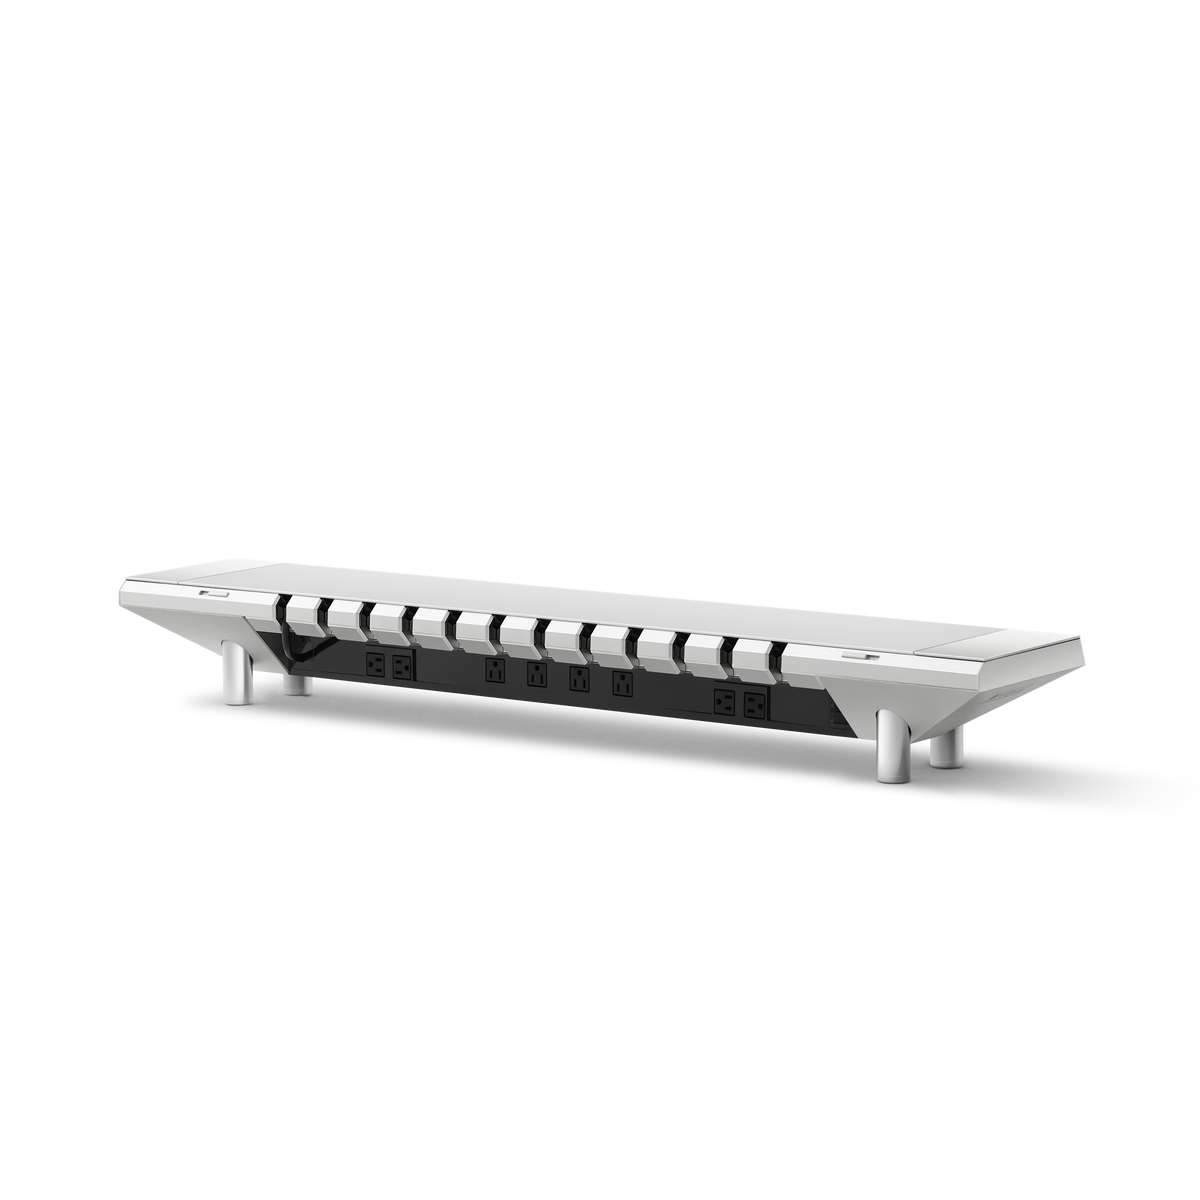
- An Allen key (hex key) to remove the wireless charging module (left side panel)
- A USB-C cable (a data cable, not charge-only)
- the Hexcal Studio Firmware Updater (
ARK Firmware Updater.dmg) - The firmware file we provided (ends in
.bin)
Step 1 — Connect Hexcal Studio
Shut down Studio’s internal power supply. (Must comply.)
Remove the wireless charging module on the left side of Hexcal Studio using the proper Allen key (hex key). Then use the USB-C cable to connect Hexcal Studio to your computer.


Step 2 — Open the updater
Download the firmware package from our site, which includes the Firmware Updater (.dmg) and the firmware file (.bin).
macOS: open Hexcal Studio Firmware Updater.dmg and drag the app to Applications.

The first time, double-click the app → Open. (Double-clicking the first time may be blocked; click Open Anyway in Privacy & Security settings.)

Step 3 — Select the correct port for upgrading
In the app, open the Serial Port drop-down. You should see an entry for Hexcal Studio (USB Serial). If you do, skip to Step 4.
If the list is empty (macOS): unplug and re-plug, then click Refresh. If it still doesn’t appear, try a different USB-C cable (it must be a data cable).


Step 4 — Update the firmware
- Serial Port: select Hexcal Studio’s port (USB Serial).
-
Firmware: click Browse… and choose the
.binfile we provided. - Click the Reset Device button on the Firmware Updater, then press and hold the rightmost button on Hexcal Studio.

If successful, you will see “Button detected” at the bottom.


- While still holding it, click “Flash Firmware”. Keep holding for about 3 seconds, until the log shows “Upgrade mode entered”. Then you can let go.


- Wait while the progress bar fills. Do not unplug during the update.
Step 5 — You’re done
When you see “Update complete. Hexcal Studio will restart.”, the update has finished and Hexcal Studio restarts into normal operation. That’s it.
If something doesn’t work
| What you see | What to do |
|---|---|
| No port in the list | Install the USB driver (Step 3), re-plug, click Refresh, or try another USB-C data cable. |
| "Button not detected" | Press and hold the rightmost button first, then click Flash, and keep holding ~3 seconds. |
| "No response" | Check the cable and that Hexcal Studio is powered; re-plug and try again. |
| macOS says the app "can’t be opened" | Right-click the app → Open (first launch only). |
| Update finished but you’re unsure | It’s safe to simply do it again. |
Good to know
- Don’t unplug Hexcal Studio while it’s updating.
- Updating only replaces the firmware — your saved light settings are kept.
- The Reset Device button just restarts Hexcal Studio and tells you whether the rightmost button was detected. Use it to practice the timing in Step 4.
Updating on Windows
This guide walks you through updating the firmware on your Hexcal Studio. It takes about 5 minutes and works on Windows and macOS.
Download Windows Firmware Updater (.rar)
What you’ll need
- Your Hexcal Studio
- An Allen key (hex key) to remove the wireless charging module (left side panel)
- A USB-C cable (a data cable, not charge-only)
- the Hexcal Studio Firmware Updater app (
Hexcal_Studio_Firmware_Updater.exe) - The firmware file we provided (ends in
.bin)
Step 1 — Connect Hexcal Studio
Shut down Studio’s internal power supply. (Must comply.)
Remove the wireless charging module on the left side of Hexcal Studio using the proper Allen key (hex key). Then use the USB-C cable to connect Hexcal Studio to your computer.


Step 2 — Open the updater
Download the firmware package from our site. It comes as a .rar archive containing the Firmware Updater (.exe) and the firmware file (.bin).
Extract the archive first: right-click the downloaded .rar and extract it (use WinRAR or 7-Zip if your PC can’t open .rar files by default), then open the extracted folder.
Windows: double-click Hexcal_Studio_Firmware_Updater.exe. If Windows shows a blue “Windows protected your PC” screen, click More info → Run anyway (this happens because the app is newly published).

Step 3 — Select the correct port for upgrading
In the app, open the Port drop-down. You should see an entry for Hexcal Studio (USB Serial). If you do, skip to Step 4.

If the list is empty (Windows): click Install USB Driver (CH340), follow the small installer window, approve the permission prompt, then unplug and re-plug Hexcal Studio and click Refresh.
Step 4 — Update the firmware
- Serial Port: select Hexcal Studio’s port (USB Serial).
-
Firmware: click Browse… and choose the
.binfile we provided. - Click the Reset Device button on the Firmware Updater, then press and hold the rightmost button on Hexcal Studio.

If successful, you will see “Button detected” at the bottom.


- While still holding it, click “Flash Firmware”. Keep holding for about 3 seconds, until the log shows “Upgrade mode entered”. Then you can let go.


- Wait while the progress bar fills. Do not unplug during the update.
Step 5 — You’re done
When you see “Update complete. Hexcal Studio will restart.”, the update has finished and Hexcal Studio restarts into normal operation. That’s it.
If something doesn’t work
| What you see | What to do |
|---|---|
| No port in the list | Install the USB driver (Step 3), re-plug, click Refresh, or try another USB-C data cable. |
| "Button not detected" | Press and hold the rightmost button first, then click Flash, and keep holding ~3 seconds. |
| "No response" | Check the cable and that Hexcal Studio is powered; re-plug and try again. |
| macOS says the app "can’t be opened" | Right-click the app → Open (first launch only). |
| Update finished but you’re unsure | It’s safe to simply do it again. |
Good to know
- Don’t unplug Hexcal Studio while it’s updating.
- Updating only replaces the firmware — your saved light settings are kept.
- The Reset Device button just restarts Hexcal Studio and tells you whether the rightmost button was detected. Use it to practice the timing in Step 4.