Standing Desk Cable Tray: Choosing One That Fits
A power strip can fit inside a cable tray while its plugs prevent the tray from closing. That is the measurement worth finding before you buy. Choose a standing desk cable tray around the connected equipment, its approved mounting surface, and the space you'll need to open it and replace a cable.
The tray is one part of the workstation's power layout. It doesn't determine which electrical equipment is suitable or how much slack a moving connection needs. Its job is to hold the intended equipment in a supported, accessible position. Use this five-step fit check to decide whether a candidate can do that in your desk.
Step 1: Measure the connected equipment
Arrange the power strip, power adapters, and intended plugs as you expect to use them. Measure that connected shape before comparing it with the tray's usable interior.
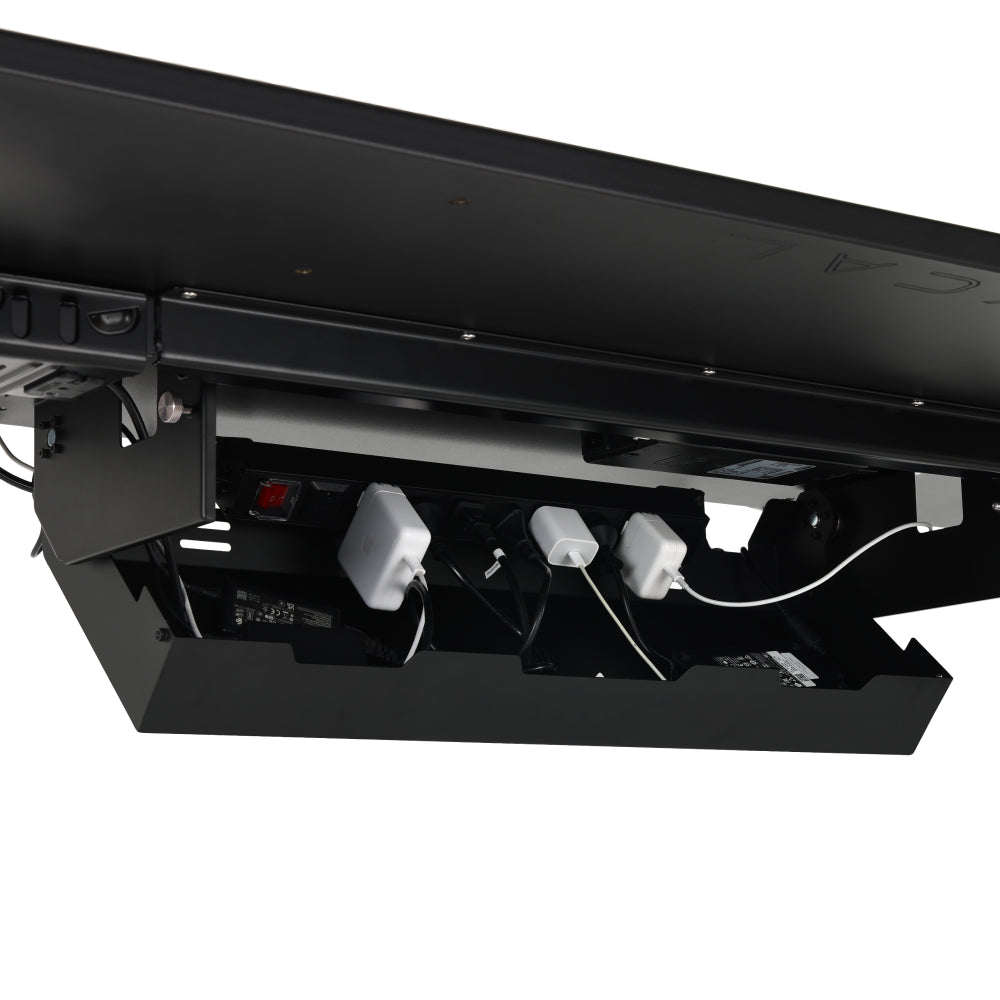
The strip's bare housing leaves out several demands on space. A plug projects from its socket. A power brick may block an adjacent outlet. A cable leaves a connector in a particular direction and needs room to bend according to its manufacturer's requirements. None of those spaces disappears inside a tray.
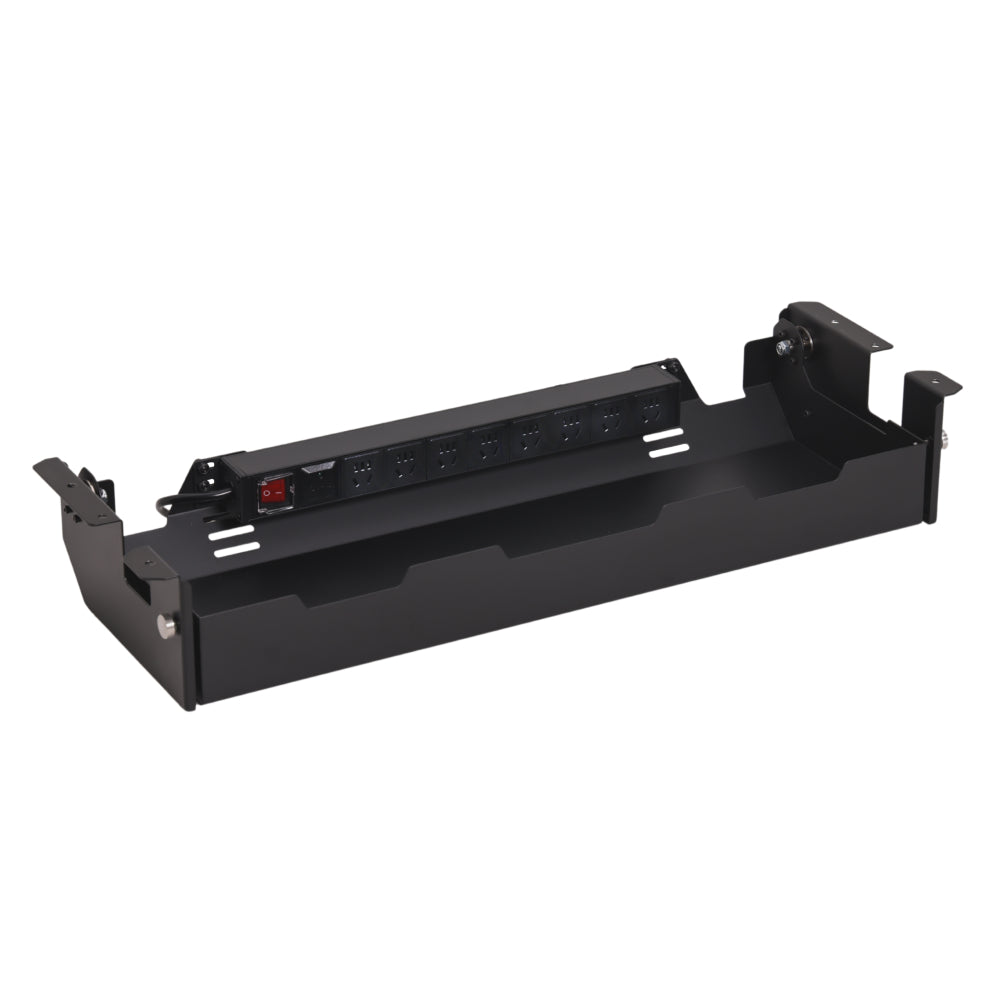
Measure usable interior dimensions separately from overall product dimensions. The Hexcal tray listing, for example, describes a 790 × 256 × 123 mm outer body and a 700 × 200 × 80 mm cable-management space. The exterior outline is not the available packing space. Use the smaller listed compartment for a first layout, then account for the installed PDU, brackets, hinges and plug access. Those listing dimensions do not guarantee that every part of the compartment remains unobstructed.
| Item to check | Measure or confirm | What the result decides |
|---|---|---|
| Power strip or PDU | Body, end fittings, switch access, and connected plugs | Whether the connected assembly fits the usable compartment |
| Power adapters | Each body's footprint and required clearance | Whether the layout meets the adapter instructions without stacking by assumption |
| Cable connectors | Plug projection and permitted cable bend | Whether the tray can close without forcing a connection |
| Service access | Space for a hand and removal of the largest relevant part | Whether a routine replacement is possible after installation |
A PDU is a power distribution unit. If a tray includes one, check the actual regional version, socket arrangement, and equipment instructions. A socket count alone doesn't tell you how many bulky adapters can sit beside each other.
Suppose a tray's usable compartment is 65 cm long, 18 cm deep, and 7 cm high. A 45 cm power strip appears to fit easily. But in the planned orientation, the strip plus its connected plugs needs 8.5 cm of height. Reject that arrangement even though the strip's length looks comfortable. These are example measurements, not a product compatibility result.
Reorienting the strip is only a candidate solution if its mounting and cable bends permit it. Removing a cover or forcing a connector to make the numbers work changes the problem rather than solving it.

Step 2: Check the approved mounting surface
Turn the desktop into a mounting plan. Identify its material and construction, then mark frame rails, inserts, existing holes, and prohibited areas. A flat underside isn't automatically an approved mounting surface.
For a screw-mounted tray, use the tray and desktop manufacturers' supported installation details. For a clamp-mounted model, check the permitted thickness, contact surfaces, clamp space, and underside obstructions. A clamp can be useful where drilling isn't appropriate, provided the actual application is supported.
The Hexcal Under Desk Cable Management Tray page identifies an Elevate installation using predrilled holes and describes installation on a wood-based desktop. Confirm the applicable instructions for your tray and desktop before choosing the attachment or screws. A product page's broad compatibility description isn't a reason to assume every board construction is suitable.
If the supplied manual and listing disagree about minimum thickness or load, ask which specification applies to your product version. Include a photograph of the label and the desktop construction. Don't turn the more convenient figure into an installation decision.
Step 3: Give the frame, drawer, and knees separate space
Place the proposed tray on a plan view of the desk's underside. Draw its full exterior, mounting points, and opening path. Then add the frame, controller, drawer, and monitor-arm clamp. Leave access to the fasteners you may need later.
A rear position may help preserve seated space, but it has to work with the frame and your equipment. Check it in a side view at your lowest working height, with your normal chair position. A photograph taken from standing height won't reveal every knee or chair-arm conflict.
If a drawer shares the underside, check its full extension against the tray and every cable that leaves it. The standing desk drawer clearance guide walks through that shared space. Don't assume a matching brand means every possible position has been approved.
Think one service task ahead. You may be able to close the tray behind the crossbar yet be unable to lower it far enough to remove an adapter. Choose a location that supports both normal use and the opening movement the product requires.

Step 4: Read capacity and access as separate requirements
List the equipment the tray will carry, including the power strip, adapters, and retained cable. Check how the manufacturer's load definition treats that equipment and any included components. Also check any mounting or orientation conditions attached to the rating.
Mechanical capacity and electrical capacity are separate. A tray's weight limit doesn't establish the PDU's allowable electrical load, and a high electrical rating doesn't approve a heavy storage arrangement. Use the actual PDU label and instructions for your region and equipment.
Likewise, a metal enclosure or an opening in a cover doesn't prove safe adapter temperatures. Keep the clearances required by the electrical equipment's manufacturer and don't use the tray as a generic shelf for a computer or UPS without explicit support.
Now choose your access direction. Frequently changed equipment needs a reachable socket and room to release its plug. Equipment that rarely changes still needs a practical replacement route. Ask whether opening requires tools, which parts move, and how the contents are retained during that movement.
Long-term usefulness includes the next cable replacement. Leave that task possible instead of filling every available gap on installation day.
Step 5: Confirm the connections that move
Once the tray and equipment positions are settled, identify every connection between the moving desktop and something fixed. A floor-standing PC, wall outlet, or Ethernet socket can each create a separate moving connection.
The tray doesn't supply the required travel allowance by itself. Use the standing desk cable slack guide to plan those paths and follow the desk's commissioning instructions. Keep the tray's opening movement in that plan as well: a connection must remain serviceable when the compartment opens, not merely when the desktop rises.
For the complete equipment layout, return to the standing desk setup guide. The tray choice is ready when the connected contents fit, the mounting is supported, and the installed compartment remains accessible. If any of those checks fails, change the tray, its supported position, or the equipment arrangement before buying.