Monitor Stand or Monitor Arm? Choose Around Your Desk
An arm can clear the space under your screen and still leave nowhere for its clamp. A shelf can organize a desk and lift the display higher than you want. Choosing a monitor stand or monitor arm starts with the position you need and the surface you have.
Choose a shelf when a fixed raised surface, storage below it or integrated desk functions solve the problem. Choose an arm when the display needs movement or a lower position that its original base cannot provide. Use both only when each has a separate job and the mounting arrangement leaves room for access.
Step 1: Decide what needs to move
Watch how you use the screen through a normal day. Do you pull it forward to inspect a drawing, turn it toward a colleague, or change its height? Those are reasons to consider an arm. Check the actual arm's reach and height range at your fixing position; an adjustable product still has limits.
If the display stays in one place, its original base may already provide enough adjustment. A shelf can create storage beneath it without removing that base. The tradeoff is added height. Lower the screen first and compare its resulting position with the height you want.
OSHA's monitor guidance considers the screen alongside the chair, desk and keyboard. Treat placement as a workstation decision. Neither support type establishes a health benefit by itself.

Step 2: Compare the space each support uses
A shelf uses a strip of desktop beneath the screen. Its usable top must support the base's contact points, and its feet occupy space below. An arm removes the original monitor base but introduces a fixing and a moving structure behind the display.
| Your desk constraint | Shelf route | Arm route |
|---|---|---|
| Screen is already too high | Added platform height can make this worse | Check whether the arm reaches the required lower position |
| Desktop cannot take a clamp | A freestanding shelf may work within its instructions | Check an approved alternative mounting method |
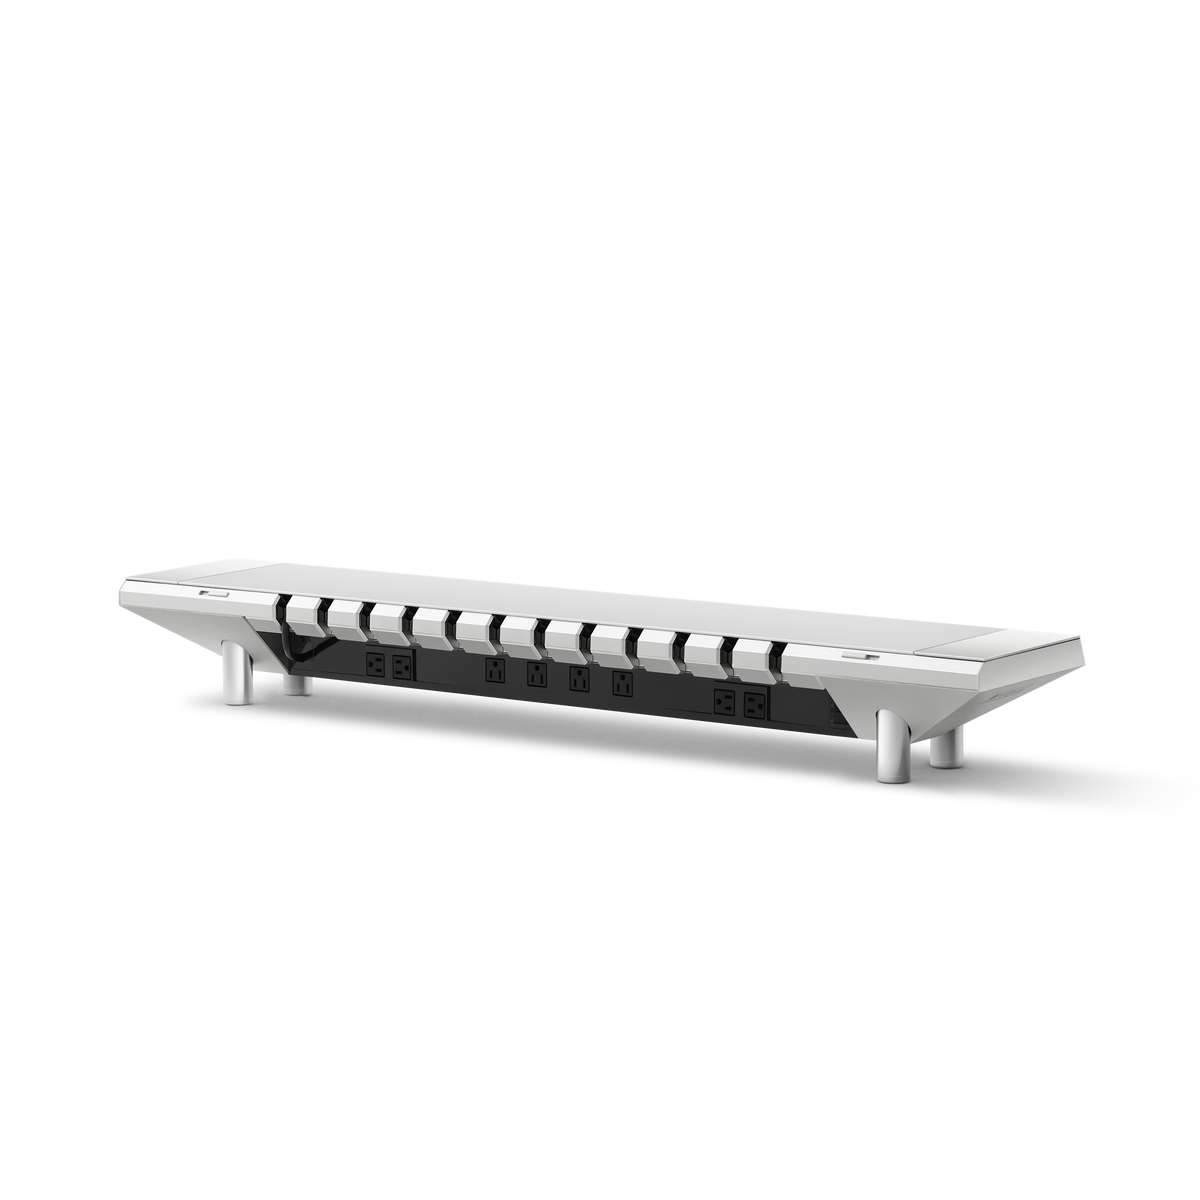
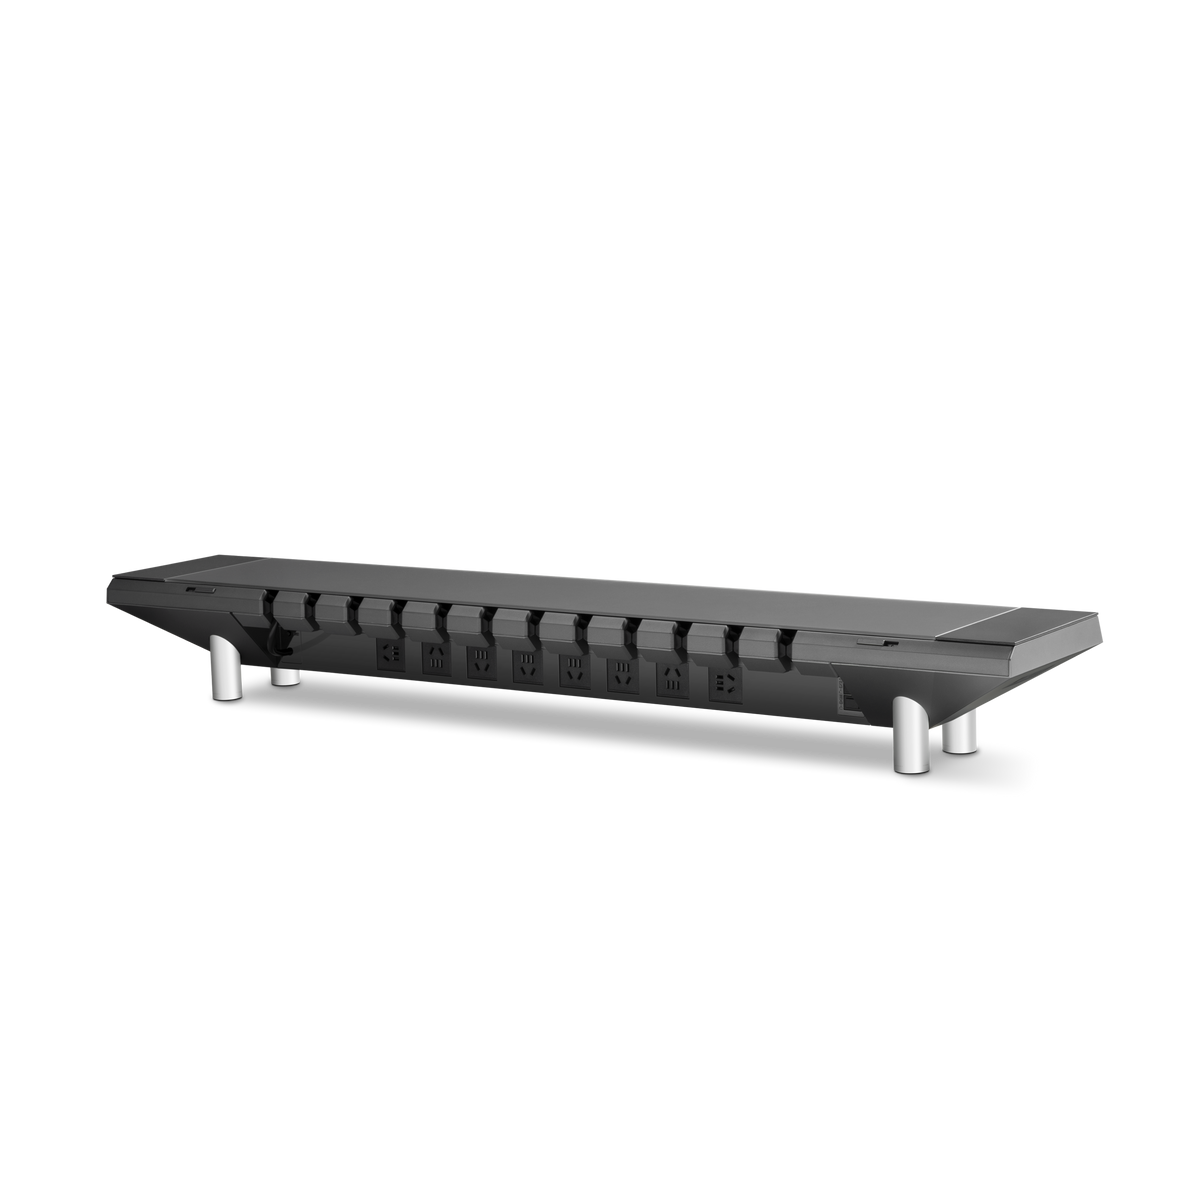
| Several adapters need an accessible home | An integrated platform may organize them | An arm alone does not provide adapter storage |
| Screen must turn or move forward | Usually limited by the original monitor base | Verify movement and clearance at the chosen fixing |
Make a paper outline before buying. Mark the shelf, screen base, arm fixing and keyboard area. Include the rear connector space and the clamp hardware beneath the desktop. Draw the display at the positions you intend to use, rather than only at the neatest parked position.
Our monitor stand fit guide separates footprint, load and height checks. Passing one check cannot compensate for failing another.
Step 3: Check the correct load and mounting information
For a shelf, count the display with its original base and everything else carried on the surface. For an arm, use the monitor maker's mounting weight and include attached accessories as the arm's instructions require. A panel-only weight and a boxed shipping weight answer different questions.
Check both ends of an arm's weight range. A lighter display is not automatically compatible with a heavy-duty mechanism. Match the VESA pattern, mounting recess and required hardware, then verify the desk material and fixing area.
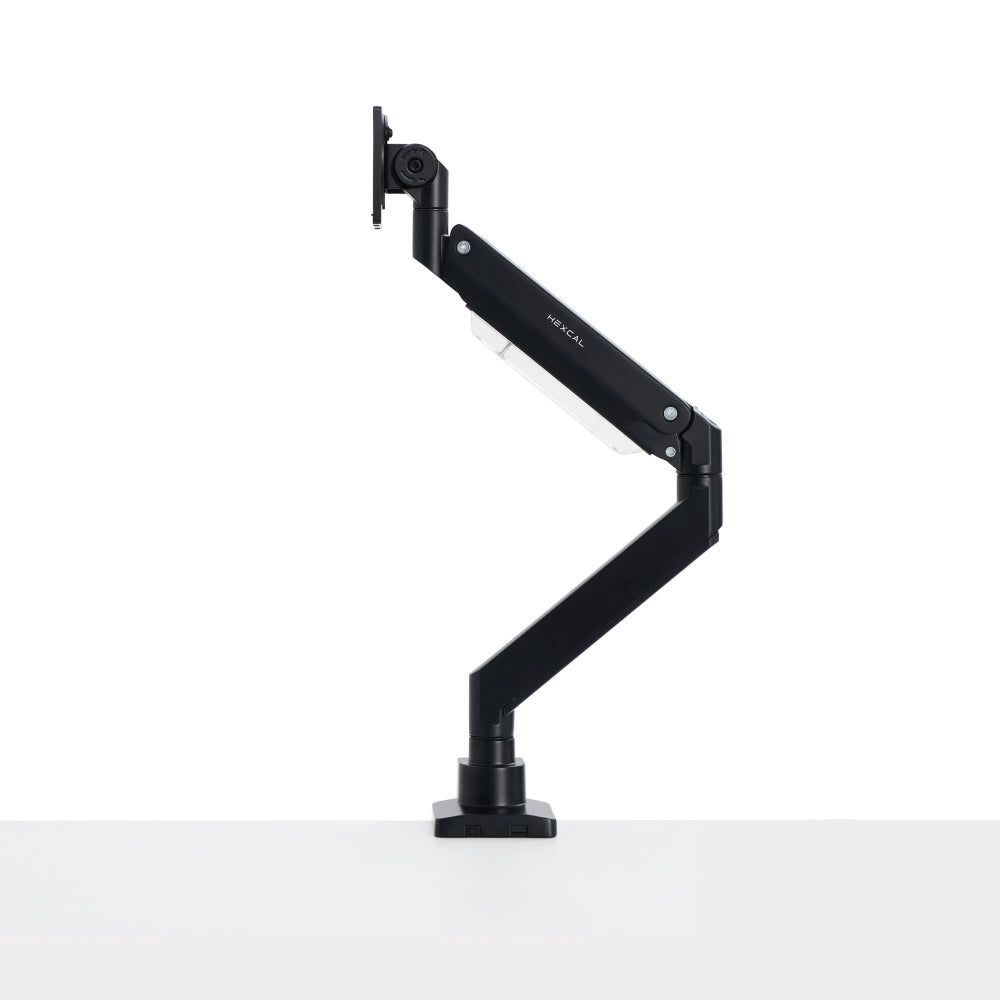
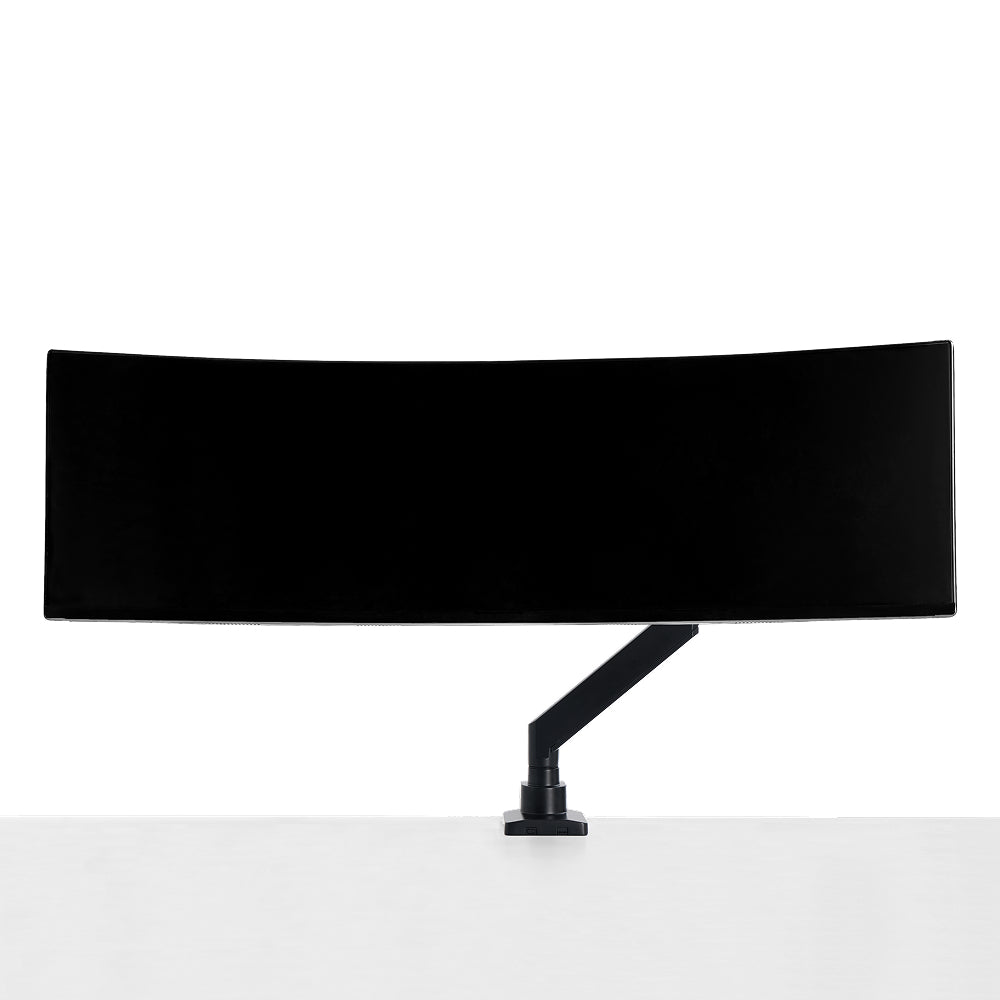
For example, the current Hexcal Heavy Duty Monitor Arm is for one display. Its published range differs for flat and curved screens. It is not a substitute for a multi-monitor mount simply because its maximum load is high.

Step 4: Give a shelf and arm separate jobs
A workable combined layout might use the arm for display positioning and the shelf for desktop organization. The arm fixes directly to a compatible desktop; the shelf sits in front of it with clearance for movement, connectors and access.
Allow space for each part:
| Zone | What belongs there | What must stay clear |
|---|---|---|
| Behind the screen | Arm and display cables | Movement envelope and connector bends |
| Desktop fixing | Manufacturer-approved clamp or grommet attachment | Required contact surfaces above and below |
| Shelf area | Storage or integrated desk functions | Feet, cable exits and opening path |
| Below the desk | Fixing hardware and existing frame | Clamp operation and any desk movement |
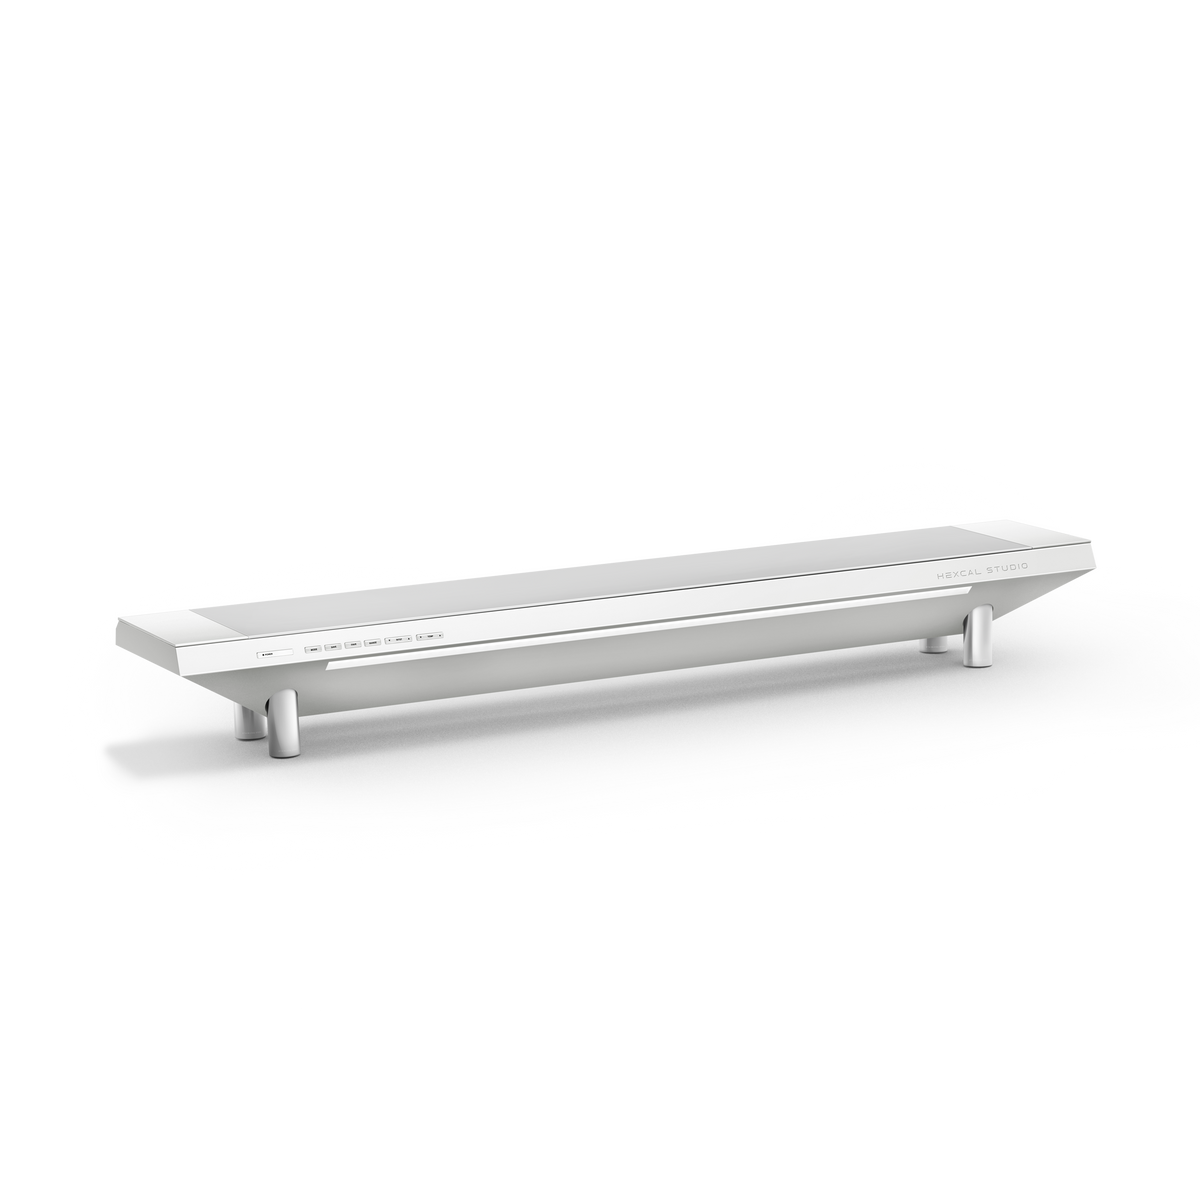
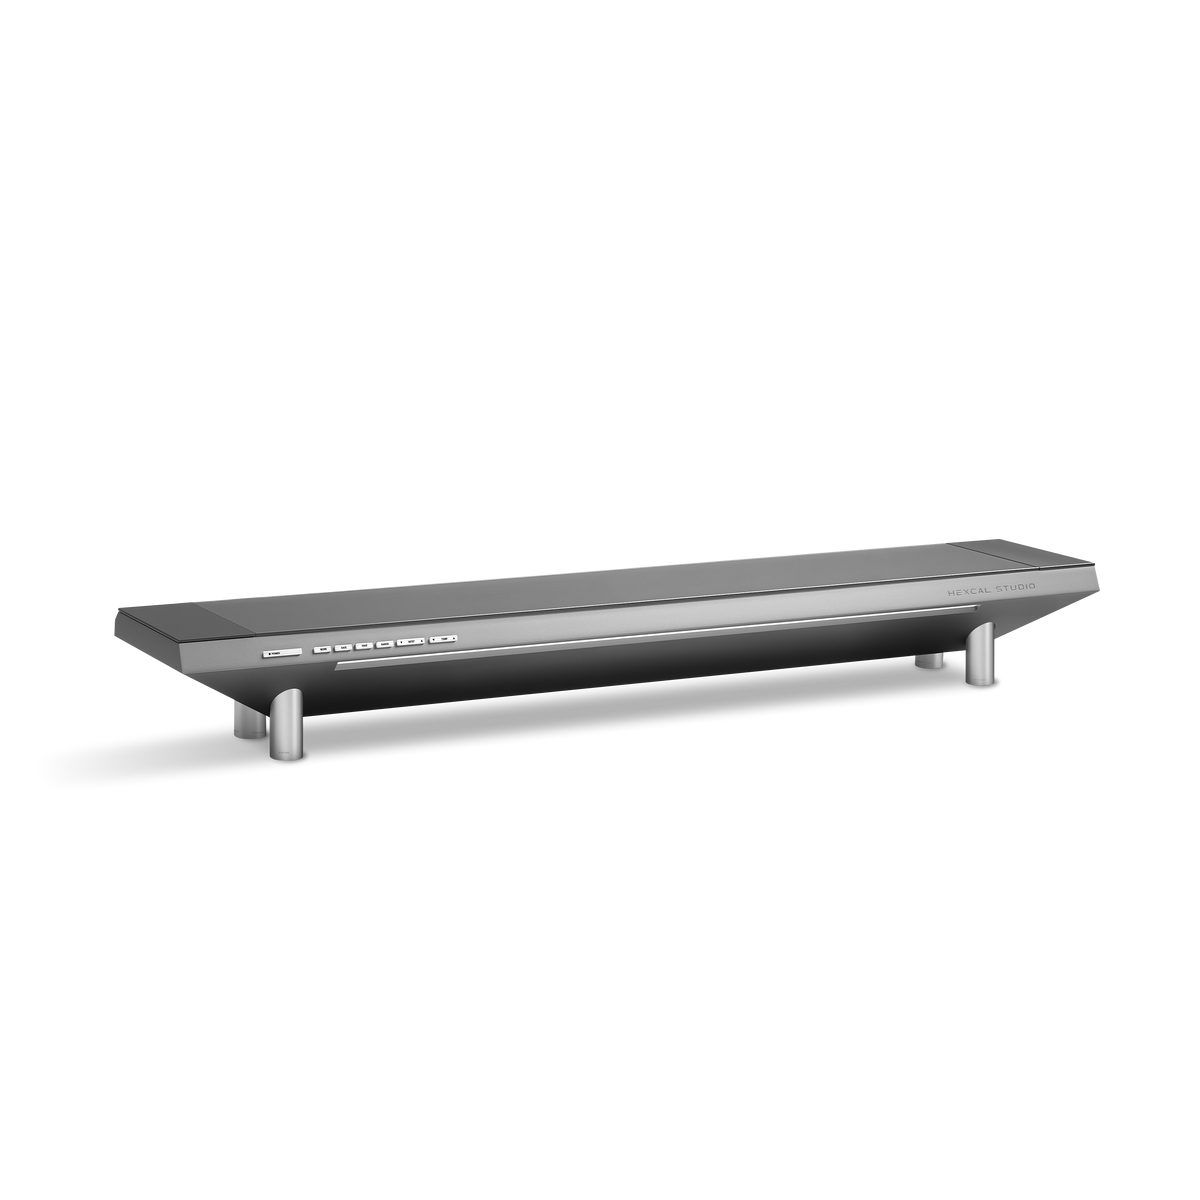
Hexcal's current Heavy Duty product guidance explicitly discourages clamping that arm to the Studio chassis. It recommends mounting directly to the desk. A photograph of a combined setup, or the shelf's surface load rating, does not override that instruction. This is the key boundary when planning a desk shelf with a monitor arm.
Move the unloaded layout through the intended positions before completing installation, following the product instructions. If the arm blocks the shelf's opening path, move the fixing or change the arrangement. Do not make access depend on shifting a heavy display each time.
Keep the equipment that already works
If an integrated shelf is part of your plan, compare its documented ports with your computer connections. The USB-C monitor stand vs. dock guide explains when a separate dock is still needed.
An arm changes display support. A powered shelf may organize power and cables. Neither automatically replaces a dock, and neither requires replacing a working lamp or charger.
For long-term use, buy the missing function. If your monitor base already reaches the right position and leaves enough usable space, keeping it is a reasonable choice. If several desktop functions need a shared home, compare the current Studio monitor stand models against those requirements.
The premium monitor stand buying guide brings those decisions together. Choose the support route here, then verify the exact footprint, connections and maintenance access before ordering.