Monitor Riser With Cable Management: A Real Desk Setup Test
A monitor riser can make a desk look cleaner while leaving the actual cable problem untouched. The screen sits higher, but the power bricks still occupy the floor, the display cable still crosses the back edge, and the next device still adds another loose run.
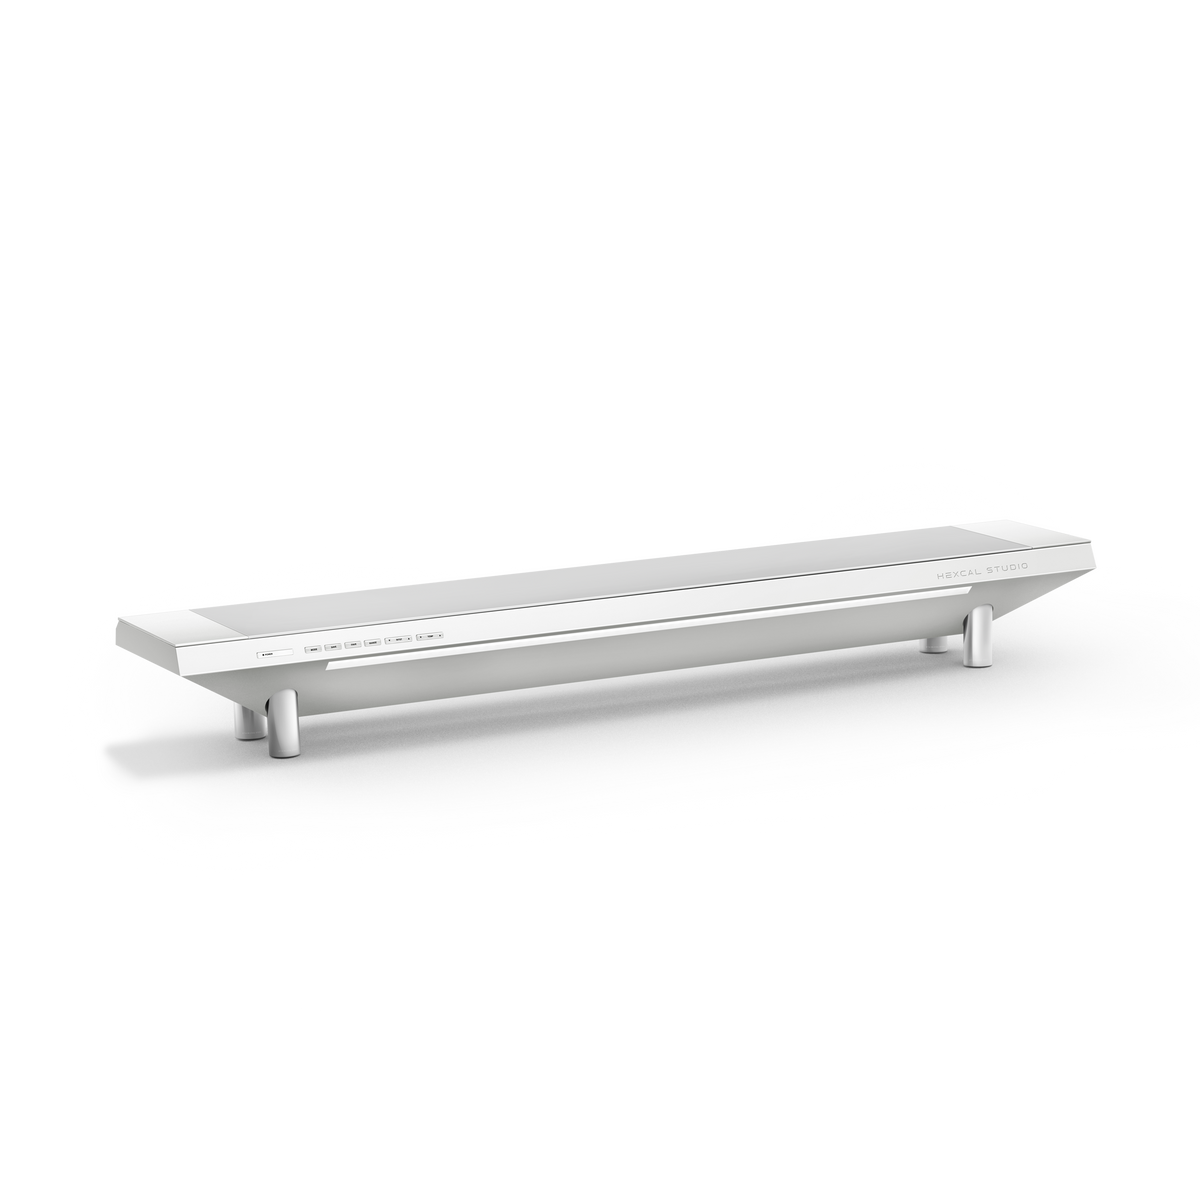
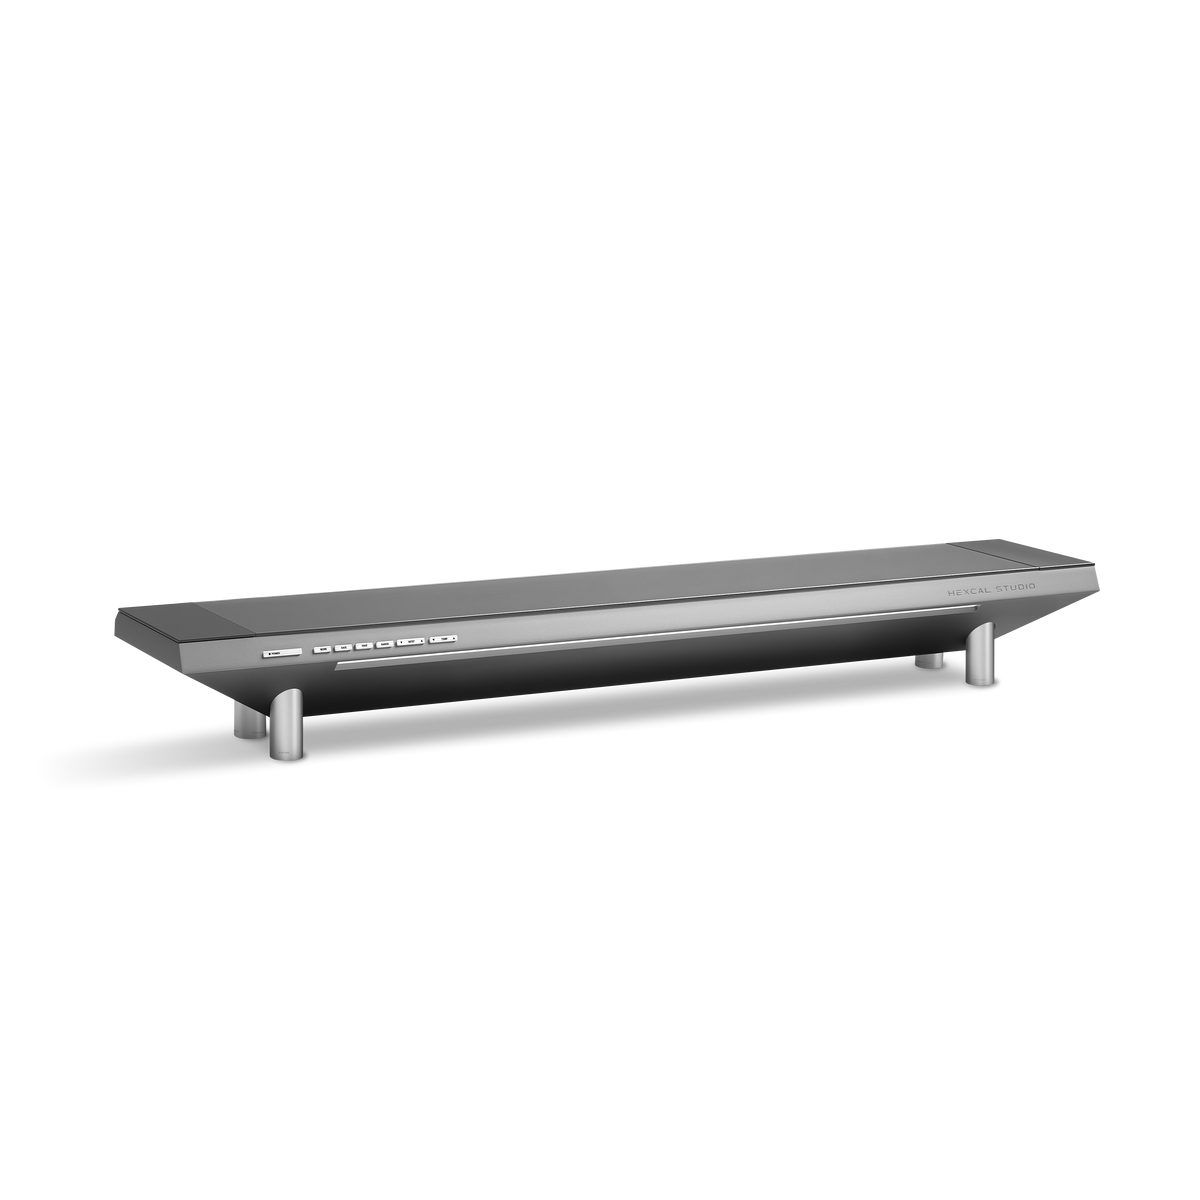
This is a first-party test of the Hexcal Studio as a monitor riser with cable management. The point is not to claim that one product belongs on every desk. The point is to show what changes when the display support, power distribution, lighting, and cable storage are treated as one system, and where a simpler tray or monitor arm is the better answer.
Quick answer: when does an integrated riser make sense?
An integrated monitor riser makes sense when one desk needs display height, concealed power, accessory storage, and a repeatable cable route at the same time. It is most useful for a dense workstation where separate shelf, light, charger, and cable tray accessories would otherwise compete for the same space. If you only need to lift one screen, a conventional riser or monitor arm is usually the simpler choice.
| Desk need | Most direct solution |
|---|---|
| Raise one display and keep the footprint small | Monitor riser or single monitor arm |
| Hide power bricks and route several devices from one point | Integrated riser with internal cable storage |
| Keep a normal desk surface but move the large bundle below it | Under-desk cable management tray |
| Move a screen through a wide range of positions | Monitor arm with a tested service loop |
Test record: the setup that was changed
The original setup was not an empty showroom desk. It used a 60-inch work surface, an ultrawide display, a mini PC, speakers, a desk mat, and an occasional portable monitor. The setup also had the usual accumulation of power bricks and accessory cables. The rebuild took close to seven hours because the goal was to change the routing and device layout, not simply place a new shelf in front of the old mess.
That starting point matters. A low-density laptop desk will not expose the same trade-offs. This test is relevant to a workstation that has to support a display, computer, speakers, charging devices, and occasional add-ons without turning every upgrade into a new cable project.

Place. Route. Stress-test.
The useful way to evaluate a monitor riser with cable management is to follow the cable path. Three checks make the result repeatable: place the display, route the power and data runs, then stress-test every moving or serviceable connection.
Step 1: Place the display and the devices around it
Start with the primary screen at the height and distance you actually use. Then place the computer, speakers, charging devices, and any secondary display. Do not hide cables before this step. A clean cable route is worthless if the monitor position forces a bad viewing angle or the accessories leave no usable working surface.
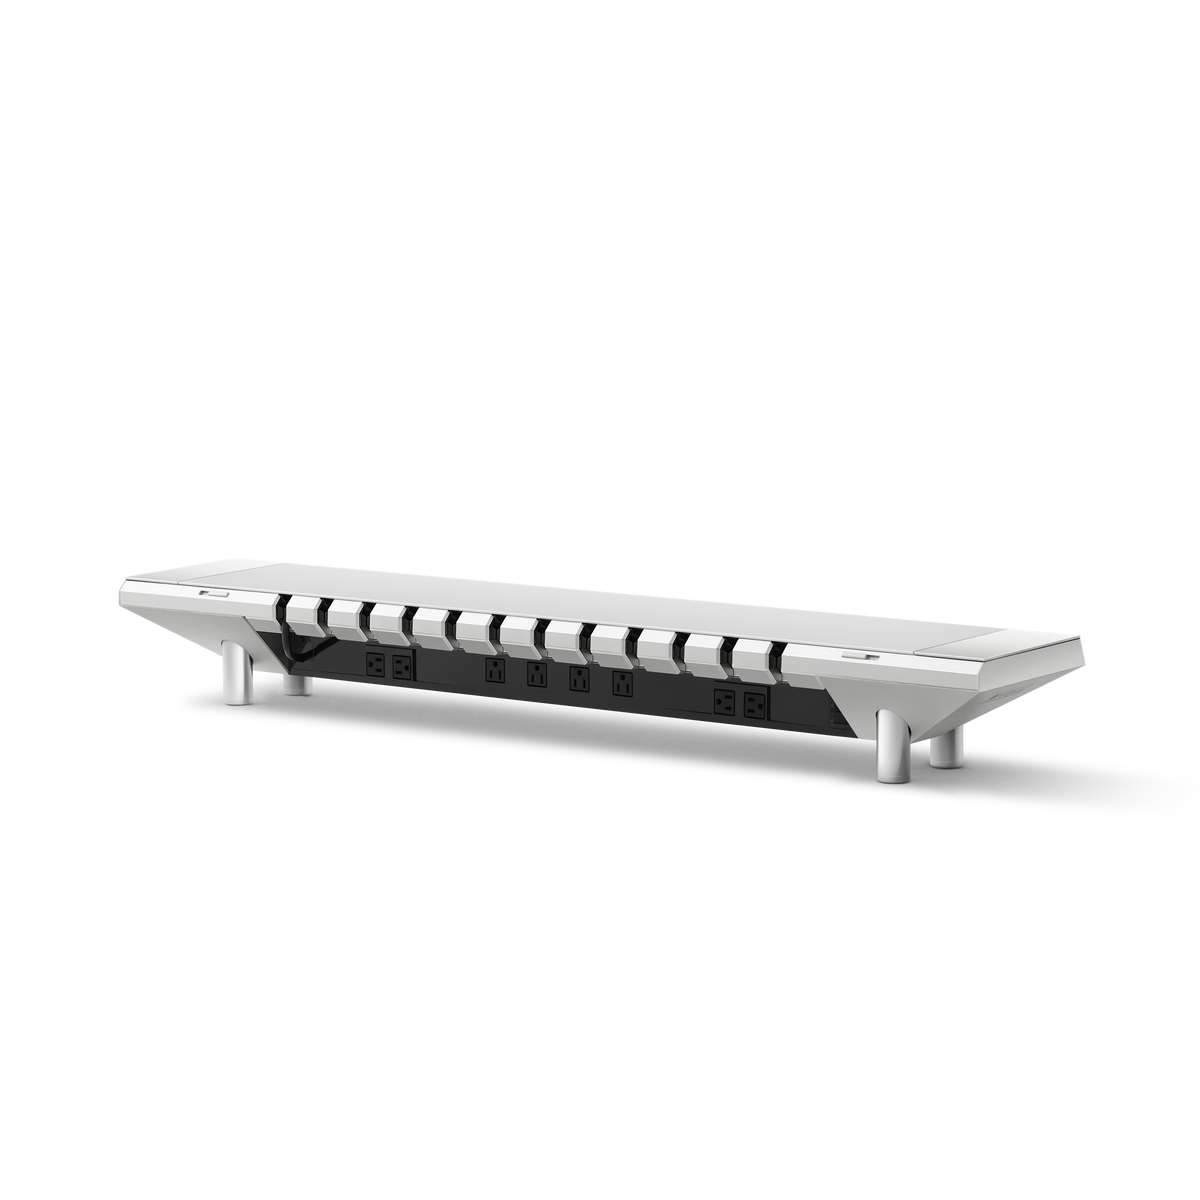
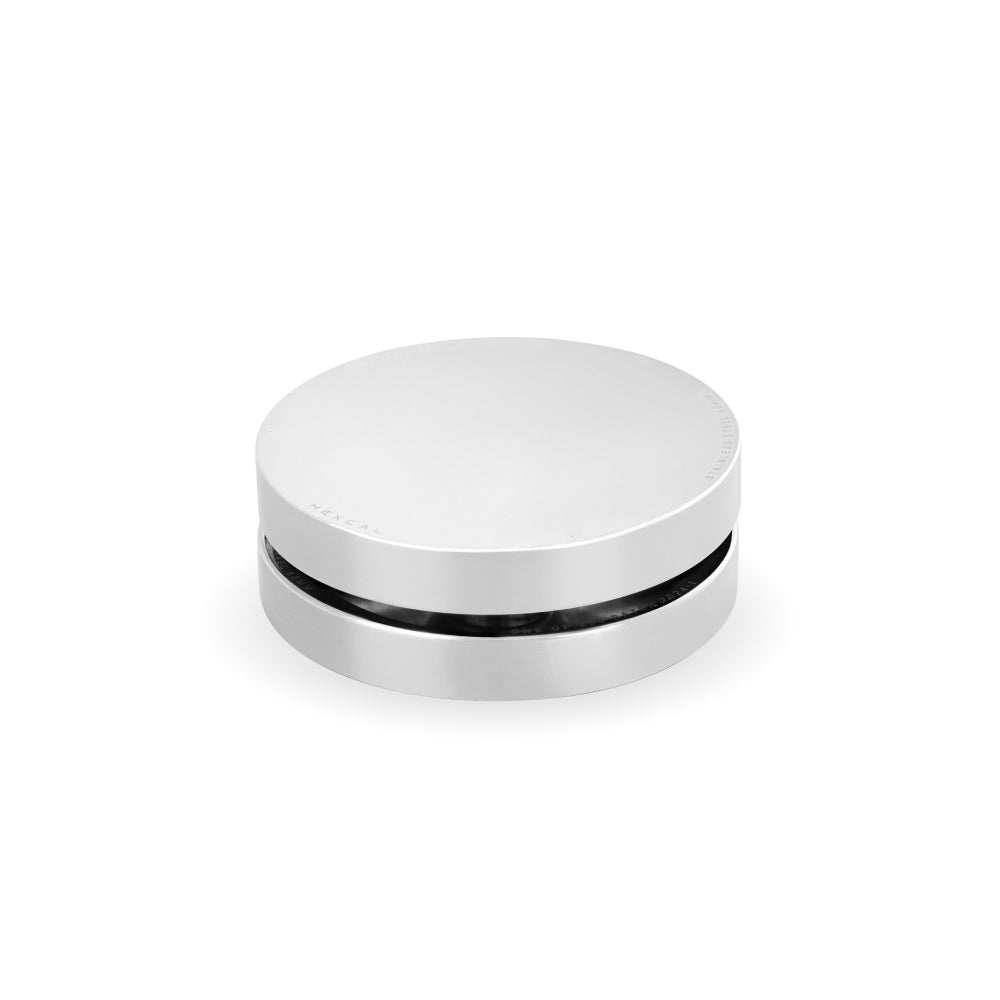
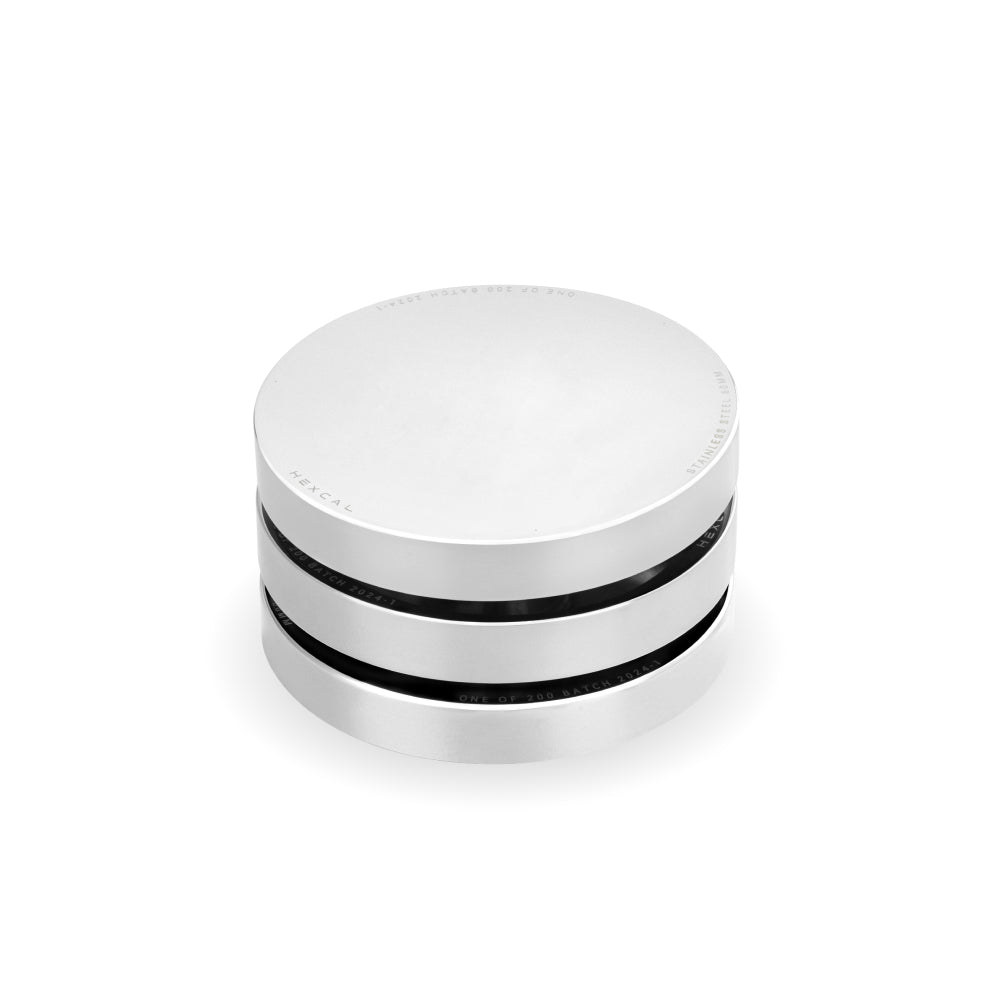
The Studio works as a raised monitor platform and a storage surface. Its removable center panel creates an internal chamber for power bricks and spare cables, while the height can be adjusted with the included extension feet. The desk becomes easier to change because the cable hardware has a defined place before the final routes are secured.
Product option: Hexcal Studio
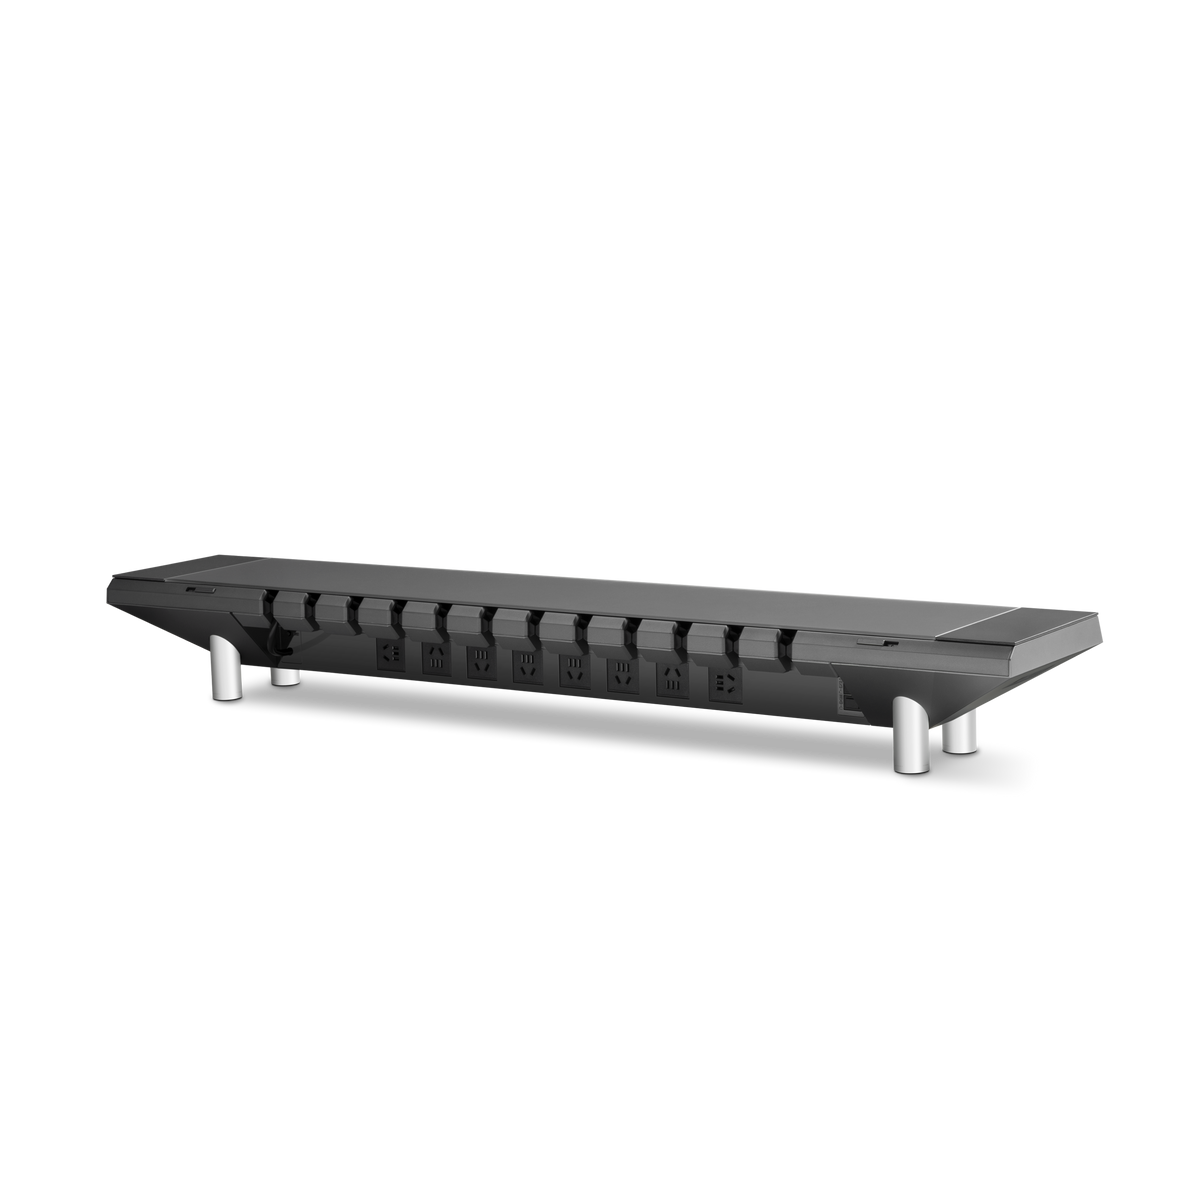
Hexcal Studio is the right product option when the desk needs an integrated platform rather than another isolated riser. Its documented system combines up to 1,440W of distributed power, USB-C output up to 27W, over-current protection with a reset button, a patented 3D Cord Organization System, and a cover load rating of up to 101 lb. The useful claim here is consolidation: the monitor support, power origin, lighting, and cable chamber occupy one deliberate zone.

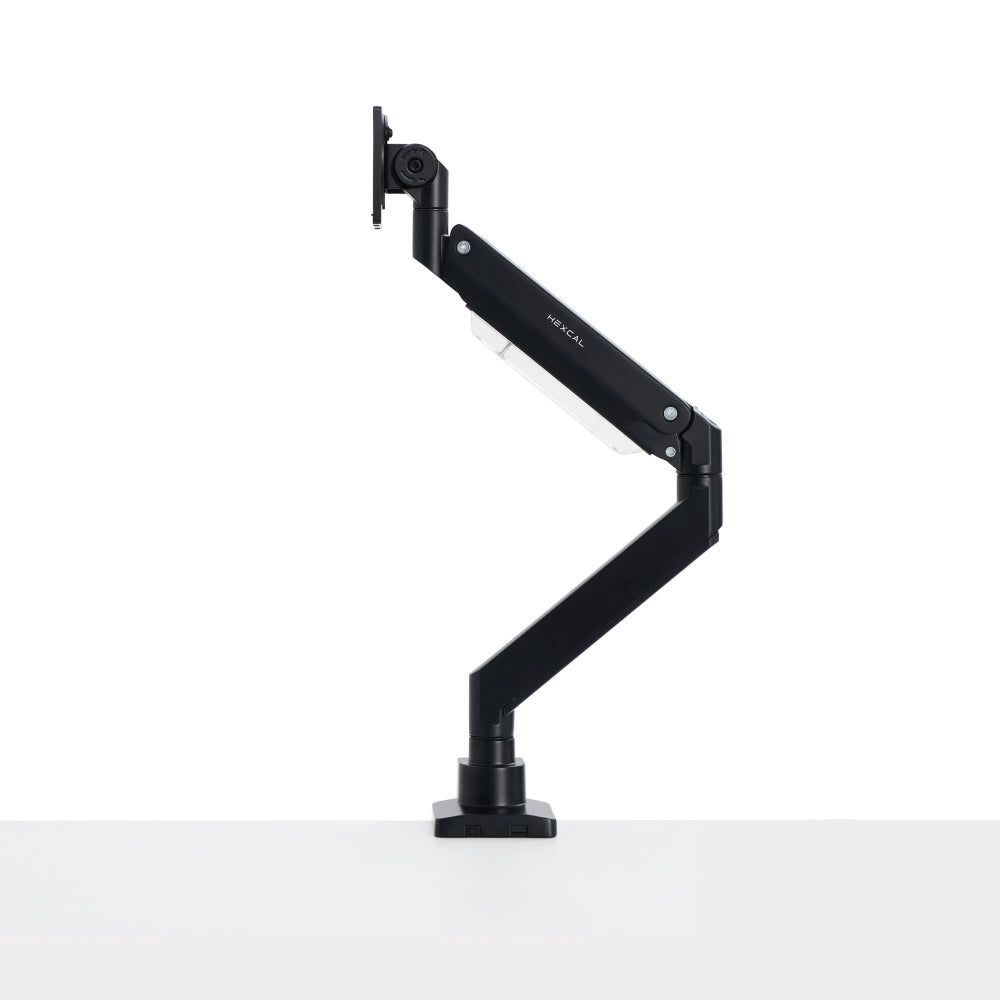
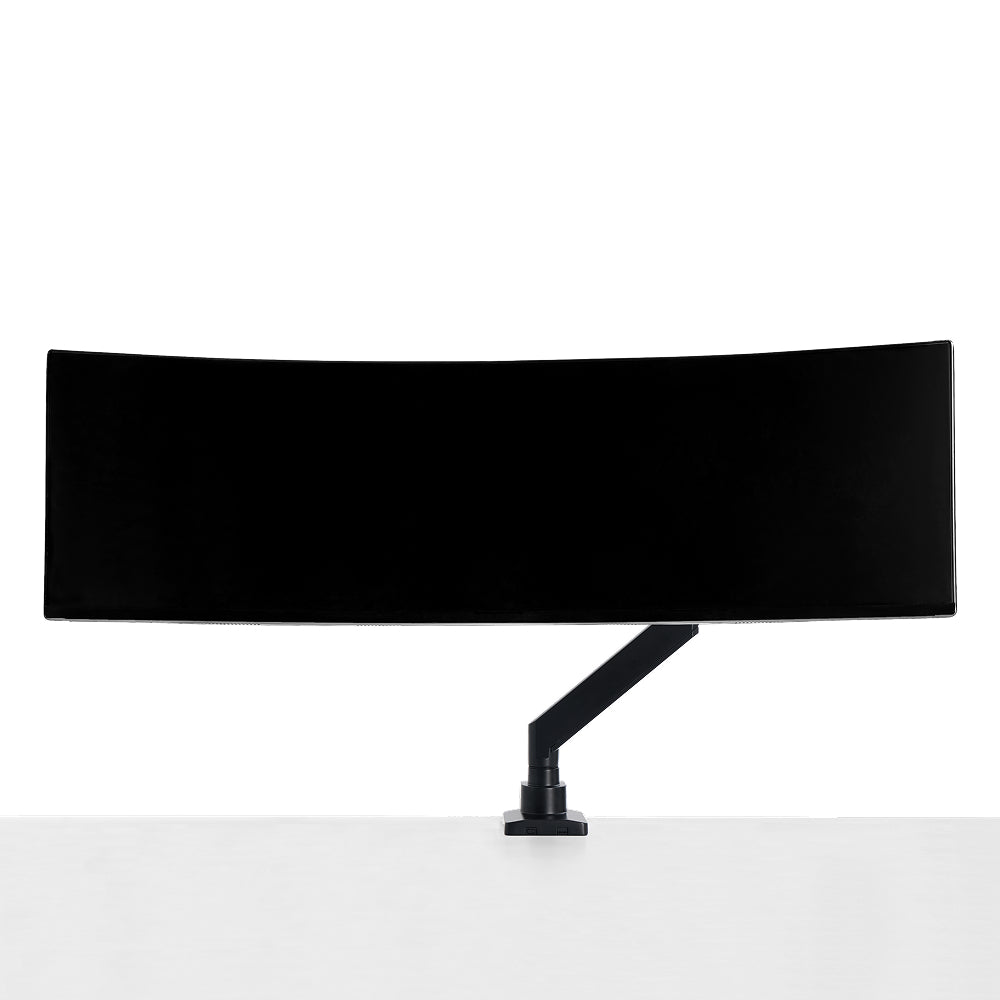
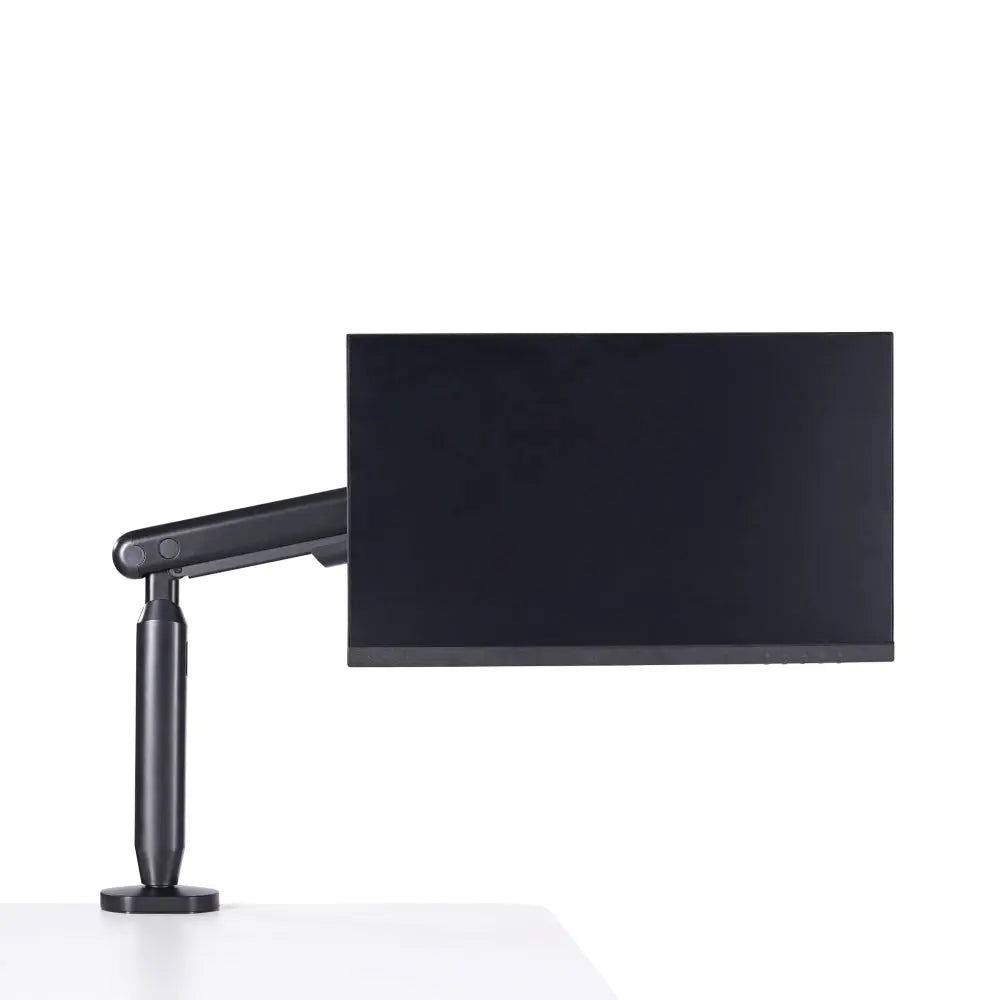
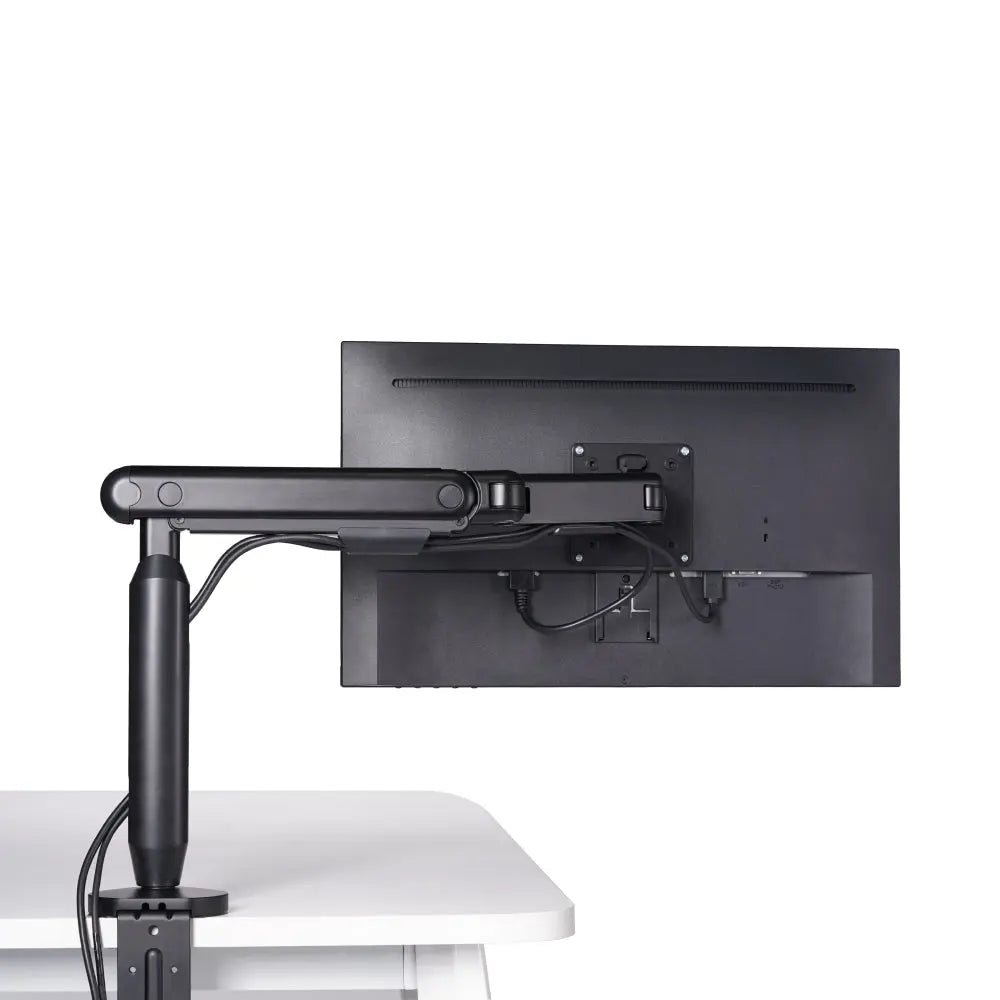
That does not make it a universal replacement for a monitor arm. A fixed riser is a better fit when the display should stay centered and the desk benefits from a stable shelf. If the display must swing far forward, rotate frequently, or clear a deep desk, compare the riser with a monitor arm before buying.
Step 2: Route by destination, not by appearance
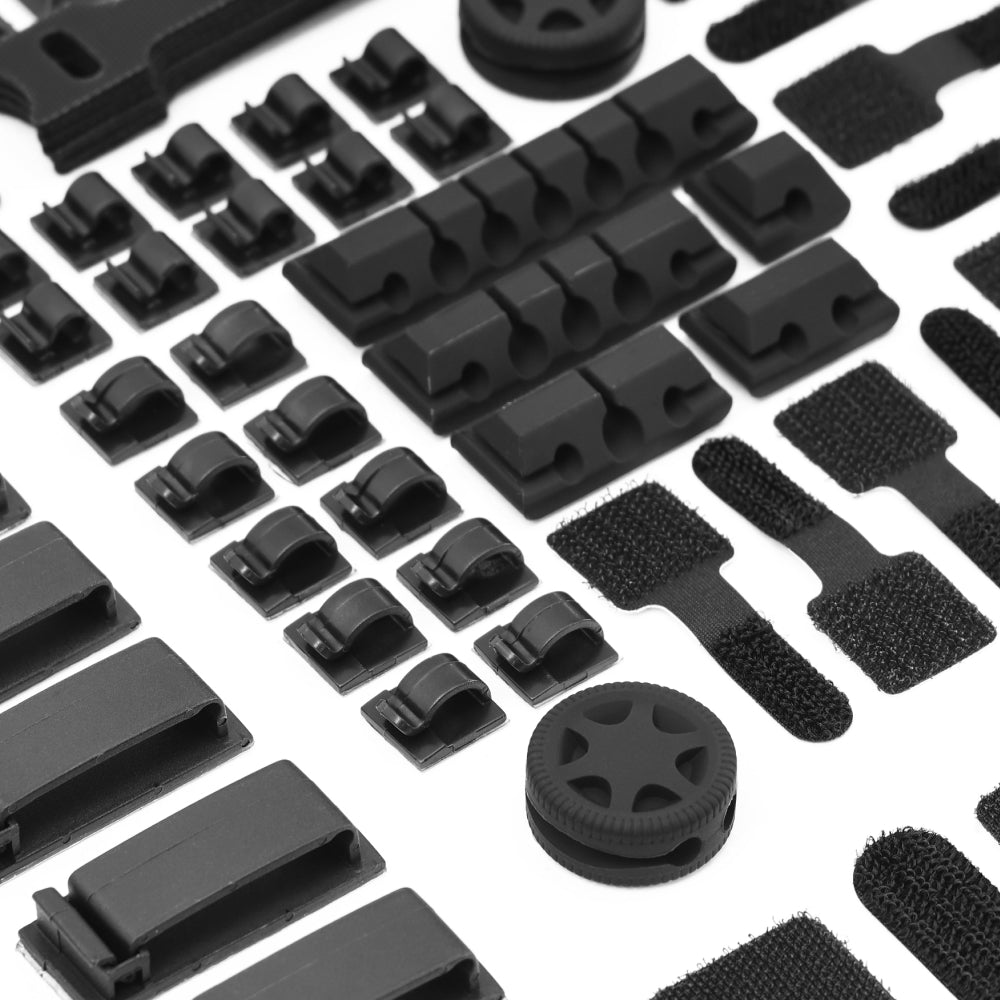
Put power cables, display cables, USB data cables, and audio cables into separate groups before bundling anything. The Studio's rear power and cable-management layout shortens the visible run because power bricks can live inside the chamber rather than on the floor. The display cable still needs a clean route from the monitor to the computer, and that route should remain accessible when the screen or computer changes.
Leave the shortest useful service loop near the display. The loop should allow the screen to be removed and the connector to be serviced without pulling on the port. Too much spare cable creates a new coil; too little creates tension. The right amount is the smallest loop that survives the normal movement and maintenance you recorded before tightening the route.
Step 3: Stress-test the setup before calling it finished
Test the screen, power, charging, and accessory paths one at a time. Disconnect and reconnect the monitor. Pull the portable display from storage and connect it. Move the desk if it is height adjustable. Check that the cable chamber can be opened without dismantling the whole setup. A system that looks clean only while untouched is a photograph, not a workstation.
The original test found a real benefit in putting power bricks and spare cables inside the Studio's chamber, along with a real limitation: an integrated riser does not replace every device. A laptop dock may still be useful, and a separate monitor arm may still be the better support for a display that needs frequent repositioning. Recording those limits is part of the test.
When an under-desk tray is the better choice
Keep the existing riser or monitor arm when the main problem is the bundle below the desk. A tray is easier to justify when the display support already works, the desk surface should remain open, and the power strip and adapters only need a reachable home below the work surface.
Product option: Under-Desk Cable Management Tray
The Hexcal Under-Desk Cable Management Tray is designed for wooden desks at least 20 mm thick, supports up to 6.8 kg, and can mount forward-facing or backward-facing. It also provides a defined mounting path for a compatible PDU. That makes it an appropriate companion for a normal monitor stand or arm, not a reason to replace a riser that already meets the height and movement requirement.

What the setup does not solve
- An integrated riser does not decide the correct monitor height for every person; position still needs to be checked at the chair.
- It does not remove the need for compatible VESA hardware when a monitor arm is still part of the setup.
- It does not make inaccessible power good cable management. The reset button, plugs, and service chamber must remain reachable.
- It does not justify hiding every cable in one tight bundle. Data and power routes still need to be identifiable.
Verdict: buy the system when the system is the problem
The Hexcal Studio changed this workstation because the problem was not simply a low monitor. The problem was a collection of separate support, lighting, charging, and cable-storage jobs competing for a small desk. Consolidating those jobs made the clean state easier to maintain and made future changes more predictable.
If your problem is one screen that needs height, start with a riser or arm. If it is a floor full of power bricks, start with a tray. If the desk is a dense workstation that needs power, display support, lighting, and serviceable cable storage in one zone, an integrated platform is the more defensible choice.
FAQ
What is a monitor riser with cable management?
It is a monitor platform that raises the display while also providing a defined route or storage area for power and data cables. Some risers only hide the first part of the cable path; integrated models also consolidate power or accessory storage.
Is a monitor riser better than a monitor arm?
Neither is always better. A riser is useful for a stable centered display and storage beneath or inside the platform. An arm is better when the monitor needs frequent height, depth, tilt, or swivel adjustments. Compare the movement requirement before the appearance.
Can a monitor riser hide power bricks?
Only if it has a chamber large enough for the bricks and keeps them ventilated and serviceable. Measure the adapters first, then confirm that the chamber can still be opened without moving the monitor.
Does cable management reduce the need for a docking station?
It can reduce visible cable clutter, but it does not replace the ports or switching functions of a dock. Keep a dock when it solves a real connection problem, and give it a defined location in the same route.
What should I test after installing a monitor riser?
Check display signal, power, charging, accessory connections, service access, and any desk movement. Disconnect and reconnect the monitor once, then open the cable chamber or tray. If either action disturbs the rest of the setup, the route needs more slack or a clearer anchor.
Related guides
- Should I choose a monitor stand or monitor arm?
- How to mount a monitor without drilling holes
- How to organize your monitor setup and hide the cables
- Desk cable management: the broader system
A monitor riser earns its space when it makes the whole workstation easier to route, reach, and change. The cleanest setup is not the one with the fewest visible cables; it is the one where every cable has a known destination and the next upgrade has somewhere to go.